
At the SSH Connection step of the wizard, specify credentials for the Linux server.
- From the Credentials list, select credentials for the account that has administrator privileges on the Linux server. You can select a credentials record that uses the password authentication method or credentials record that uses the Identity/Pubkey authentication method.
If you have not set up credentials beforehand, click the Manage accounts link or click Add on the right to add the credentials. For more information, see Managing Credentials.
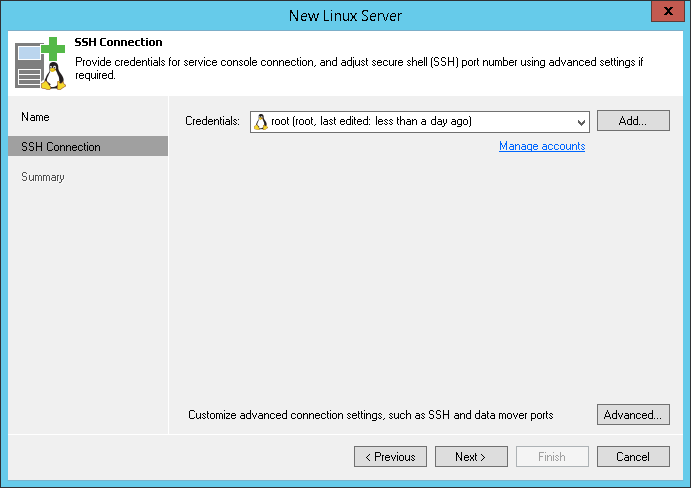
- To configure advanced SSH settings, click Advanced.
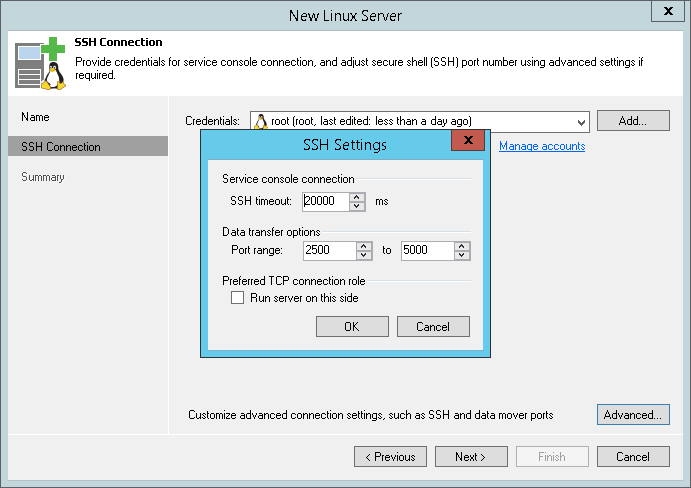
- In the Service console connection section, specify an SSH timeout. By default, the SSH timeout is set to 20000 ms. If a task targeted at the Linux server is inactive after the specified timeout, Veeam Backup Free Edition will automatically terminate the task.
- In the Data transfer options section of the Network Settings window, specify connection settings for file copy operations. Provide a range of ports that will be used as transmission channels between the source host and target host (one port per task). By default, Veeam Backup Free Edition uses port range 2500-5000. If the virtual environment is not large and data traffic will not be significant, you can specify a smaller range of ports, for example, 2500-2510 to run 10 concurrent jobs at the same time.
- If the Linux server is deployed outside NAT, in the Preferred TCP connection role section select the Run server on this side check box. In the NAT scenario, the outside client cannot initiate a connection to the server on the NAT network. As a result, services that require initiation of the connection from outside can be disrupted. With this option selected, you will be able to overcome this limitation and initiate a ‘server-client’ connection — that is, a connection in the direction of the Linux server.
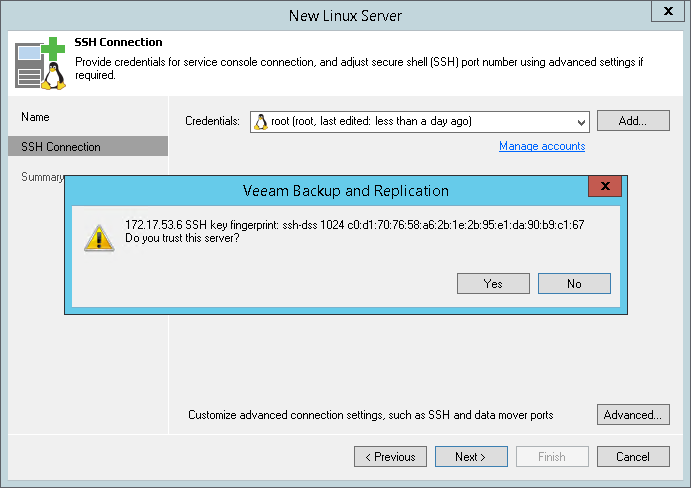
- When you add a Linux server, Veeam Backup Free Edition saves a fingerprint of the Linux host SSH key to the configuration database. During every subsequent connection to the server, Veeam Backup Free Edition uses the saved fingerprint to verify the server identity and avoid the man-in-the-middle attack.
To let you identify the server, Veeam Backup Free Edition displays the SSH key fingerprint:
- If you trust the server and want to connect to it, click Yes.
- If you do not trust the server, click No. Veeam Backup Free Edition will display an error message, and you will not be able to connect to the server.
|
If you update the SSH key on the server, you must acknowledge the new key in the server connection settings. To do this, in the Backup Infrastructure view open the server settings, pass through the Edit Server wizard and click Trust to acknowledge the new key. |
Send feedback | Updated on 1/11/2016
