This guide is for customers who continue to use the original Veeam Data Cloud platform for Microsoft Azure until migration to the new unified experience platform is complete. If you use Veeam Data Cloud for Microsoft Azure in the unified experience platform, click here to go to the correct user guide.
Viewing Azure Files
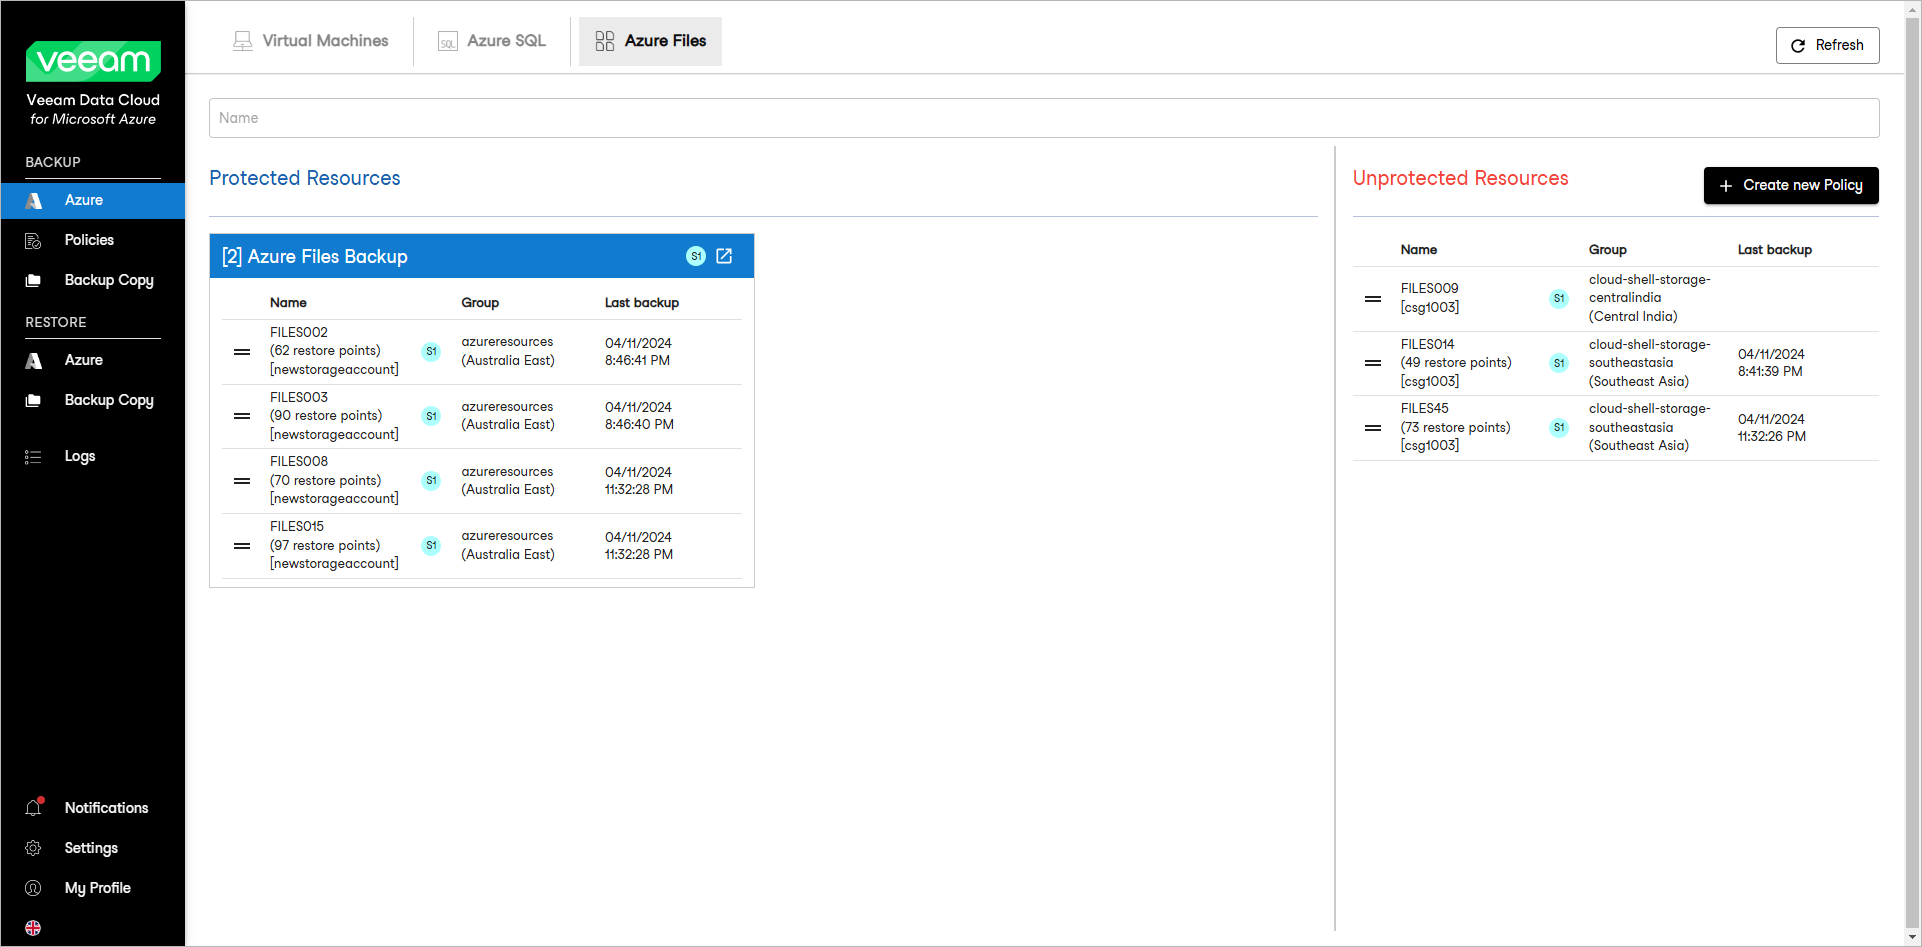
To view the list of available Azure file shares, open the Azure page in the Backup section of the main menu and select the Azure Files tab:
- The Protected Resources section includes backup policies widgets. You can perform the following actions with existing backup policies:
- View backup policy details, such as the policy state and related Azure subscriptions. To do this, click the menu icon in the top right corner of the policy widget and hover over More.
- Edit backup policy settings. To do this, click the menu icon in the top right corner of the policy widget and click Edit. You will be forwarded to the Policy Info step of the Edit Azure Files Policy wizard.
- The Unprotected Resources section displays the list of all unprotected Azure file shares.
Each resource is represented with a set of properties, such as:
- Name — the name of the Azure file share.
- Group — the name of the group that includes the Azure file share.
- Last Backup — the date and time of the most recent backup policy run (if any).
You can perform the following actions for Azure file shares:
- Create new backup policies to protect Azure file shares. To do this, click the Create new Policy button in the upper right corner of the page and complete the new policy wizard. To learn more, see Creating Azure Files Backup Policy.
- Move Azure file shares to, from and between backup policies:
- To move a protected Azure file share to another backup policy, drag the file share from the Protected Resources section and drop it onto the required backup policy. Click Move in the Move resources window to complete the operation.
- To move an unprotected Azure file share to a backup policy, drag the file share from the Unprotected Resources section and drop it onto the required backup policy. Click Move in the Move resources window to complete the operation.
- To remove a protected Azure file share from a backup policy, drag the file share from the Protected Resources section and drop it onto the Unprotected Resources section. Click Remove resources in the Remove resources window to complete the operation.
Tip |
To move multiple Azure file shares at the same time, select check boxes next to the names of the required file shares, and drag and drop one of the selected file share. In the Move resources or Remove resources window, you will see a list of all the file shares that will be moved. |
- Refresh the list of Azure file shares.
Resources and their statuses are synchronized every 24 hours. To update the list immediately, you can force synchronization by clicking Refresh in the upper right corner of the page. In the Refresh Azure Resources window, specify a service account and select one of the following refresh options:
- Only refresh resource status — select this option if you want to update information on existing resources.
- Scan Azure tenant for new resources and refresh status — select this option if you want to update statuses of existing resources and display any new resources recently added to Veeam Data Cloud for Microsoft Azure.