 This guide is for customers who continue to use the original Veeam Data Cloud platform for Microsoft Azure until migration to the new unified experience platform is complete. If you use Veeam Data Cloud for Microsoft Azure in the unified experience platform, click here to go to the correct user guide.
Step 3. Start Restore Session
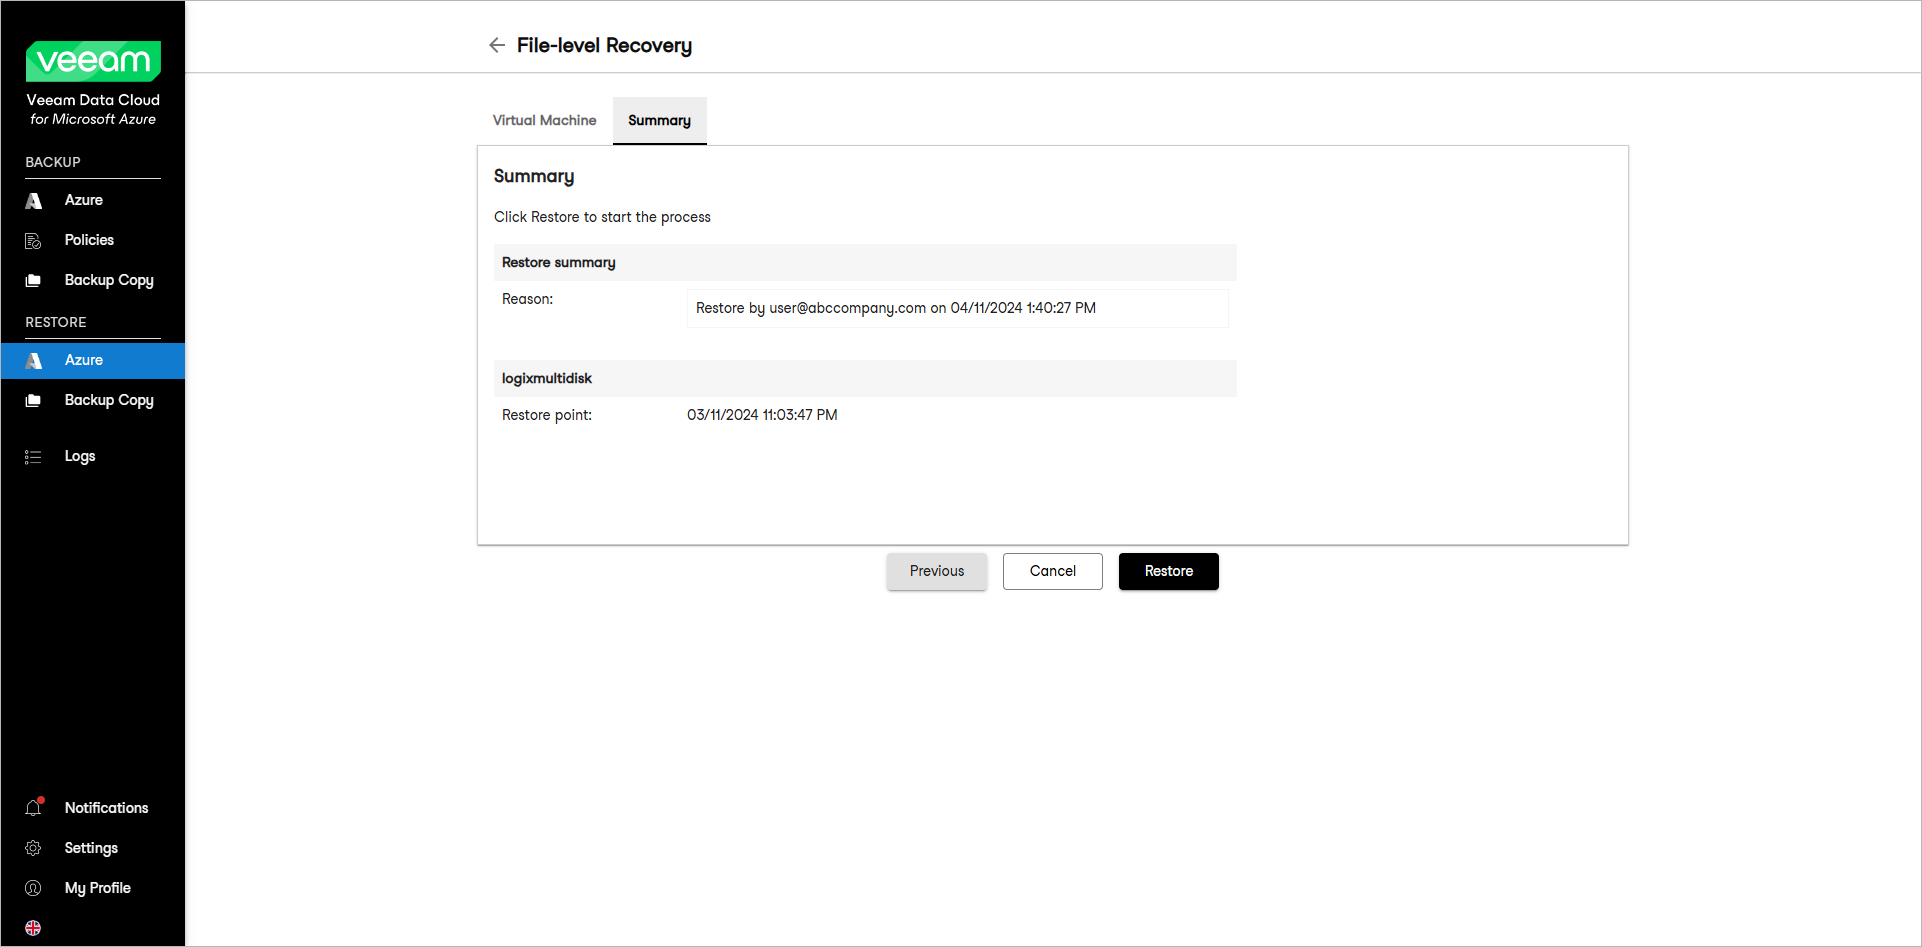
At the Summary step of the wizard, review summary information and start the restore session.
- Click Restore.
Veeam Data Cloud for Microsoft Azure will start a restore session.
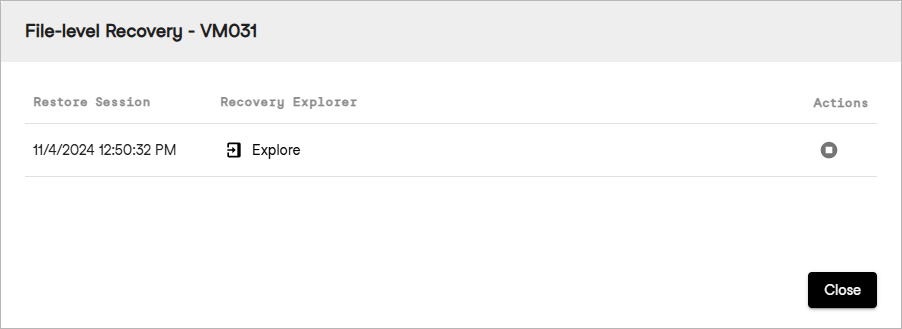
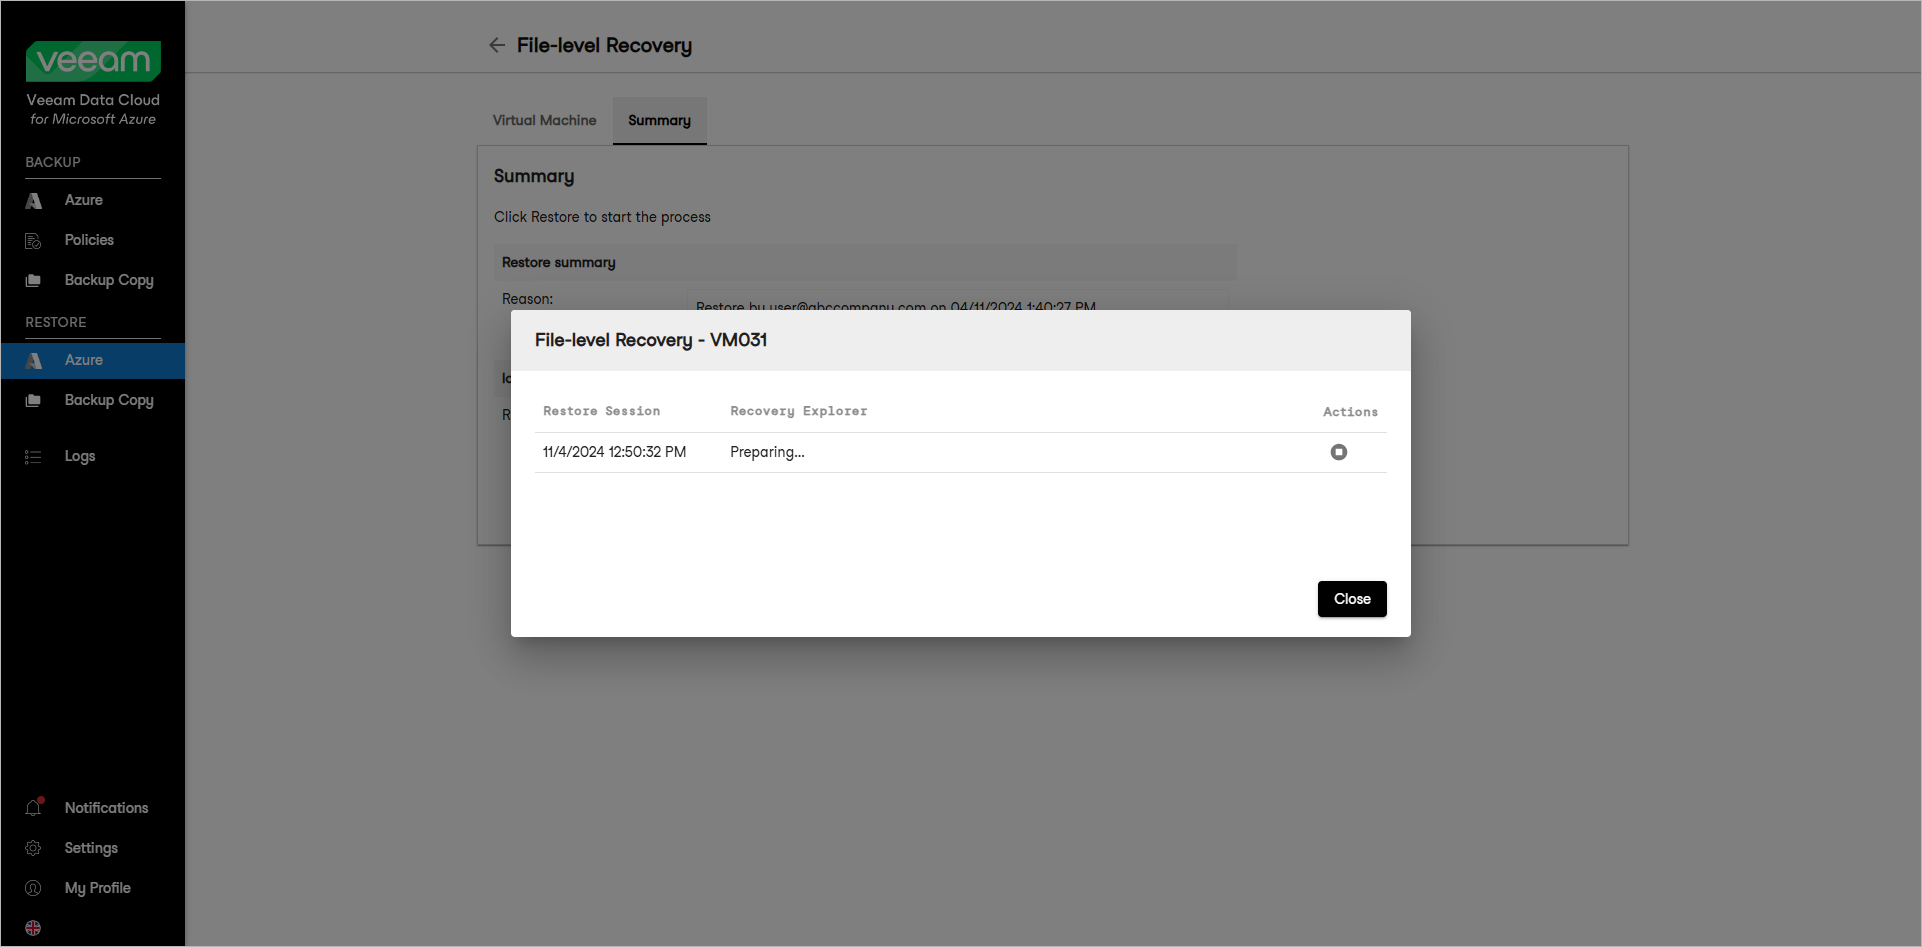
During the restore session, Veeam Data Cloud for Microsoft Azure will launch a worker instance and attach virtual disks of the processed Azure VM to it. After the restore point is mounted and ready for browsing, Veeam Data Cloud for Microsoft Azure will generate a link to the File-Level Recovery Explorer. You can stop the running session any time by clicking the Stop session icon in the File-level Recovery window.
- Close the File-level Recovery window.
Veeam Data Cloud for Microsoft Azure will return to the Restore > Azure > Virtual Machines tab with the list of protected VMs.
- On the Restore > Azure > Virtual Machines tab, locate the VM whose files you are restoring and click View in the File-level Recovery column.
- In the File-level Recovery window, click Explore.

Tip |
Alternatively, you can view the restore session progress and status of the File-Level Recovery Explorer in real time in the session log. To learn more, see Viewing Session Logs. |

