This guide is for customers who continue to use the original Veeam Data Cloud platform for Microsoft Azure until migration to the new unified experience platform is complete. If you use Veeam Data Cloud for Microsoft Azure in the unified experience platform, click here to go to the correct user guide.
Self-Service Onboarding
The onboarding process takes only a few minutes to complete. Additionally, if required, we can connect you with a member of our Customer Success team who will guide you through the entire process.
To complete the self-service onboarding process, take the following steps:
- In your welcome email from Veeam Data Cloud, click Activate your account.
Alternatively, follow the https://login.veeam.com/ link and sign in with the account that was invited to Veeam Data Cloud for Microsoft Azure.
- At the Organisation Details step of the sign-up wizard, enter your company details and click Submit & Next.
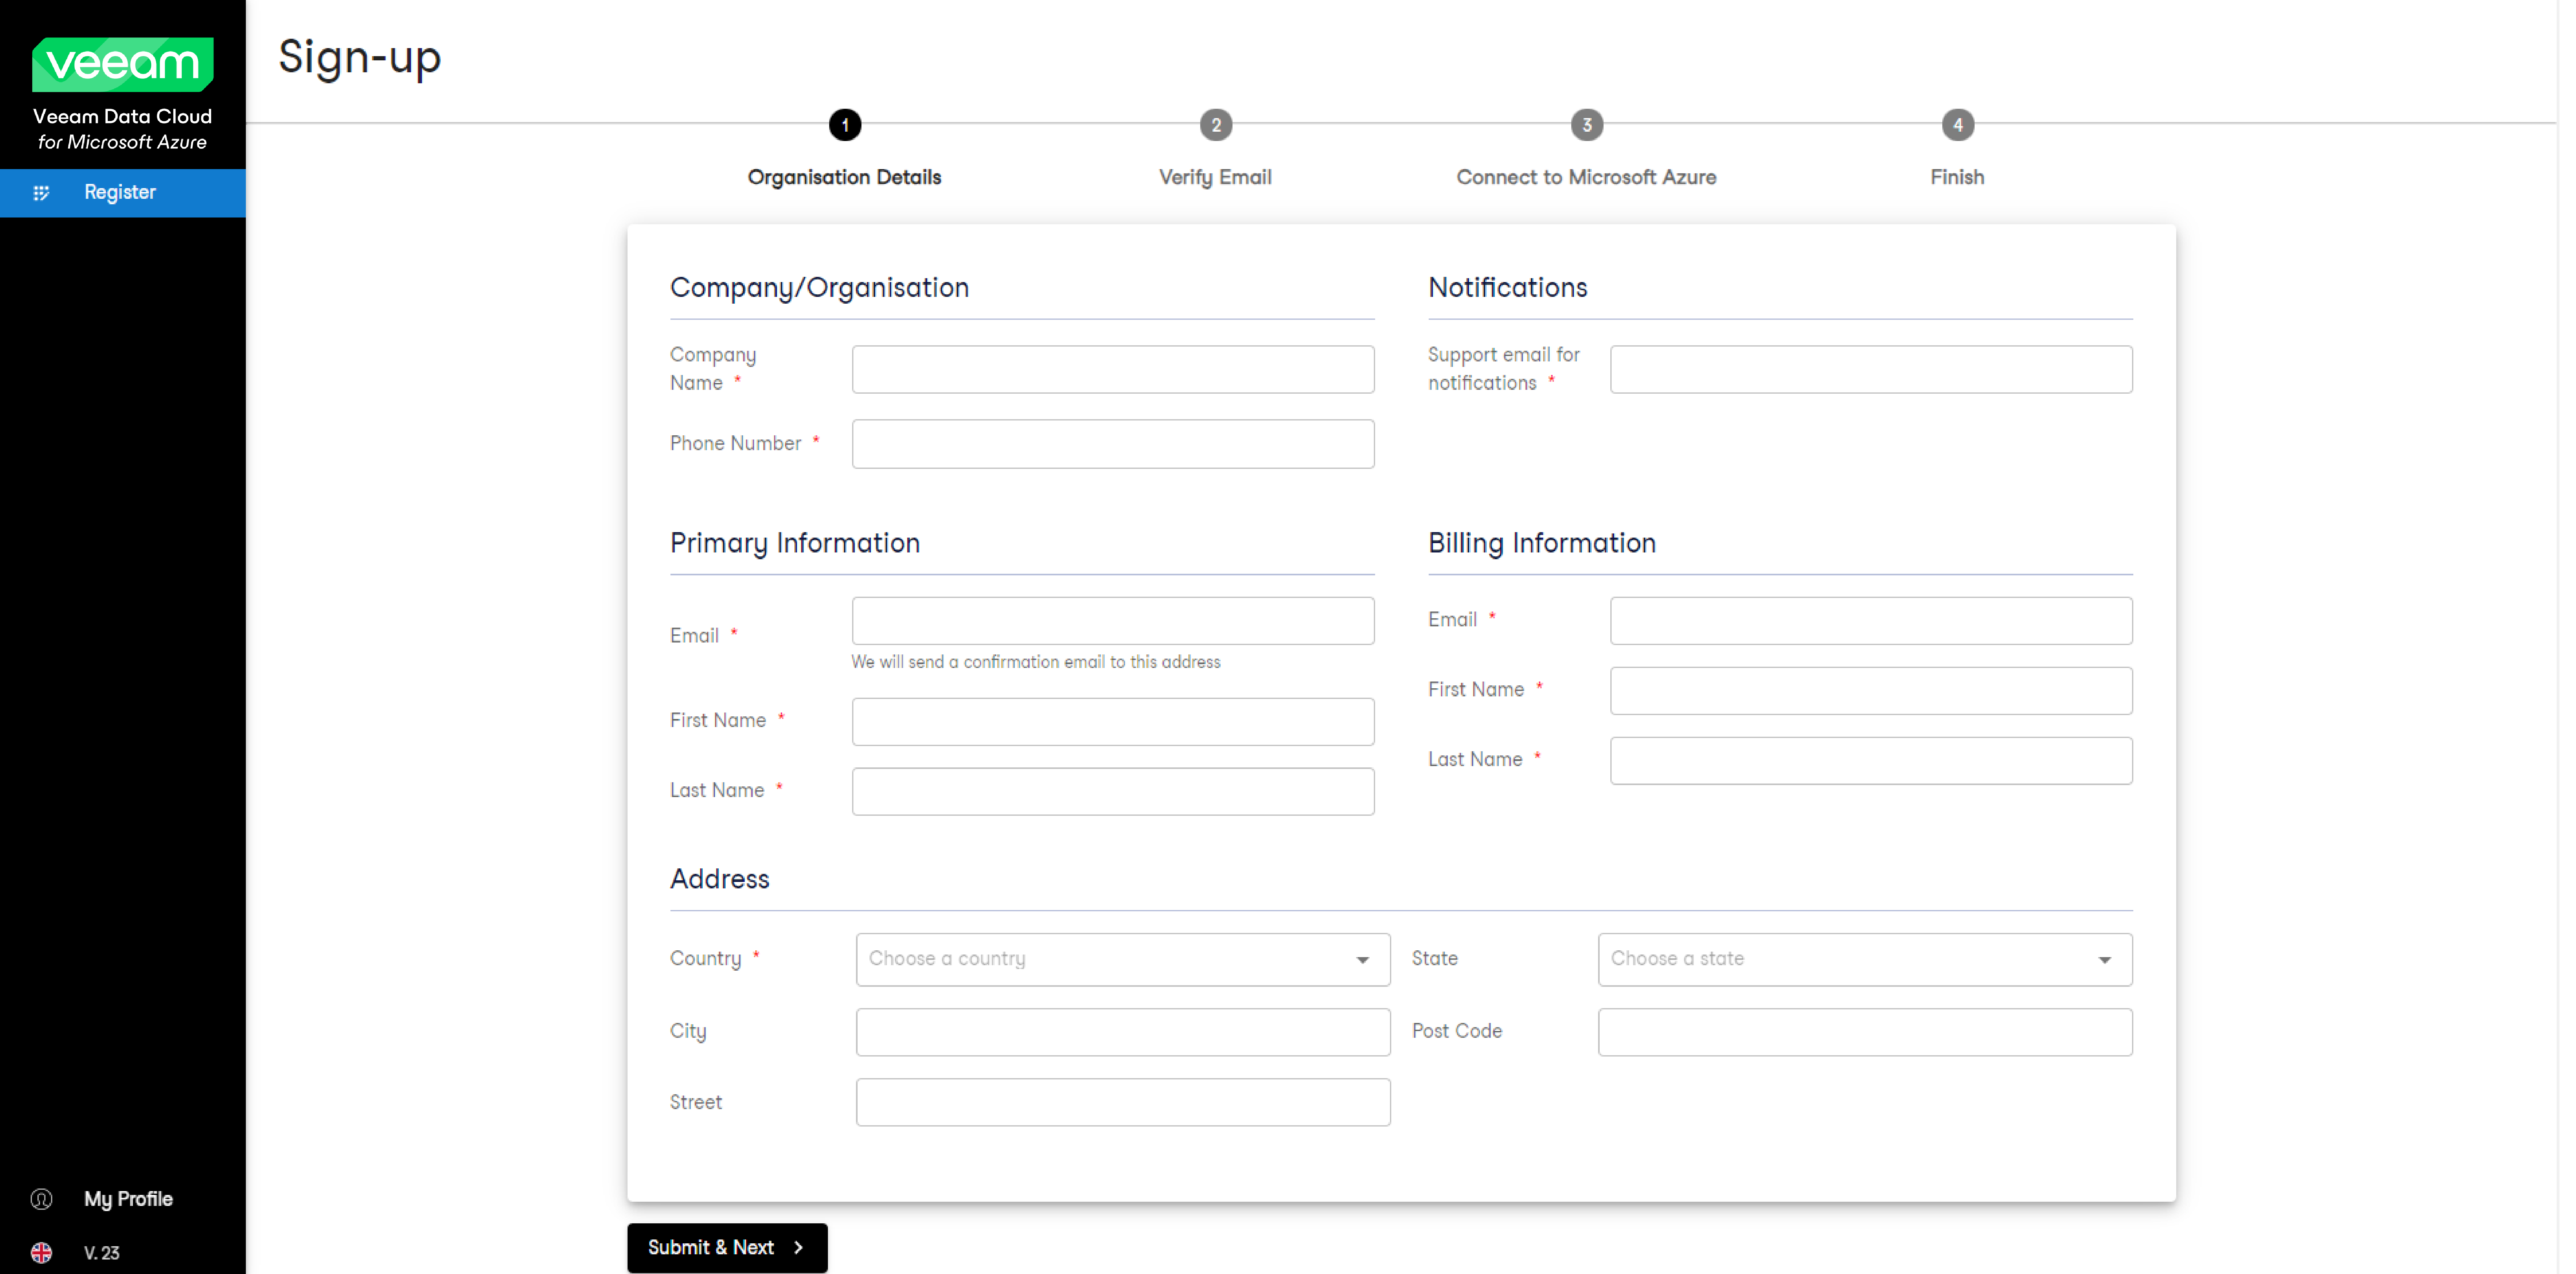
Veeam Data Cloud for Microsoft Azure will send an email confirmation request to the email address that you specified in the Primary Information section.
- Confirm your email address. To do this, click Verify Email in the email sent to you.
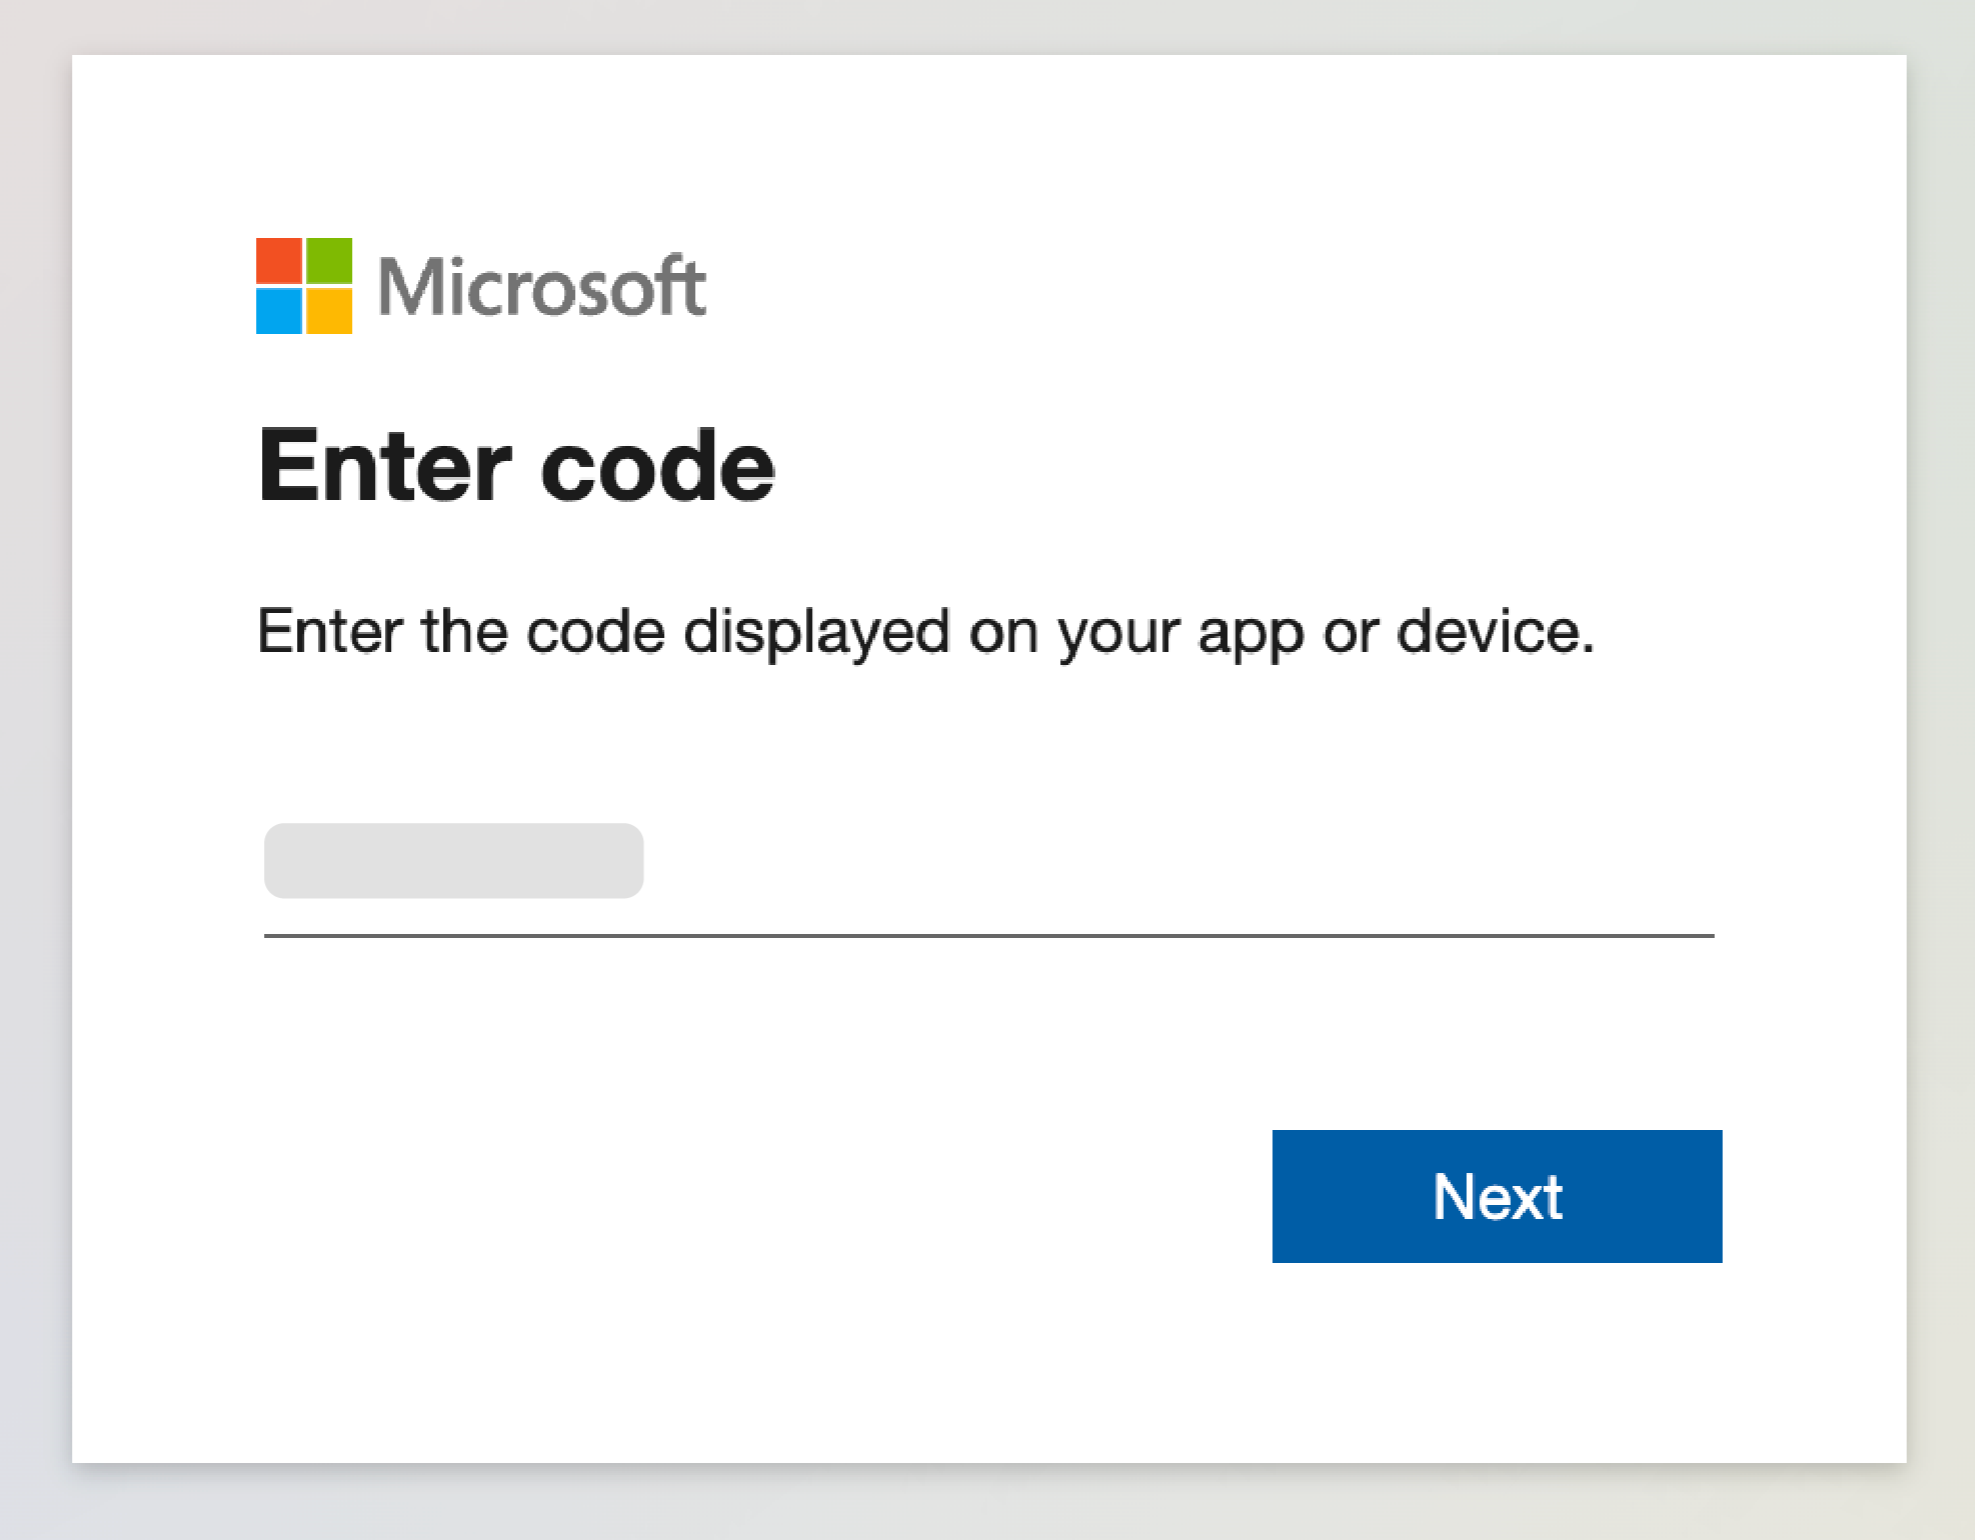
- At the Connect to Microsoft Azure step, copy the generated code to connect to your Microsoft tenancy.

- Click the https://microsoft.com/devicelogin link and paste or enter the code that you copied. Then click Next.
Note |
To perform this step successfully, you must use the Microsoft Azure Admin account. |
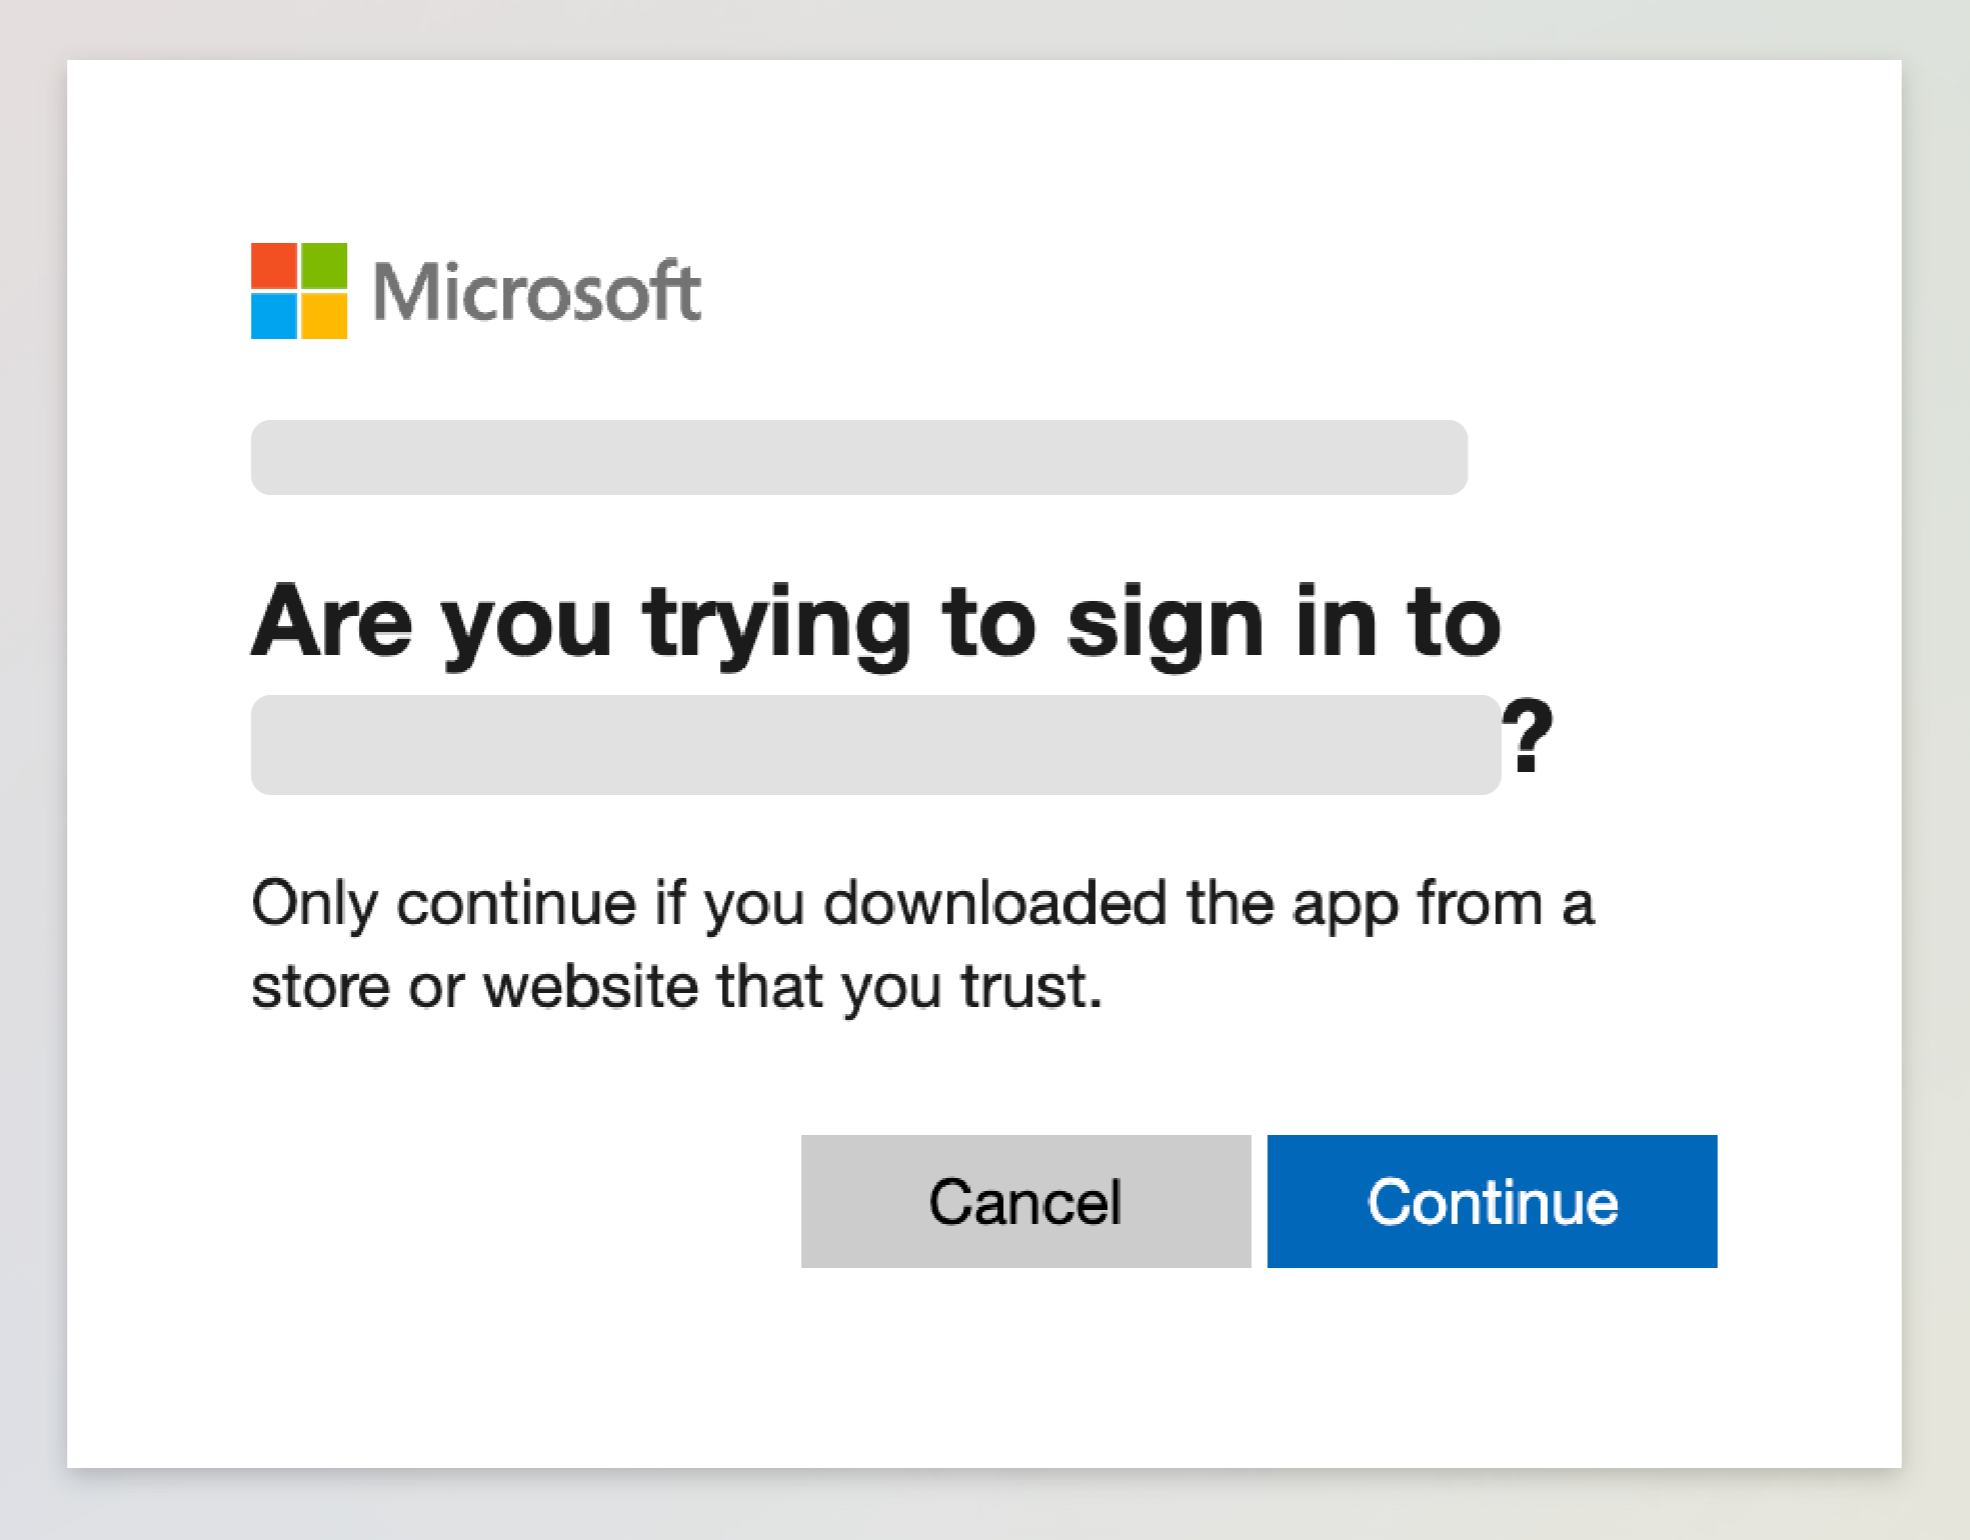
- Select the Microsoft account under which you want to authenticate against Microsoft Azure. The account must have the Microsoft Azure Admin permissions.
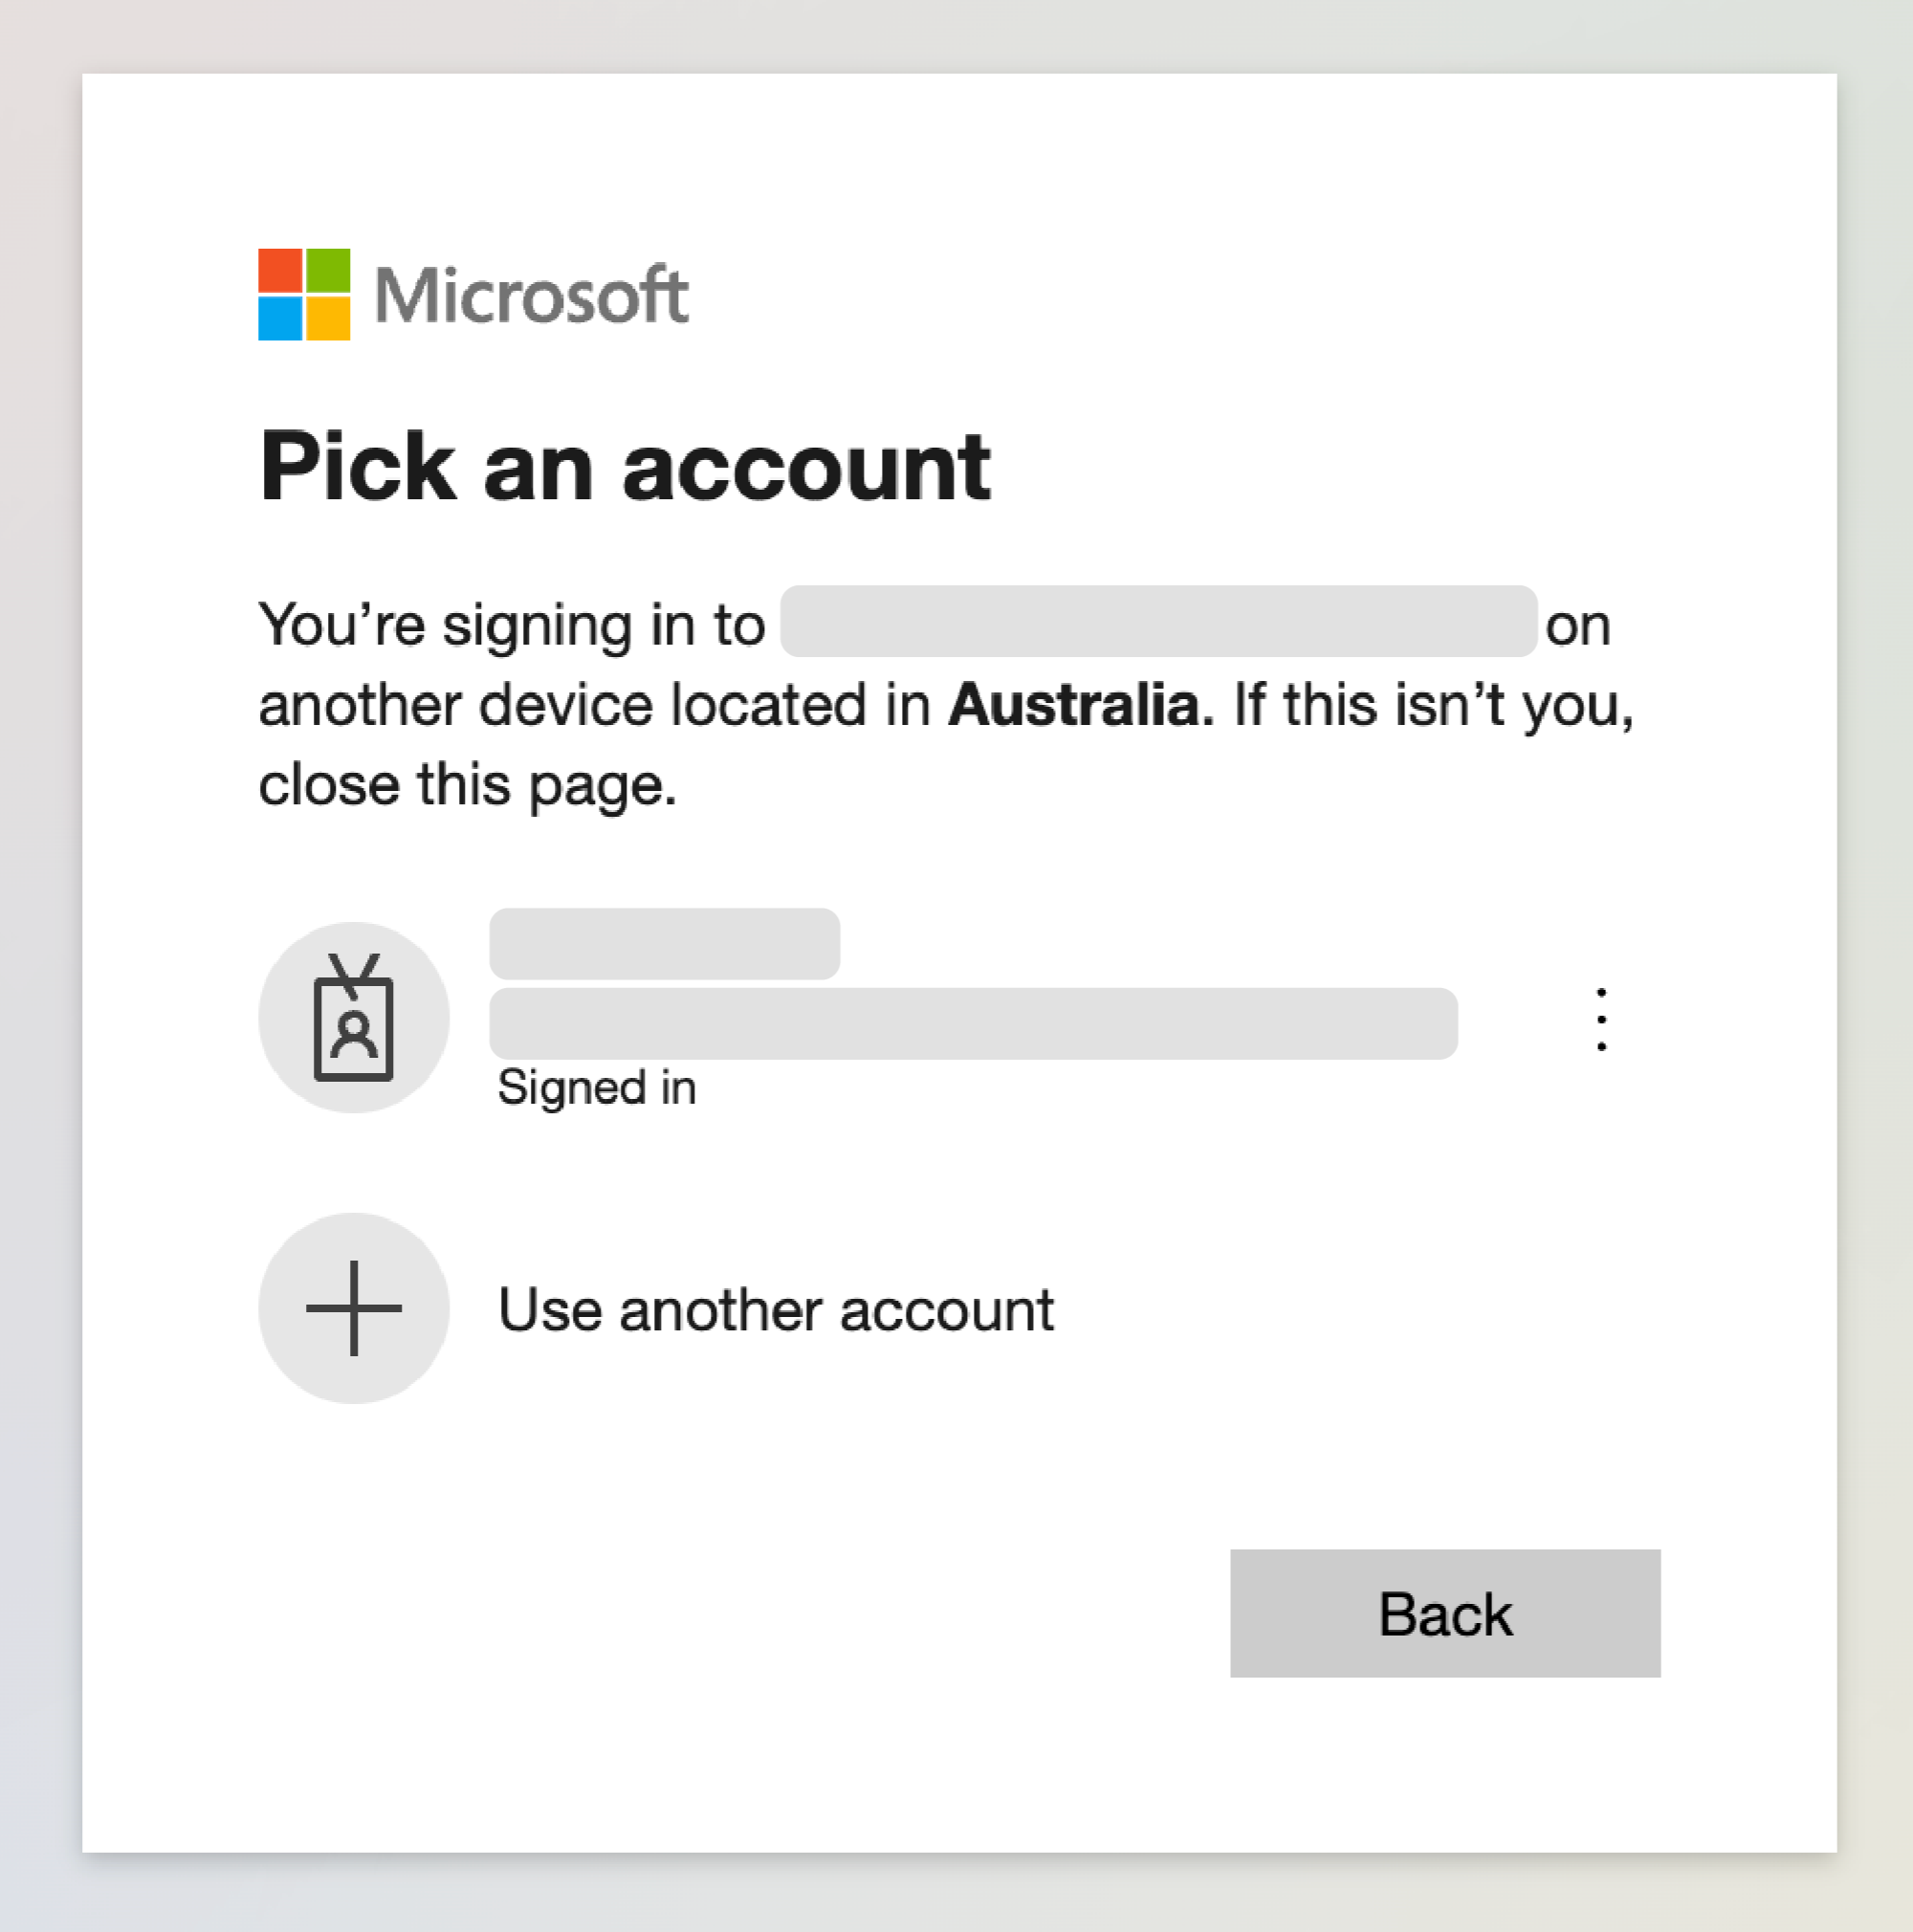
- Click Continue and close the window.
- Back in the sign-up wizard, click Get tenant subscriptions.
Veeam Data Cloud for Microsoft Azure will display the list of available subscriptions. You must select at least one subscription.

- Click Connect.
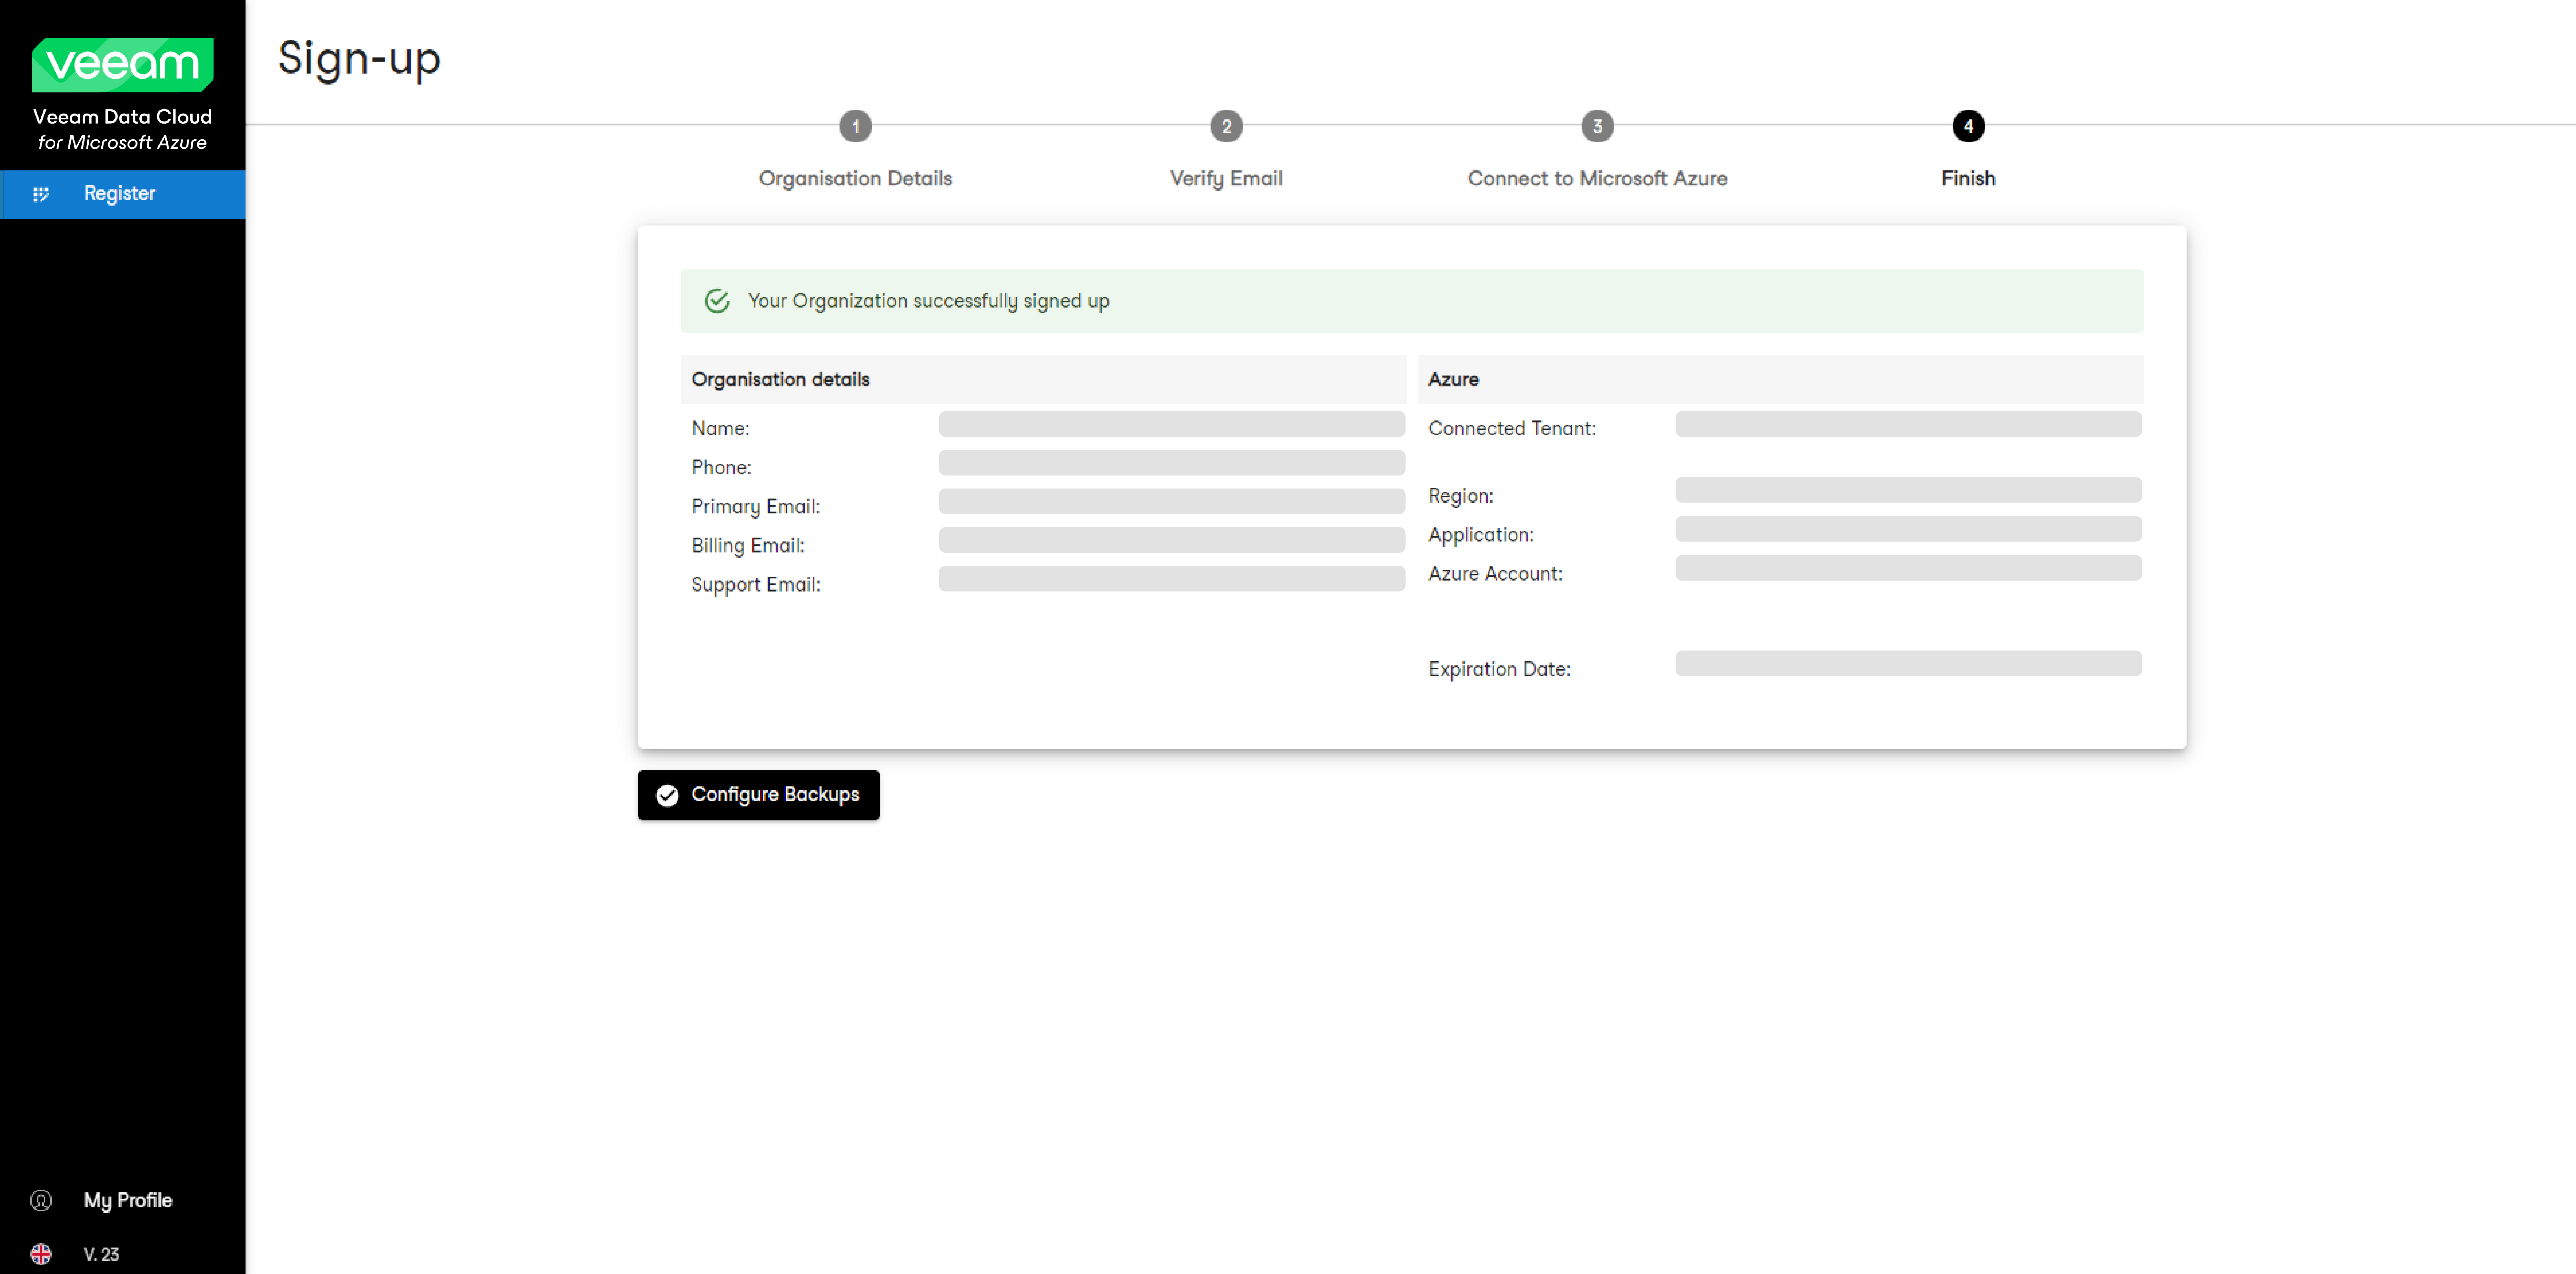
- After the connection is successful, confirm that your details are correct and click Configure Backups to start working with Veeam Data Cloud for Microsoft Azure.