This guide is for customers who continue to use the original Veeam Data Cloud platform for Microsoft Azure until migration to the new unified experience platform is complete. If you use Veeam Data Cloud for Microsoft Azure in the unified experience platform, click here to go to the correct user guide.
Step 3. Specify Account and Restore Mode
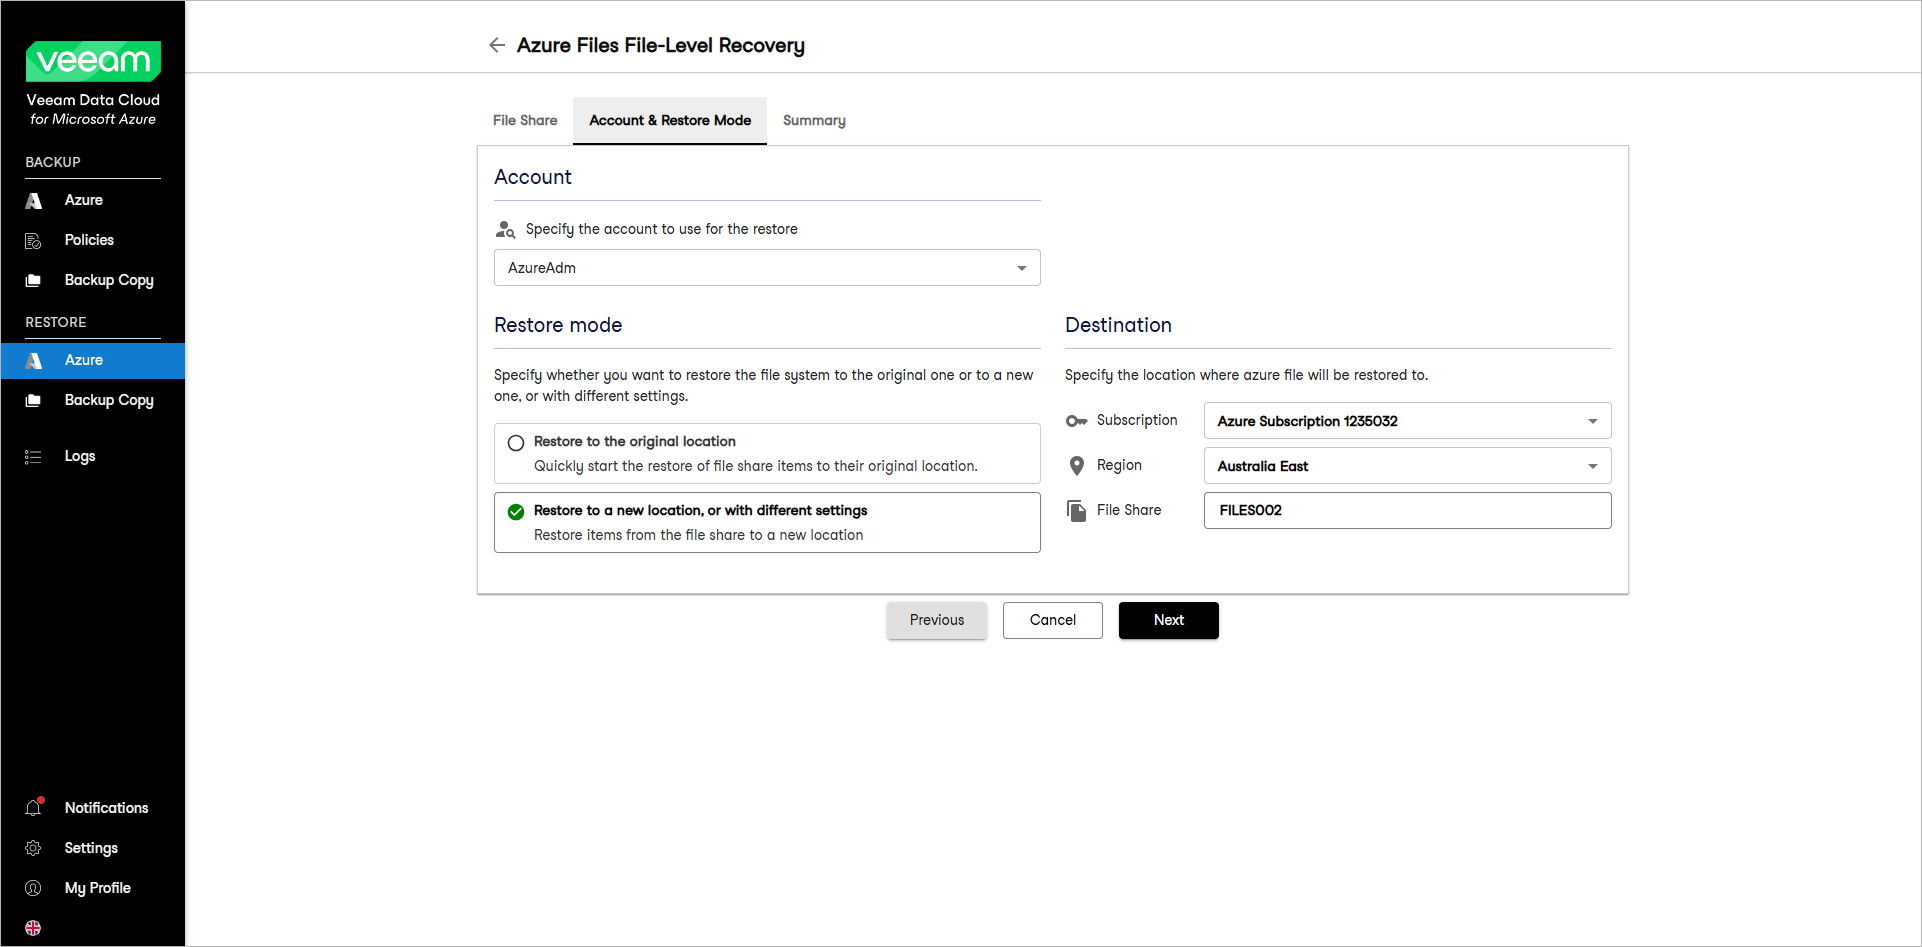
At the Account & Restore Mode step of the wizard, specify the following restore settings:
To select the account whose permissions Veeam Data Cloud for Microsoft Azure will use to perform the restore operation, do the following:
- Click Select account.
- In the Choose an Azure account from the available list window, select an Azure account that you want to use for the restore procedure.
Specifying Restore Mode and Destination
In the Restore Mode section, choose whether you want to restore files from the selected file share to the original or to a custom location.
If you select the Restore to a new location, or with different settings option, you must also select an Azure subscription, region and target file share in which the restored Azure VM will reside. To do this, in the Destination section, perform the following steps:
- From the Azure subscription drop-down list, select the necessary Azure subscription.
For a subscription to be displayed in the list of available subscriptions, it must be created in Microsoft Azure and associated with the Microsoft Entra tenant to which the specified service account belongs.
- From the Region drop-down list, select an Azure region.
- Click File Share and select a file share in the Choose file share window.
Note |
Data transfer to a new location may result in additional costs and may take more time to complete. |