This guide is for customers who continue to use the original Veeam Data Cloud platform for Microsoft Azure until migration to the new unified experience platform is complete. If you use Veeam Data Cloud for Microsoft Azure in the unified experience platform, click here to go to the correct user guide.
Step 4. Specify Restore Settings
This step is available only if you have selected the Restore to a new location, or with different settings option at the Account & Restore Mode step of the wizard.
At the Settings step of the wizard, you can specify the following:
Note |
If you restore multiple databases, the SQL server settings you specify will apply to all databases in the restore scope. |
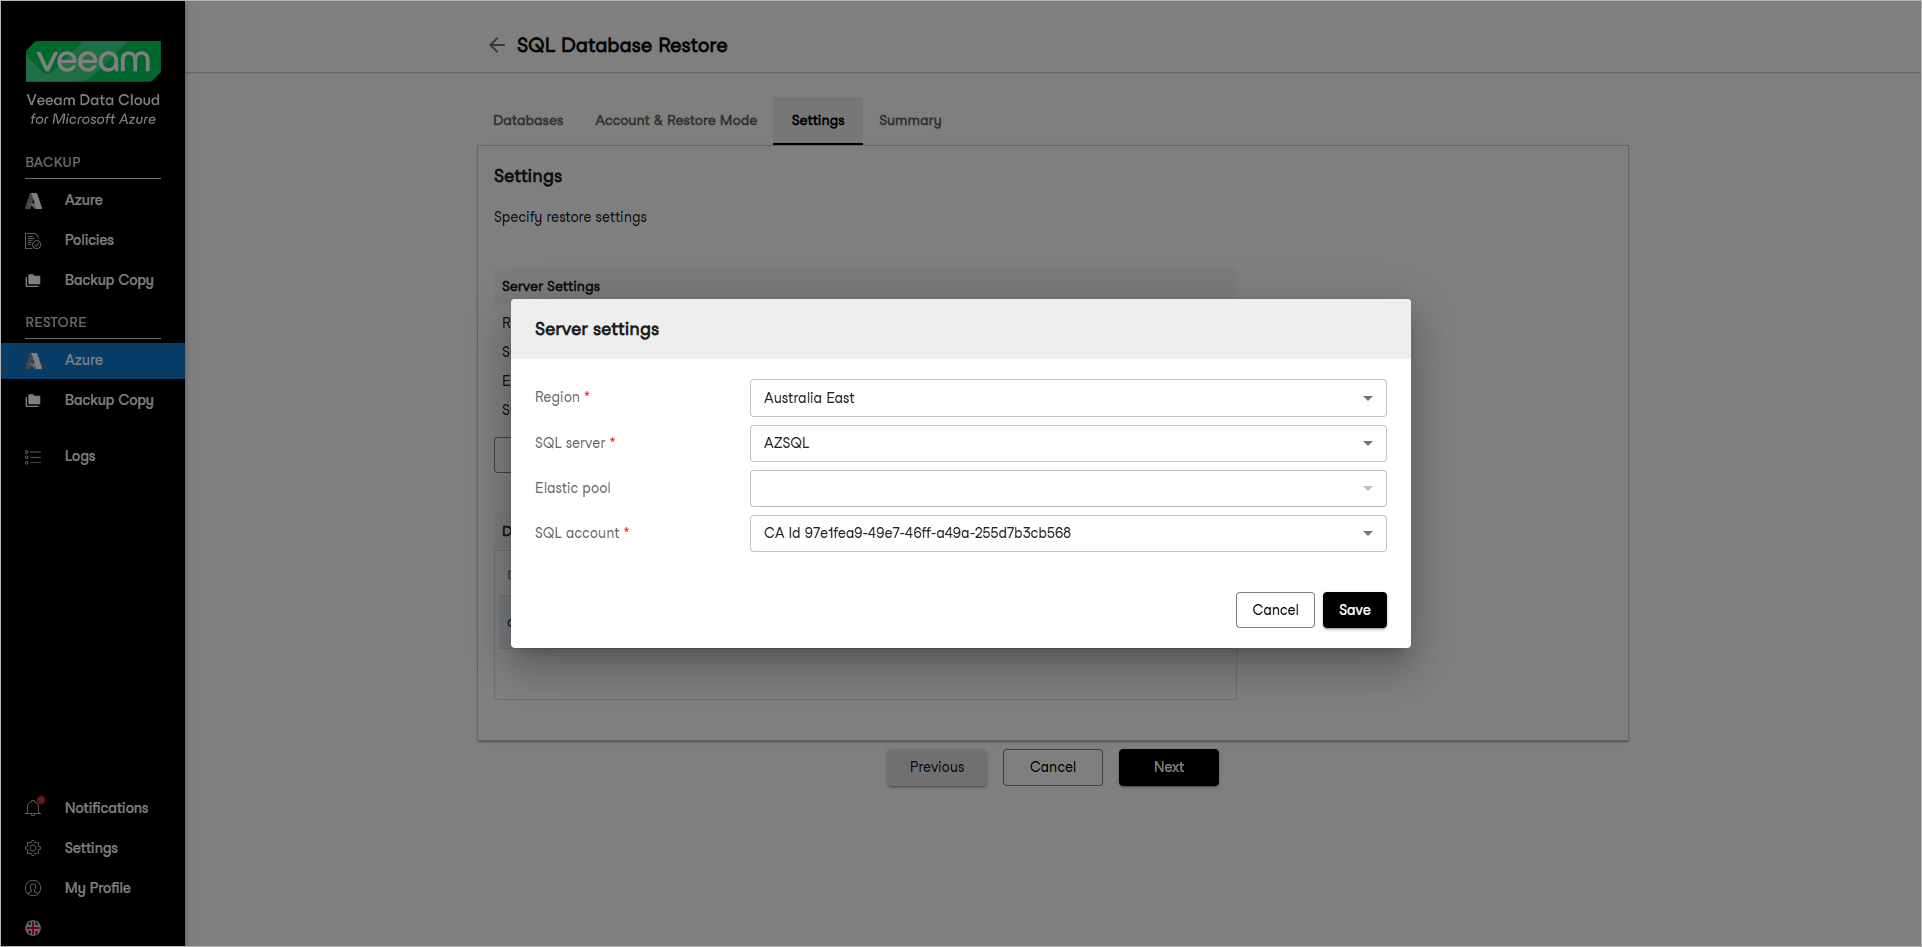
Specifying SQL Server Settings
To specify settings for the target SQL server that will host the restored database, do the following:
- From the SQL Server list, select a target SQL server.
- Click Select SQL Account and in the Select SQL Account window, choose an account that will be used to authenticate against the target SQL Server.
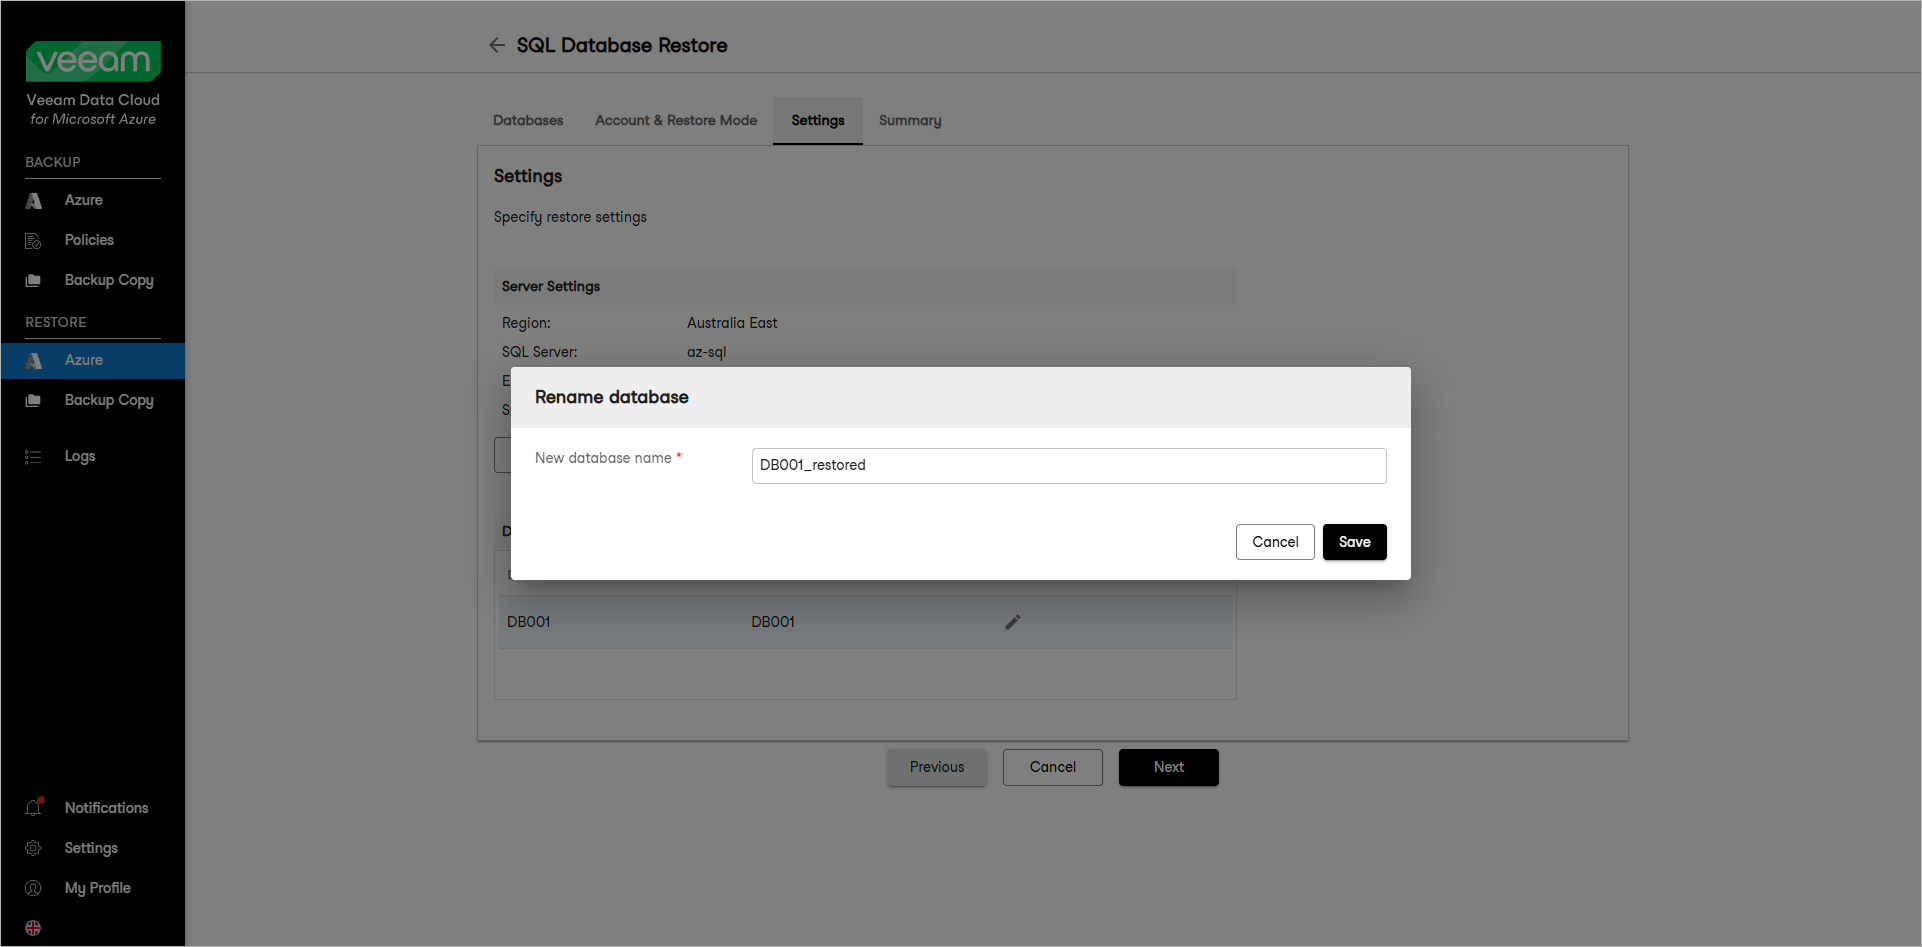
To specify a new name for each Azure SQL database you want to restore, do the following:
- In the Database Settings section, select a database and click Edit.
- In the Database Settings window, in the Instance field, specify a new name for the database.
- After you specify a new name for the restored Azure SQL database, click Save.