This is an archive version of the document. To get the most up-to-date information, see the current version.
Creating Applications
When you create a new Azure AD application, Veeam Backup for Microsoft Office 365 automatically registers this application in Microsoft Azure Active Directory of your Office 365 organization. After you create an application, Veeam Backup for Microsoft Office 365 automatically adds this application to the backup configuration. Each added application helps you reduce throttling during a backup of Microsoft SharePoint and OneDrive for Business data. For more information about Azure AD applications, see this Microsoft article.
To create Azure AD applications and add them to the backup configuration, do the following:
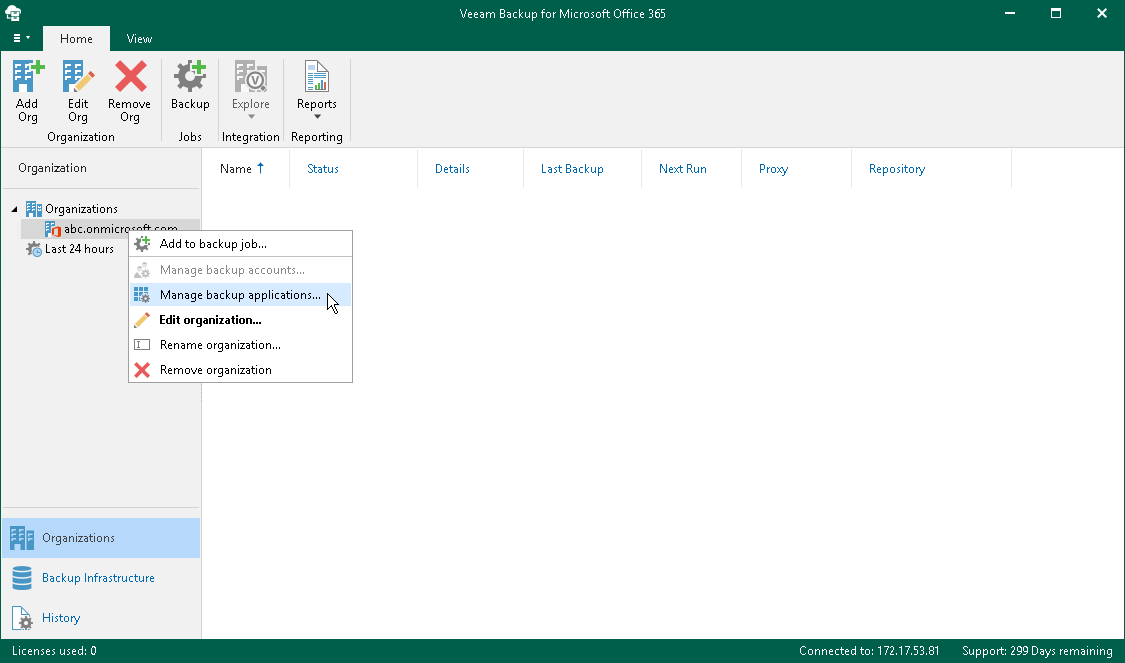
- Open the Organizations view.
- In the inventory pane, right-click a Microsoft Office 365 organization with enabled security defaults and select Manage backup applications.
Mind that the Manage backup applications option is available only for organizations added using modern app-only authentication. For organizations added using either basic authentication or modern authentication with legacy protocols allowed, you use the Manage backup accounts option. For more information, see Adding Accounts.
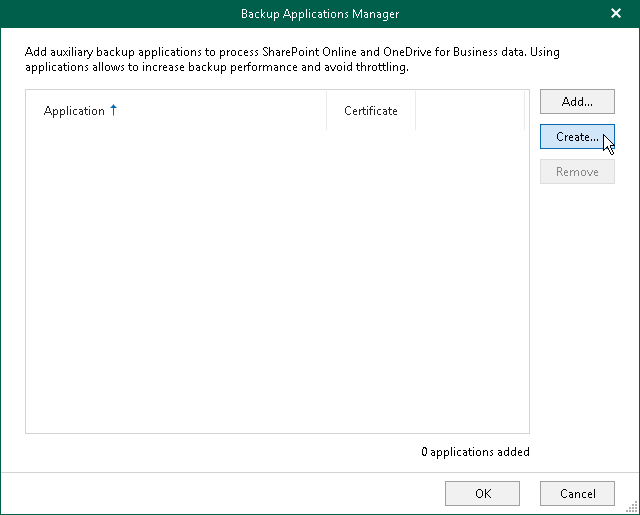
- In the Backup Applications Manager window, click Create.
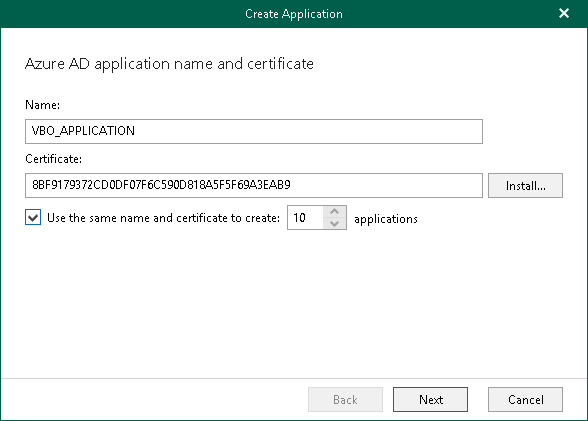
- In the Create Application window, enter a name that you want to use for the Azure AD application and choose an SSL certificate for secure communications between Veeam Backup for Microsoft Office 365 and your application. For more information on how to install a certificate, see SSL Certificates.
Veeam Backup for Microsoft Office 365 will automatically register the specified certificate in your Microsoft Azure Active Directory and assign this certificate to the Azure AD application. In addition, Veeam Backup for Microsoft Office 365 automatically grants the Sites.FullControl.All permission to the application.
If you want to create more than one Azure AD application, select the Use the same name and certificate to create N applications check box and specify how many applications Veeam Backup for Microsoft Office 365 must create. Applications may have the same name, however, each application always has a unique identification number. You can create maximum 100 applications per wizard session. If you need to create more than 100 applications, you can click Create and repeat the steps.
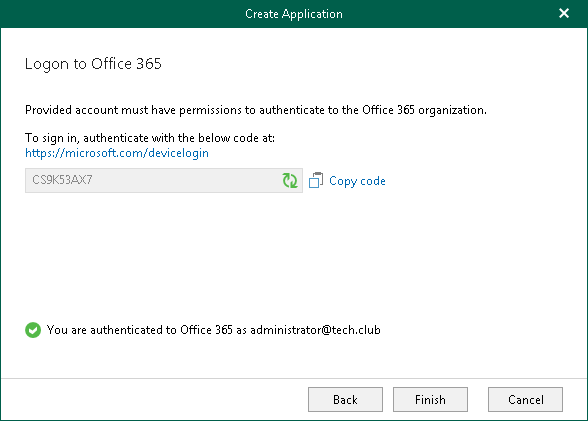
- In the Create Application window, click Copy code to copy an authentication code. Mind that a code is valid for 15 minutes.
You can click Refresh to request a new code from Microsoft.
- Click the link to the Microsoft portal.
- On the Microsoft Azure device logon page, paste the code that you have copied and sign in to Azure.
Make sure to sign in with the user account that has the Global Administrator role. For more information about this role, see this Microsoft article.
- Return to the Create Application window and click Finish.