 This is an archive version of the document. To get the most up-to-date information, see the current version.
Installing and Removing License
By default, Veeam Backup for Microsoft Azure 3.0 comes with a Free license. To unlock the full functionality, you must install a Bring Your Own License.
Installing License
Important |
If your backup appliance is connected to a standalone Veeam Backup & Replication server, you can manage the license only using the Veeam Backup & Replication console. For more information, see Integration with Veeam Backup for Microsoft Azure User Guide. |
To install or update a license on a VM that runs Veeam Backup for Microsoft Azure, do the following:
- Switch to the Configuration page.
- Navigate to Licensing > License Info.
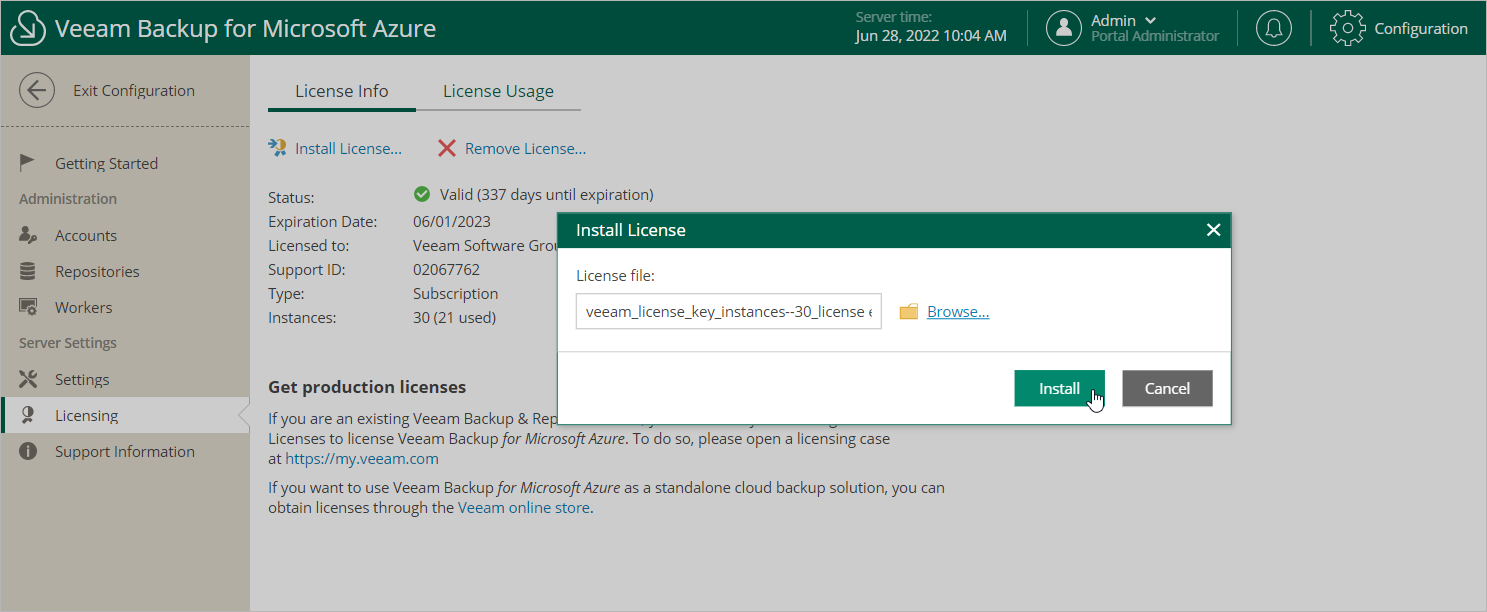
- Click Install License.
- In the Install License window, click Browse to browse to a license file, and then click Install.
Removing BYOL License
Important |
If your backup appliance is connected to a standalone Veeam Backup & Replication server and has the BYOL edition installed, you can remove the license and switch to the Free edition only using the Veeam Backup & Replication console. |
To remove a BYOL license installed on the backup appliance if you no longer need it, do the following:
- Switch to the Configuration page.
- Navigate to Licensing > License Info.
- Click Remove License.
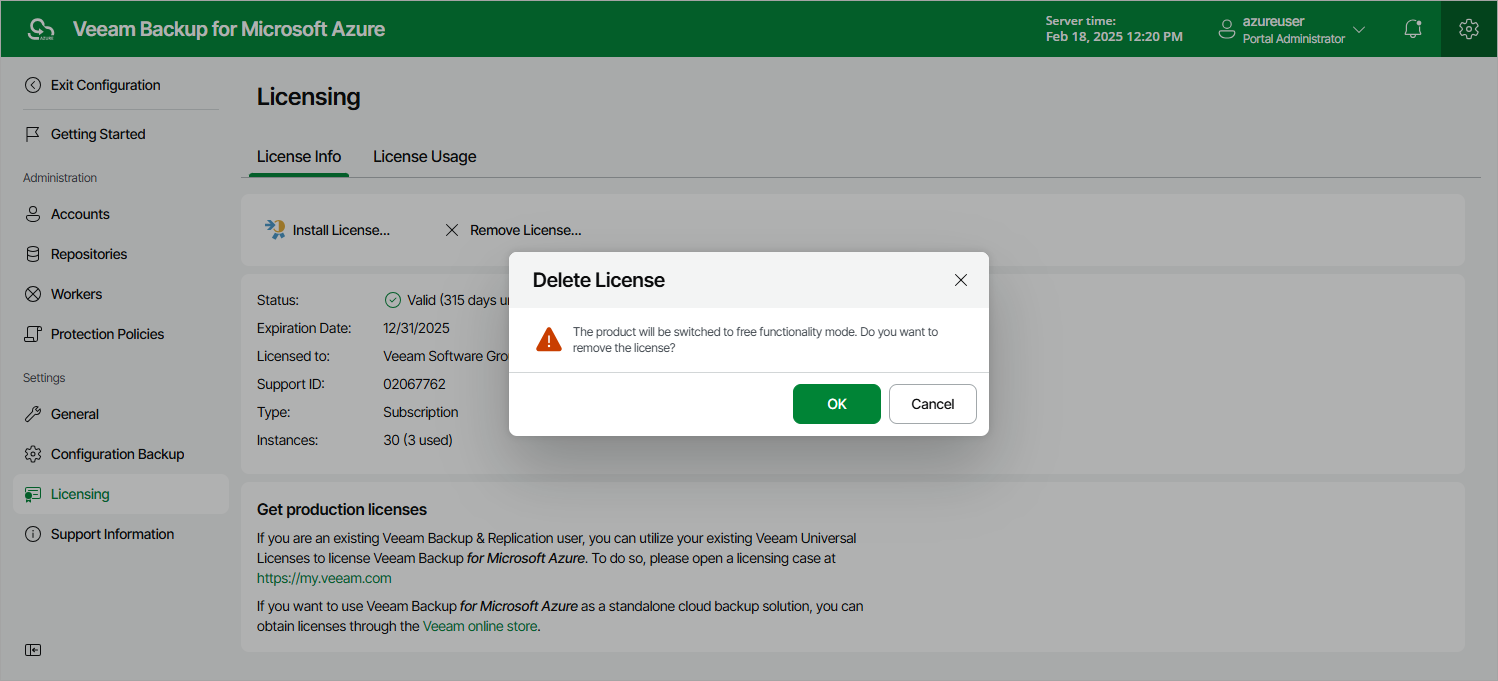
After you remove a license, Veeam Backup for Microsoft Azure automatically switches back to the Free edition. In this case, according to the FIFO (first-in first-out) queue, only the first 10 instances registered in the configuration database remain protected. You can revoke license units from these instances as described in the Revoking License Units.