 This is an archive version of the document. To get the most up-to-date information, see the current version.
Install AHV Backup Proxy
After you log in to the web console of AHV Backup Proxy, the installation wizard will be launched. Go through steps of the wizard:
- At the Veeam Backup for Nutanix AHV wizard, click Install to start the installation wizard.

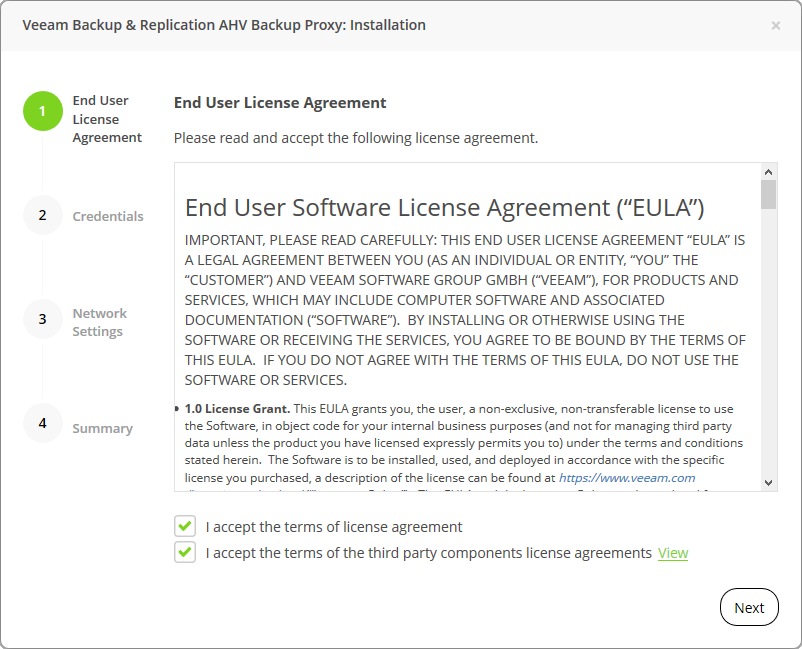
- At the End User License Agreement step of the wizard, you must accept the license agreement for Veeam and 3rd party components that Veeam incorporates. If you do not accept the license agreement, you will not be able to pass to next step of the setup wizard.
- Read the license agreement.
To view the license agreement for 3rd party components, click View.
- Select the I accept the terms of the Veeam license agreement check box.
- Select the I accept the terms of the third party components license agreements check box.
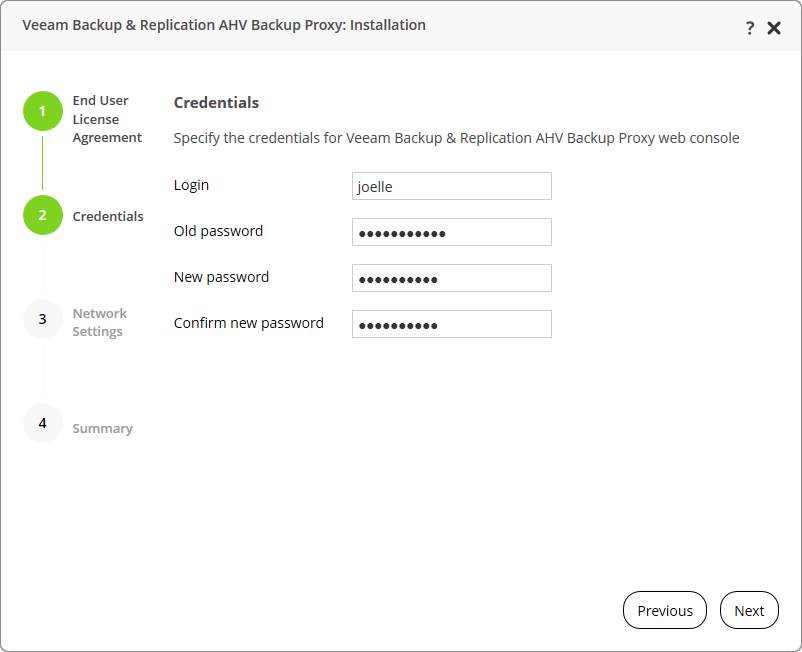
- At the Credentials step of the wizard, change the default password for the admin user.
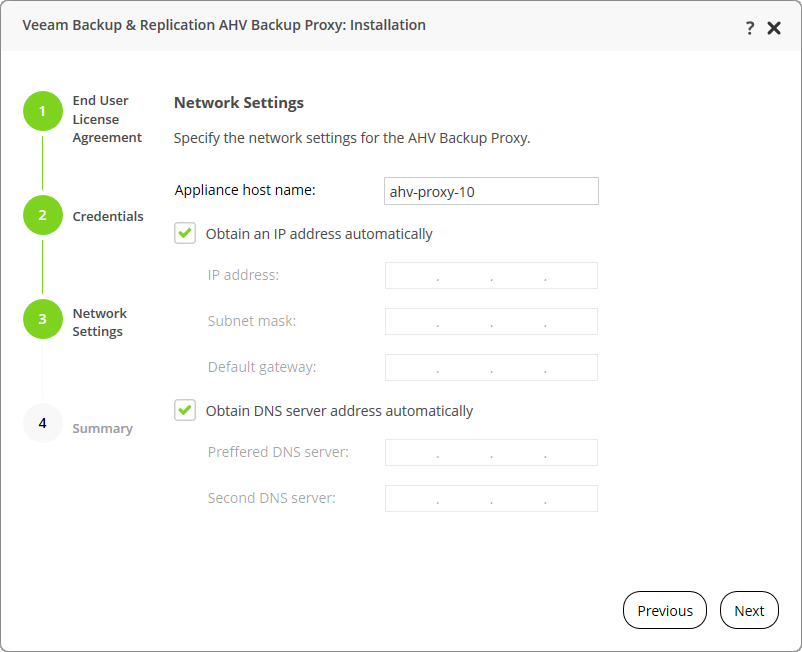
- At the Network Settings step of the wizard, specify the AHV Backup Proxy hostname and network settings or select the Obtain an IP address automatically check box.
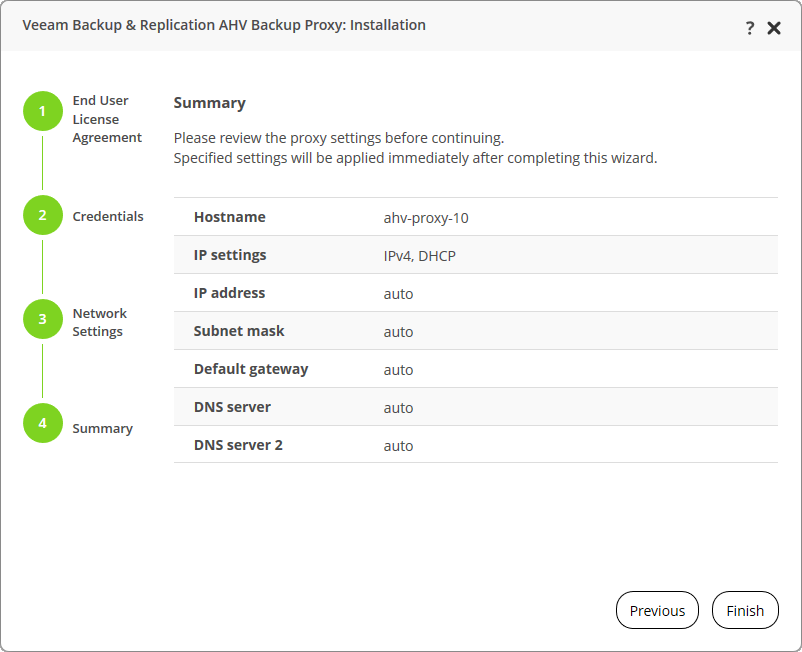
- At the Summary step of the wizard, review the appliance settings and click Finish.
- After finishing the wizard, you will be redirected to the welcome screen of AHV Backup Proxy. Specify new credentials and log in to the web console of AHV Backup Proxy.
What To Do Next
After you install AHV Backup Proxy, you must add the add the AHV Cluster to the AHV Backup Proxy infrastructure.