 This is an archive version of the document. To get the most up-to-date information, see the current version.
Log in to AHV Backup Proxy Web Console
To log in to the web console of AHV Backup Proxy, do the following.
- From the list of virtual machines, select the VM for the proxy appliance.
- On the main menu of Nutanix Prism web console, click Home and select VM.
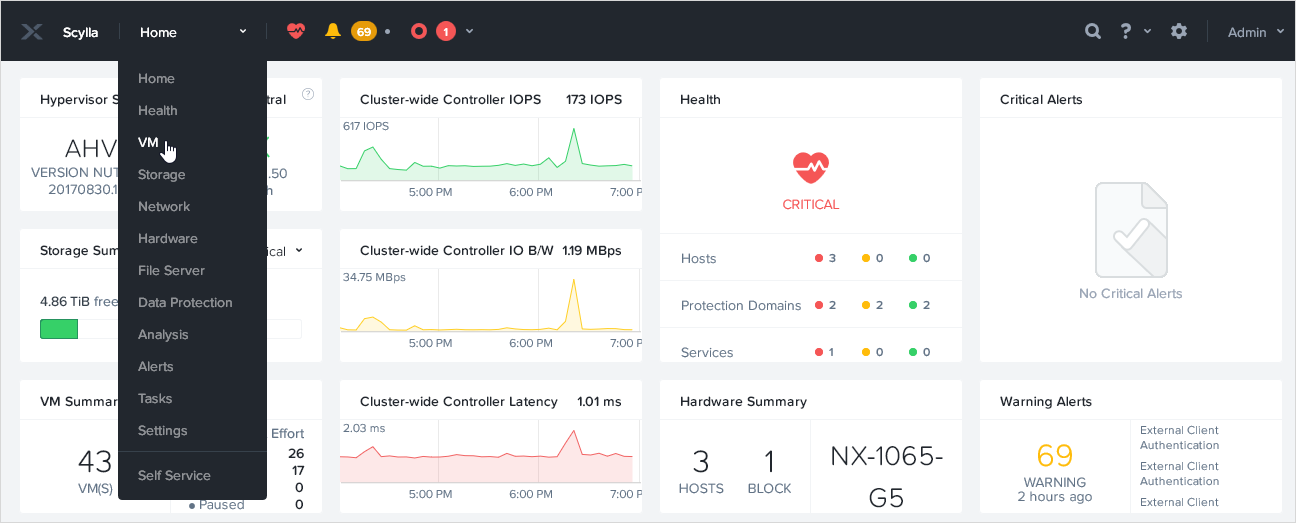
- Switch to the Table view.
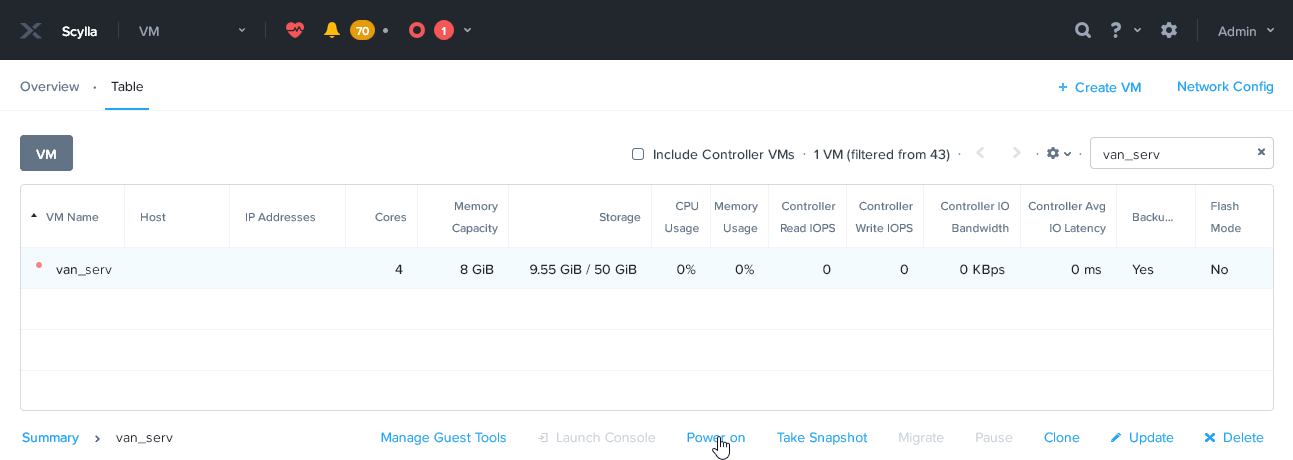
- Click the VM with the image disk of Veeam Backup for Nutanix AHV and click Power on on the toolbar.
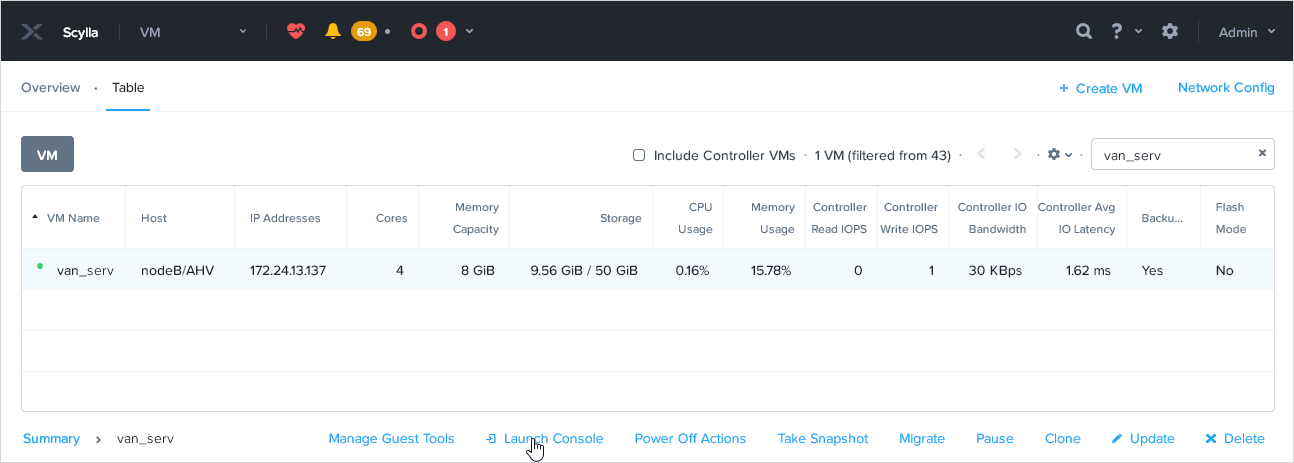
- After the VM is powered on, click Launch Console on the toolbar.
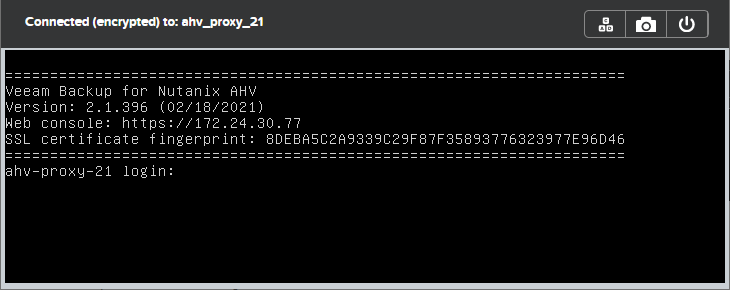
- On the VM console, you will see the URL address. Use a web browser to go to the displayed address.
If the URL address of the web console is not displayed, wait 10 seconds and press ENTER.
If your network doesn't have a DHCP server, you must set a static IP address on the VM. To set a static IP address, do the following.
- Log in to the VM console (login: veeam; password: veeam).
- Open the interface settings with a text editor.
sudo nano /etc/network/interfaces |
- In the opened file, find the following text.
auto eth0 iface eth0 inet dhcp |
Assign a static IP address and specify the netmask and gateway.
auto eth0 iface eth0 inet static address <IP_address> netmask <netmask> gateway <gateway> |
- Save the changes and restart the network and the Veeam service.
sudo service networking restart sudo service VeeamBackupAgent restart |
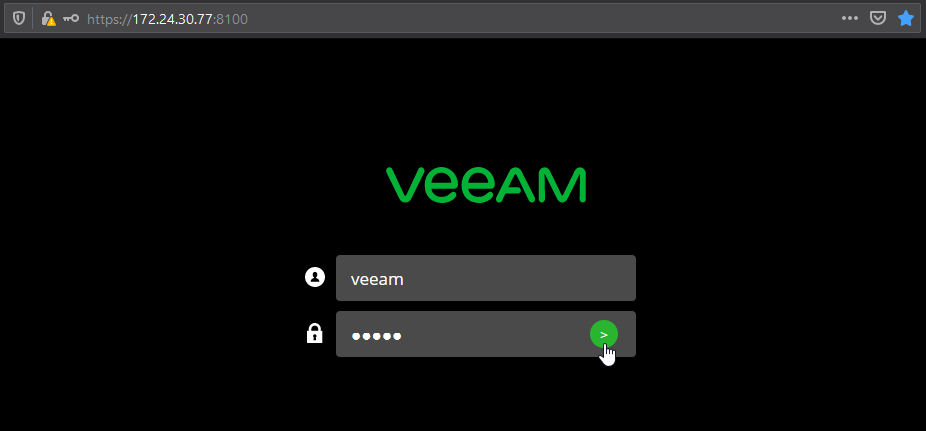
- To log in to the web console of AHV Backup Proxy, open https://<static_IP_address>:8100 in a web browser.
- At the welcome screen, enter default credentials (login: veeam; password: veeam) to log in to the web console.
What To Do Next
After you log in to the AHV Backup Proxy web console, you must install AHV Backup Proxy.