This is an archive version of the document. To get the most up-to-date information, see the current version.
Step 3. Configure Mapping Settings
At the Disk Mapping step of the wizard, configure VM disk mapping settings.
- Click the Browse button and select a VM to which you want to attach the restored disk.
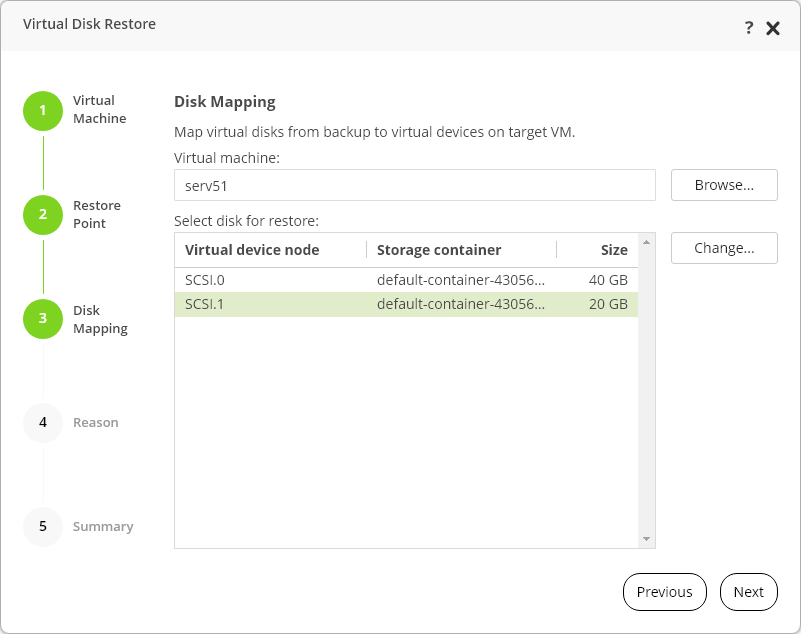
Note |
You cannot select disks which were backed up within a Volume Group. |
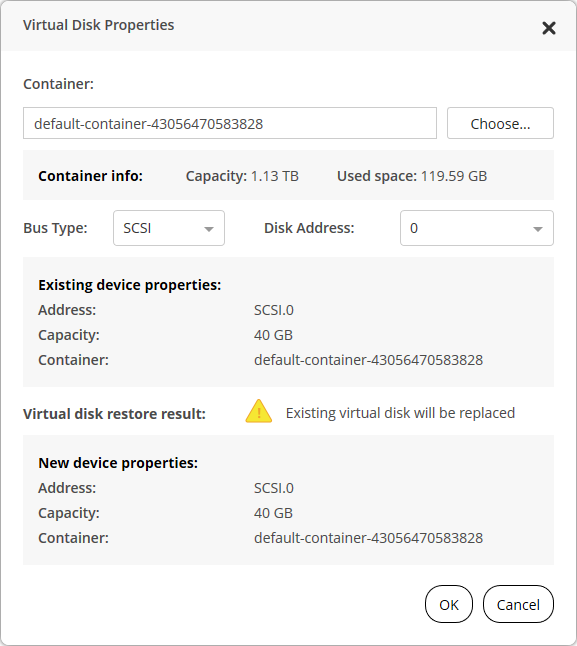
- [Optional] If you want to change the target container, disk address or the bus type, do the following:
- Select the disk from the Virtual device node column and click the Change button.
- At the Virtual Disk Properties window, click Choose to select another container.
- From the Bus Type drop-down list, select the bus type for the restored disk. You can select from the following options: SCSI, PCI, IDE, SATA.
- From the Disk Address list, select the disk address.
- If you select the default disk address, after successful restore process, the existing virtual disk will be replaced.
- If you select a non-default disk address, the restored virtual disk will be added to the VM as a new disk.
- Click OK.