This is an archive version of the document. To get the most up-to-date information, see the current version.
Step 3. Select Host
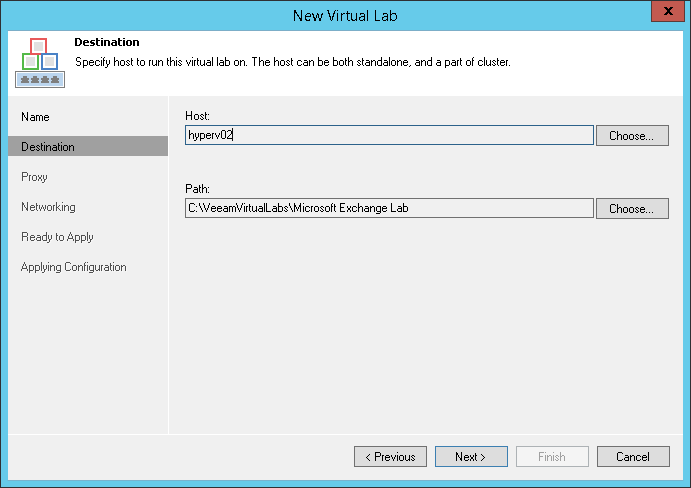
At the Destination step of the wizard, select a Microsoft Hyper-V host on which the virtual lab must be created.
- Click Choose next to the Host field to select a Microsoft Hyper-V host. You can select a standalone Hyper-V host or host being a part of the Hyper-V cluster.
- For every new virtual lab, Veeam Backup & Replication creates a dedicated folder on the host, by default, C:\VeeamVirtualLabs\. To specify another folder, click Choose next to the Path field and select the necessary folder.
To the virtual lab folder, Veeam Backup & Replication copies files of the proxy appliance. The folder is also used as a mount point for VMs started in the virtual lab. In this folder, Veeam Backup & Replication “publishes” virtual disk and configuration files of verified VMs and VMs from the application group. These files are visible to the user as having the size of original VM files.
In reality, Veeam Backup & Replication emulates the presence of VM files in the virtual lab folder. The virtual disks themselves are still located in the backup file in the backup repository and do not consume any space on the host. You can place the virtual lab folder on the system disk of the production Hyper-V host without any impact on it. For more information, see How SureBackup Works.