Personalizing Capacity Planning Widgets
To change the default settings for a Capacity Planning widget:
- Open a Capacity Planning Dashboard.
- Click the gear icon to the right of the widget name and select Personalize.
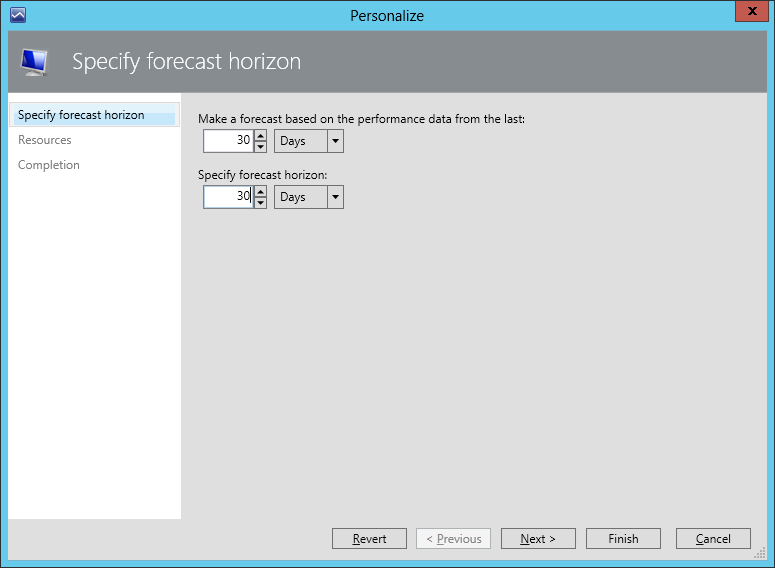
- At the Specify forecast horizon step, specify the data collection period and forecast horizon.
- The first parameter defines a date in the past starting from which historical performance data will be used to calculate the performance trend. The report analyzes historical performance data starting from this date to the current date.
- The second parameter defines the forecast period. The calculated performance utilization trend is applied to the time interval that starts from the current date to the forecast horizon date.
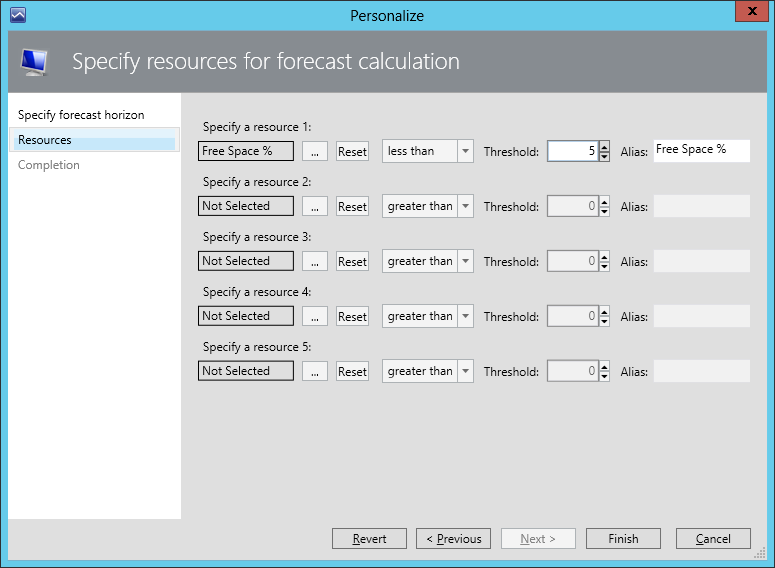
- At the Resources step, define a threshold for a performance metric.
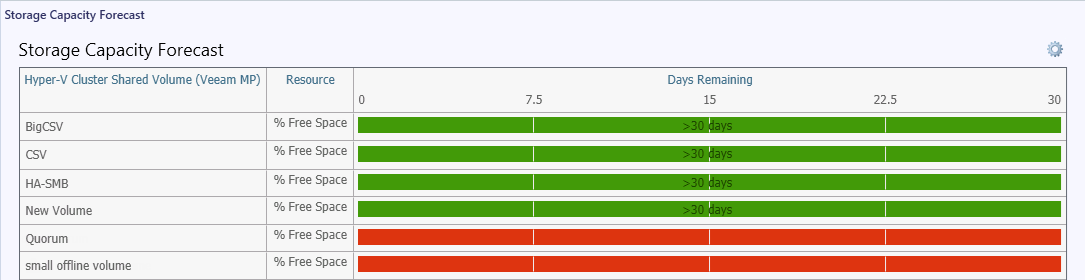
As a result, for each metric, the widget will calculate the number of days after which resource utilization threshold will be breached:
- The period remaining before a threshold is breached will be highlighted with Green.
- The period after the threshold is breached will be highlighted with Red.
For example, the screenshot below shows the Storage Capacity Forecast dashboard with the 5% threshold for the % Free Space metric.
To return back to the default widget settings, choose to personalize the widget and click Revert.