Upgrading Veeam MP for Hyper-V
To upgrade Veeam MP for Hyper-V to version 9a, you need to import new management packs and to upgrade VE Service and Veeam UI:
- Log on to the Management Server using an account with local Administrator permissions.
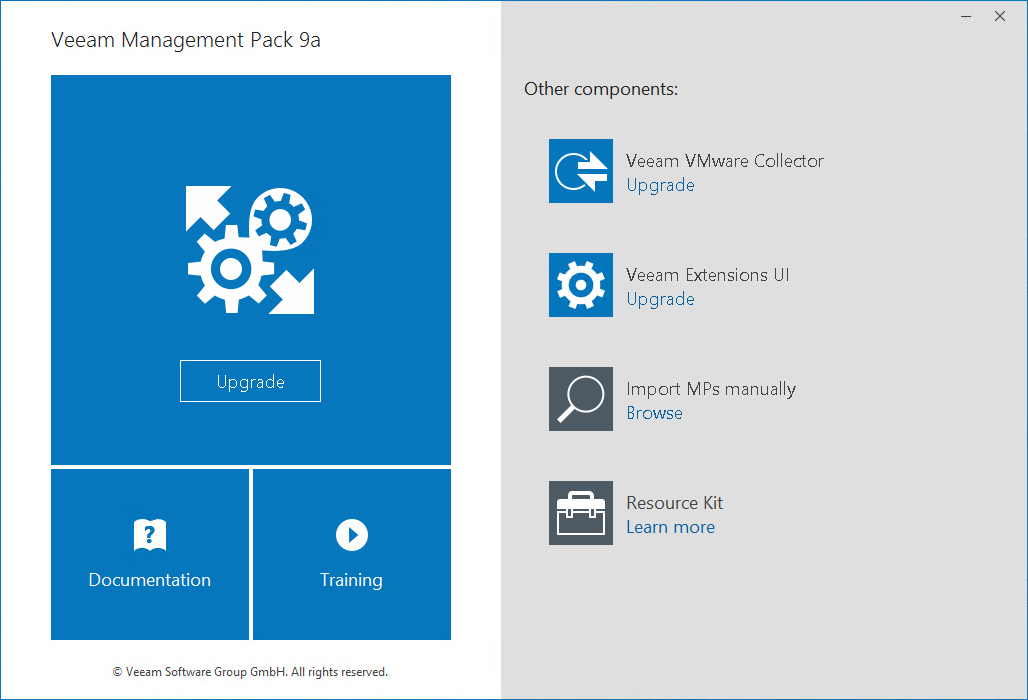
- Insert the installation disc into the CD/DVD drive or mount the installation image. The setup will open the splash screen with the installation options.
- In the Veeam Management Pack 9a section of the splash screen, click Upgrade.
- Complete the Veeam Management Pack Setup wizard.
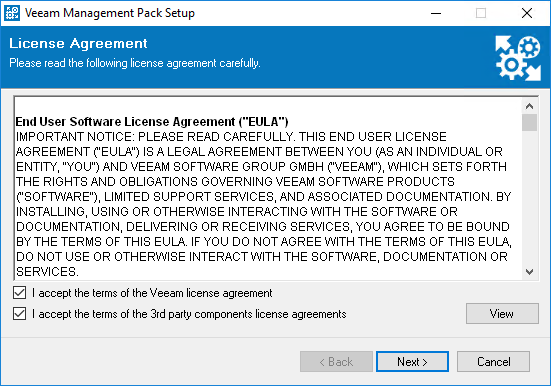
- At the License Agreement step, read and accept the license agreement. If you reject the agreement, you will not be able to continue installation.
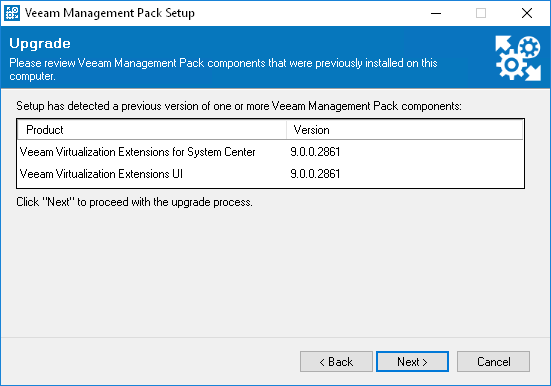
- At the Upgrade step, review the Veeam MP for Hyper-V components installed on the server.
Note |
If you are upgrading Veeam MP for Hyper-V components separately, you must first import new Veeam management packs, and then upgrade the VE Service and Veeam UI. |
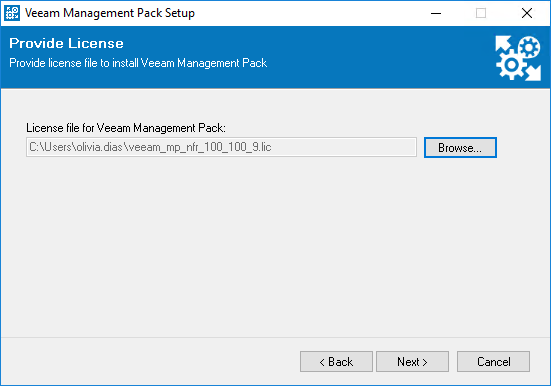
- At the Provide License step, click Browse to locate the .lic file supplied to you by Veeam. You will not be able to continue installation without providing a license.
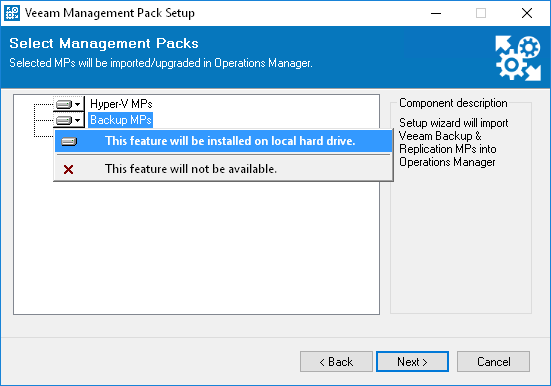
- At the Select Management Packs step, choose management packs to import.
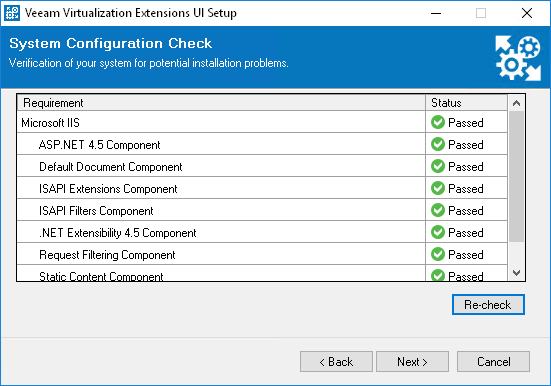
- At the System Configuration Check step, the installer checks if all prerequisite software is available on the target system.
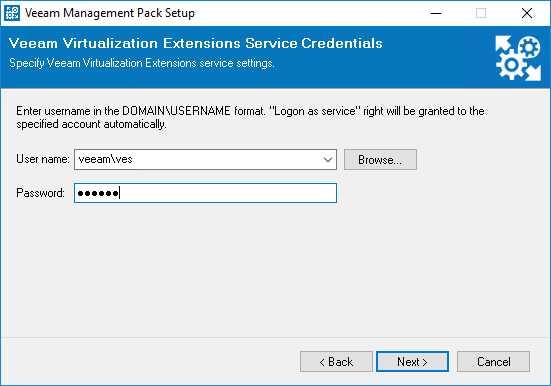
- At the Veeam Virtualization Extensions Service Credentials step, enter credentials of an account under which the VE Service will run. Use the DOMAIN\USERNAME format to specify the user name.
For more information on accounts and privileges, see Required Permissions.
- At the Ready to Install step, click Install to begin installation.