This is an archive version of the document. To get the most up-to-date information, see the current version.
Step 10. Finalize Instant VM Recovery
After the VMs have been successfully recovered, you must finalize the process. For this, test the recovered VMs and decide whether to migrate them to production environment or stop publishing.
Before migrating recovered VMs to production, you can open VM consoles in Veeam Backup & Replication or in the VMware vSphere client.
To open a VM console in Veeam Backup & Replication:
- Open the Home view.
- In the inventory pane, select the Instant Recovery node.
- In the working area, right-click a VM and select Open VM console.

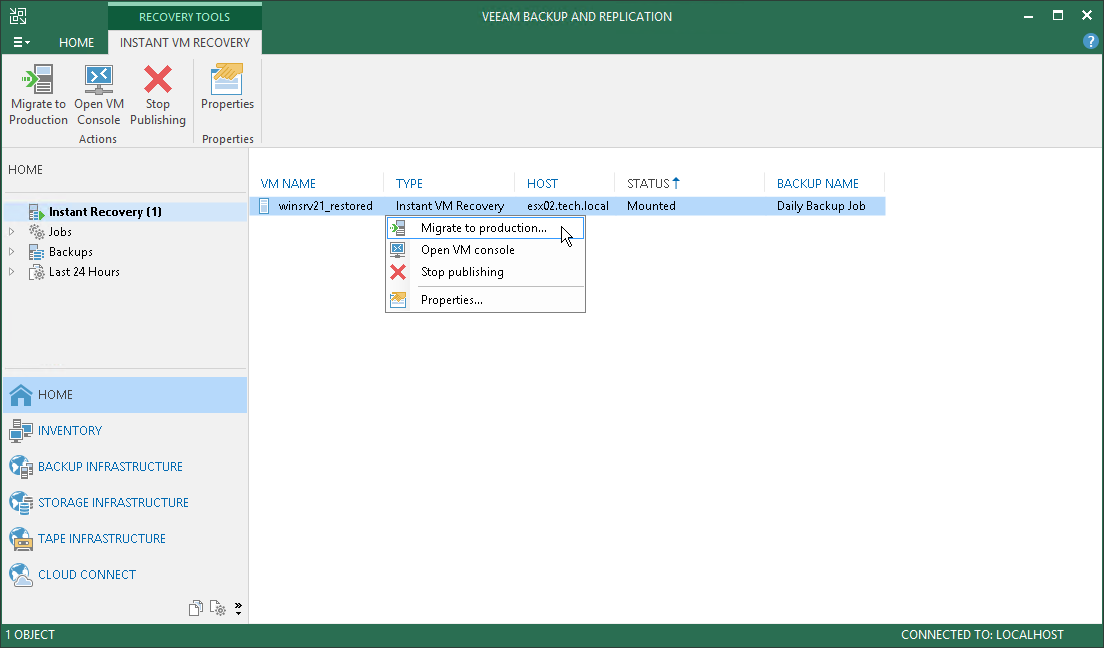
If the VMs were recovered successfully, you can migrate them to the production environment.
To migrate a recovered VM to the production environment:
- Open the Home view.
- In the inventory pane, select the Instant Recovery node.
- In the working area, right-click a VM and select Migrate to production. Veeam Backup & Replication will launch the Quick Migration wizard. For more information, see the Quick Migration section in the Veeam Backup & Replication User Guide.
During migration, Veeam Backup & Replication will restore the VM from the backup file and additionally move all changes that were made while the VM was running from the backup in the Instant Recovery mode.
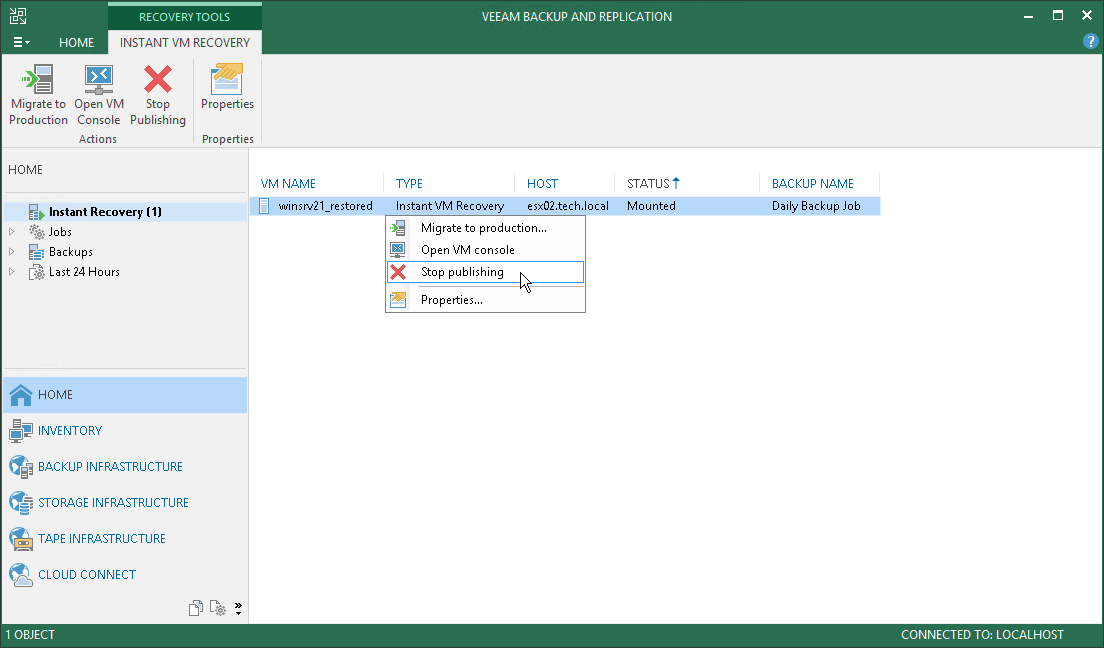
If your tests have failed, you can stop publishing the recovered VMs. This will remove the recovered VMs from the host that you selected as the destination for recovery. Note that all changes made in the recovered VMs will be lost.
To stop publishing a recovered VM:
- Open the Home view.
- In the inventory pane, select the Instant Recovery node.
- In the working area, right-click a VM and select Stop publishing.