This is an archive version of the document. To get the most up-to-date information, see the current version.
Step 2. Specify Job Name and Description
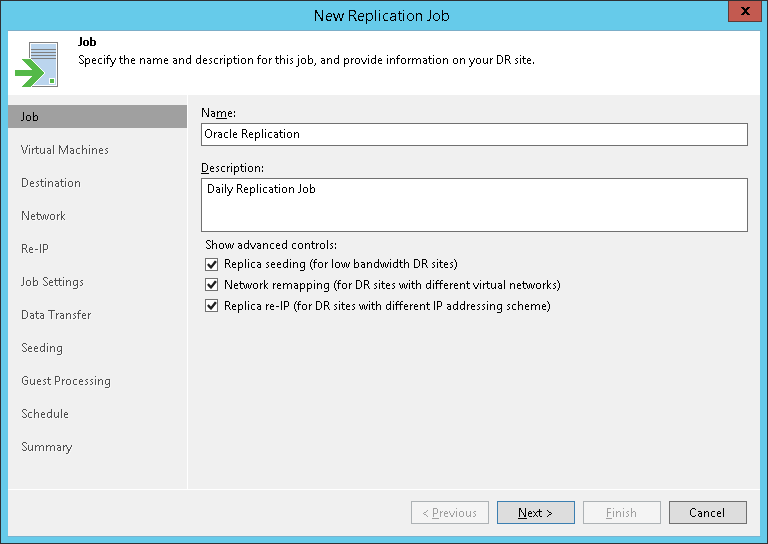
At the Job step of the wizard, specify a job name and description, and configure advanced settings for the replication job.
- In the Name field, enter a name for the replication job you create.
- In the Description field, provide a description for future reference. The default description contains information about the user who created a job, date and time when the job was created.
- If you plan to replicate VMs to a disaster recovery (DR) site, you can use a number of advanced settings for the job:
- Select the Replica seeding (for low bandwidth DR sites) check box to enable the Seeding step in the wizard. Replica seeding can be used if you plan to replicate VMs to a remote site and want to reduce the amount of traffic sent over the network during the first run of the replication job.
- Select the Network remapping (for DR sites with different virtual networks) check box to enable the Network step in the wizard. If the network in the DR site does not match the production network, you can resolve this mismatch by creating a network mapping table.
- Select the Replica re-IP (for DR sites with different IP addressing scheme) check box to enable the Re-IP step in the wizard. Re-IP possibilities can be used to automate reconfiguration of replica IP addresses for Microsoft Windows VMs if IP schemes in the DR and production sites do not match.