
On the SNMP tab, you can specify trap notification settings for sending notifications about alarms.
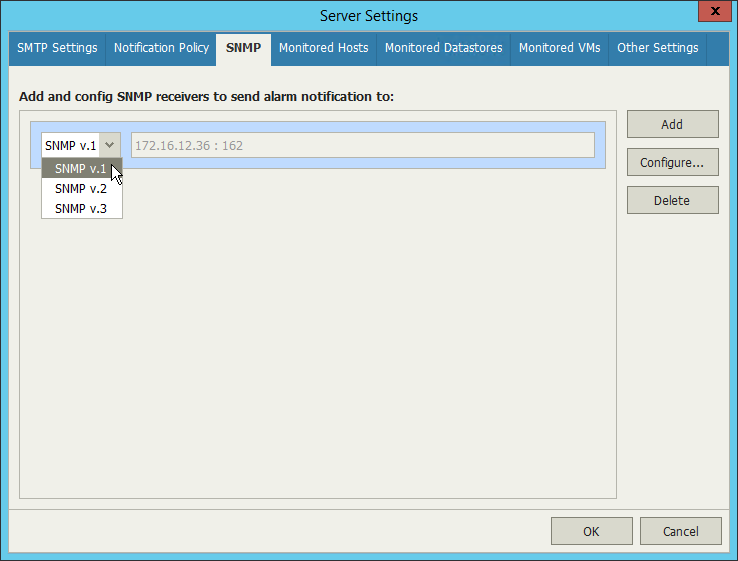
When SNMP trap notifications are enabled, Veeam ONE Monitor acts as an agent. It generates trap messages when an alarm is triggered, and sends them to SNMP receivers. Veeam ONE supports SNMP versions 1, 2 and 3.
To enable SNMP trap notifications:
- On the SNMP tab, click Add.
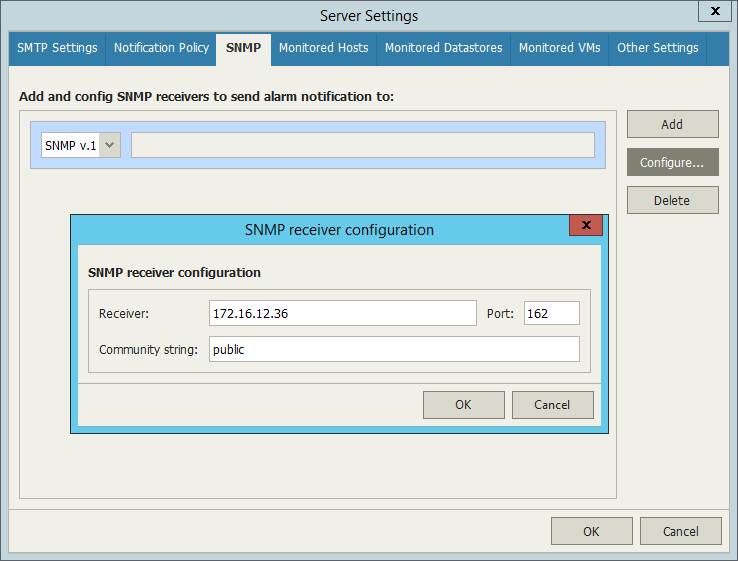
- Make sure the new field is selected and click Configure.
- In the SNMP receiver configuration window, in the Receiver field, specify DNS name or IP address of the SNMP receiver.
- In the Port field, specify the port number to be used.
- In the Community String field, enter the community identifier.
- Click OK to apply the specified settings.
- From the list of SNMP receivers, choose the version of the SNMP protocol to be used.
To add a new receiver to the list, click Add Receiver and perform steps 1-6 described above.
To remove a receiver from the list, select the check box to the right, and click Delete.
Next, you should configure SNMP service properties on the trap recipients’ computers:
- Install a standard Microsoft SNMP agent from the Windows distribution.
- From the Start menu, select Control Panel > Administrative Tools > Services.
- Double-click SNMP Service to open the SNMP Service Properties window.
- Go to the Traps tab.
- Add the public string to the Community name list and a necessary host name to the Trap destinations list.
- Go to the Security tab.
- Make sure the Send authentication trap option is selected.
- Add the public string to the Accepted community names list.
- Select the Accept SNMP packets from any hosts option.
- Click Apply and then OK to accept changes.
For detailed information on how to configure SNMP settings, see section SNMP Traps in Veeam ONE Working with Alarms Guide.
Send feedback | Updated on 3/25/2016
