Editing Microsoft Hyper-V Recovery Locations
For each Microsoft Hyper-V recovery location, you can modify settings configured while creating the location:
- Switch to the Administration page.
- Navigate to Recovery Locations.
- Select the location and click Edit.
- Complete the Edit Recovery Location wizard:
- To change the name and description of the location, follow the instructions provided in section Adding Microsoft Hyper-V Recovery Locations (step 1).
- To change the connection of the selected cluster, follow the instructions provided in section Adding Microsoft Hyper-V Recovery Locations (step 3).
- To change the specified recovery options, follow the instructions provided in section Adding Microsoft Hyper-V Recovery Locations (step 4).
- To change the specified SCVMM server, cluster and target CSV disks, follow the instructions provided in section Adding Microsoft Hyper-V Recovery Locations (step 5).
- To configure network mapping, follow the instructions provided in section Adding Microsoft Hyper-V Recovery Locations (step 6).
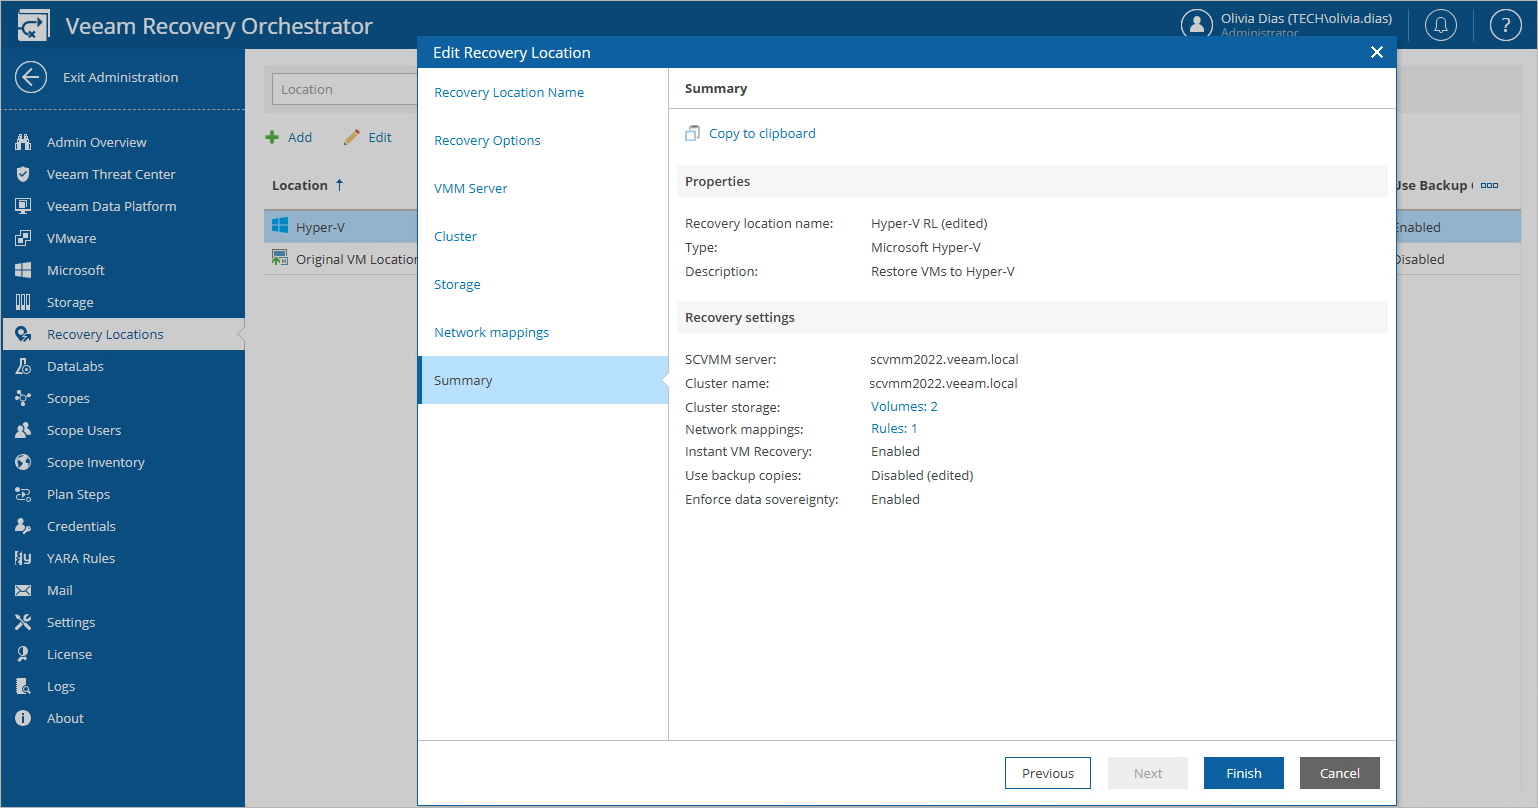
- At the Summary step of the wizard, review configuration information and click Finish to confirm the changes.