 This is an archive version of the document. To get the most up-to-date information, see the current version.
Configuring Lab Groups
If required, you can customize lab group settings, in much the same way as editing an orchestration plan.
- Select the newly created lab group.
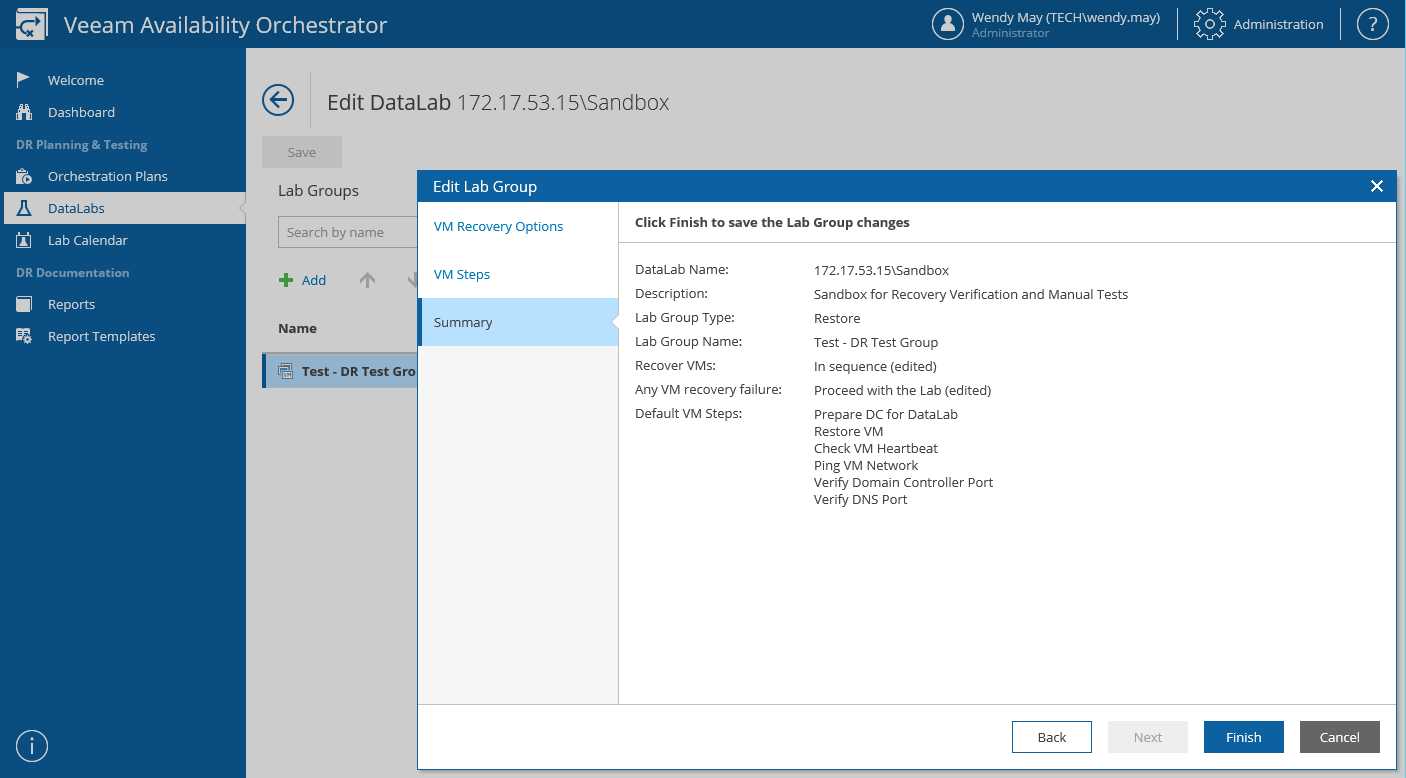
- To customize VM recovery options, click Edit.
In the Edit Lab Group wizard, specify the required settings following the instructions provided in both section Creating Failover Plans and section Creating Restore Plans, and click Finish.
- To define the order in which VMs will be started, use the Up and Down arrows in the Virtual Machines column.
- To select steps performed when processing each VM, select a VM in the Virtual Machines column, and follow the instruction provided in section Configuring Steps.
|
If the VAO UI displays the Source missing label next to a VM, this means that the source VM was deleted but there is at least one replica or backup found for the VM. In this case, you can delete the VM — to do that, select the VM and click Remove. Note that the Remove action is not available by default. |
- To modify parameter settings for each step, select a step in the Steps column, and follow the instruction provided in section Configuring Step Parameters.
- To delete the lab group, click Delete.
- To save changes made to the lab group settings, click Save.
|
If some VMs in a lab group are mission critical, mark each of them as Critical. If processing of such a VM fails, the test will be halted.
This will influence VM recovery options configured for the whole group. For more information on overriding VM recovery options, see Overriding VM Recovery and Protection Settings. |