Booting from Veeam Recovery Media
To boot your machine from Veeam Recovery Media:
- Attach the media with the recovery image to your machine:
- [For CD/DVD/BD] Insert the media with the recovery image into the machine drive.
- [For removable storage device] Attach the removable storage device with the recovery image to your machine.
- [For virtual drives/devices] Mount CD/DVD drive or removable storage device with the recovery image to your virtual machine.
- Set the device that contains the recovery image as the primary boot source on the machine.
- Boot the machine.
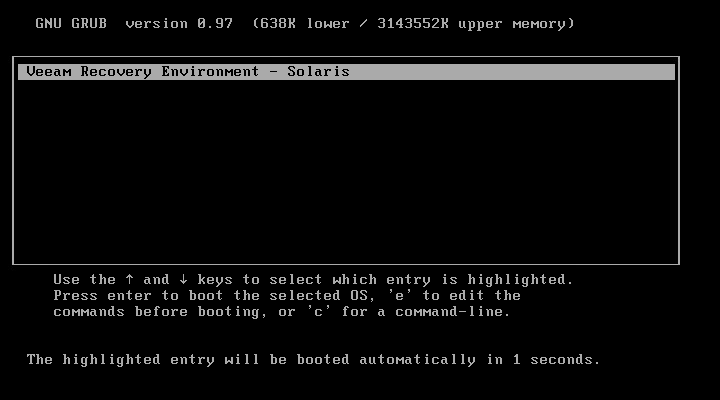
- On startup, the system lists all recovery images available on the boot source device and highlights the one from which Veeam Agent will automatically boot after a short pause.
Tip |
If there is more than one recovery image in the list, you can use the [Up] and [Down] arrow keys to select the image from which you want to boot the system. |
- Wait for Veeam Agent to load files from Veeam Recovery Media.
Note |
When the machine boots, the system automatically configures network interfaces using DHCP. In case DHCP server is not available, you need to configure the network settings manually. For details, see Configure Network Settings. For more information on configuring network settings using command line, see Oracle Solaris documentation. |
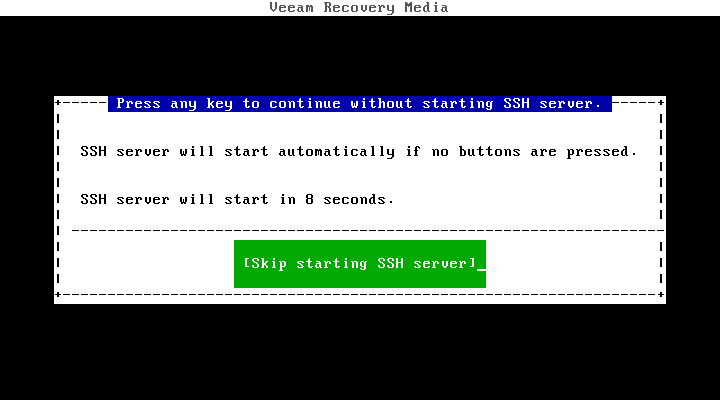
- After the recovery image OS has loaded, choose whether you want to start the SSH server. The SSH server allows you to connect to Veeam Recovery Media from a remote machine.
Veeam Recovery Media starts the SSH server automatically after a time-out. The default value for the time-out is 60 seconds.
If you do not want to start the SSH server, make sure that the Proceed without SSH button is selected and press [Enter]. You will proceed immediately to Step 9.
To override the default time-out and start the SSH server immediately, select the Start SSH now button using the [Tab] key and press [Enter].
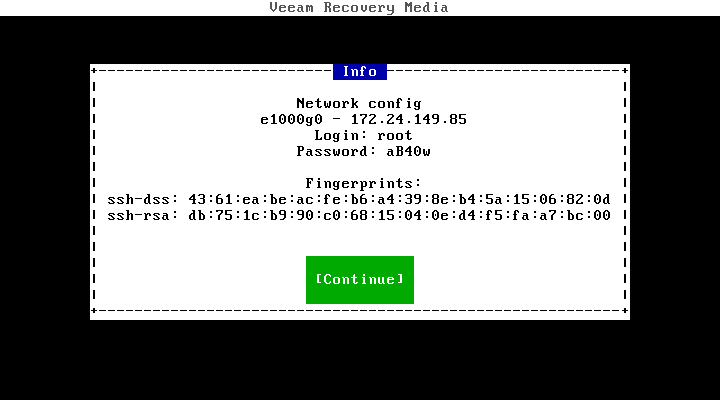
- After the SSH server has started, review settings to connect to Veeam Recovery Media and press [Enter] to continue.
Veeam Recovery Media displays the following connection settings:
- IP address of the machine booted from Veeam Recovery Media.
- User name and password of the account for connecting to the machine.
- Fingerprints of the machine booted from Veeam Recovery Media.
Note |
To make sure that the user interface of bare metal recovery is rendered correctly, we recommend using an SSH connection to the machine that you recover. The images in this section of the guide demonstrate the steps of the bare metal recovery procedure performed through an SSH client. |
- In SSH client, run the veeam or veeamconfig recoveryui command to initiate the recovery wizard user interface.
- Accept the terms of the product license agreement and license agreements for third-party components of the product:
- Make sure that the I accept Veeam End User Software License Agreement option is highlighted and press [Space] to select the check box.
- Use the [Tab] key to move to the I accept the terms of the following 3rd party software components license agreements option and press [Space] to select the check box.
- Use the [Tab] key to move to the I agree the terms of the following required software license agreements option with the [Down] or [Tab] key and press [Space].
- Switch to the Continue button with the [Tab] key and press [Enter].

The main menu of Veeam Recovery Media offers the following options:
- Restore the entire machine — launches the Recovery wizard to perform bare metal recovery. For details, see Restoring Data with Recovery Wizard.
- Restore files — launches the File-Level Restore wizard to restore additional data. For details, see Restore Additional Files.
- Settings — contains the Configure network option that allows you to verify that the network settings have been configured correctly or to configure network adapter manually. To learn more, see Configuring Configure Network Settings.
- Stop SSH / Start SSH — allows you stop or start the SSH server.
- Exit to shell — launches Command Line Interface. Select this option if you want to run bare metal recovery using Veeam Agent commands in the terminal. To learn more, see Restoring Data in Command Line Interface.
- Reboot — restarts the machine. Select this option to finish working with Veeam Recovery Media.
- Shutdown — powers off the machine.

Note |
If you exit the Veeam Recovery Media menu, you can return to it any time by running the veeam or veeamconfig recoveryui command in the terminal. |