Step 1. Configure Network Settings
You can use the Configure Network wizard to verify network settings automatically configured during system boot or to configure the network adapter manually.
To open the Configure Network wizard, do the following:
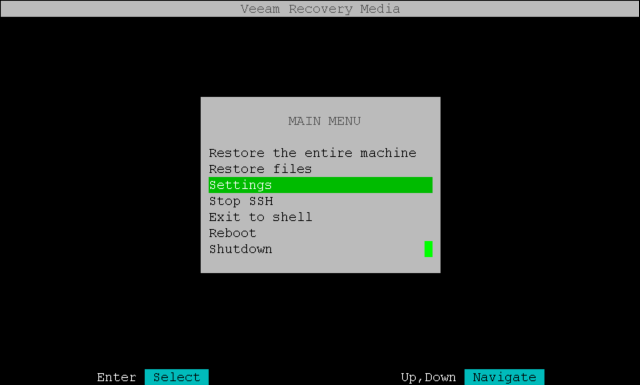
- In the main menu of Veeam Recovery Media, select Settings and press Enter.
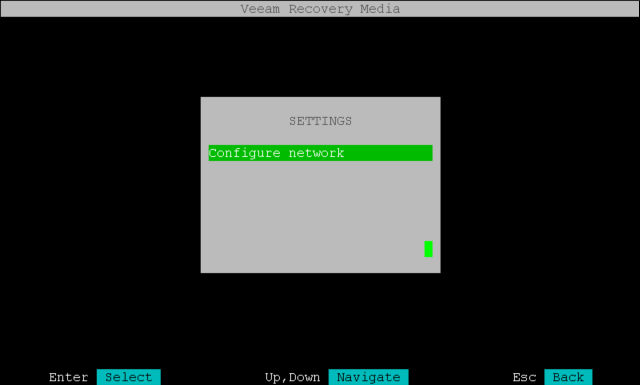
- In the Settings window, select Configure network and press Enter.
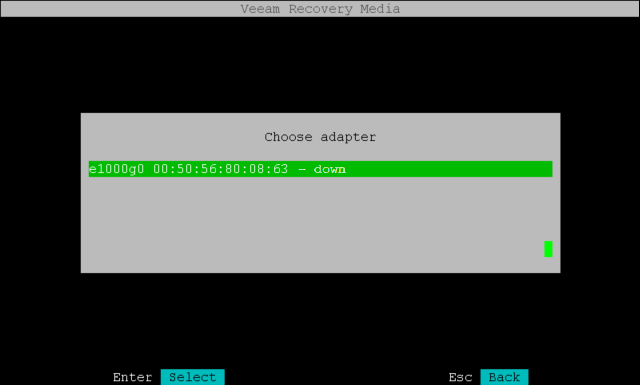
Veeam Agent displays network adapters that are available on the system.

If there is a DHCP server in your network, Veeam Agent configures network settings automatically and displays the IP address assigned to the network adapter. You can then press Esc to return to the main menu.
If network settings were not configured automatically, you can specify them manually.
To configure network settings:
- In the Choose adapter list, select the network adapter that you want to use to connect to the network shared folder or Veeam backup repository where the backup resides and press Enter.
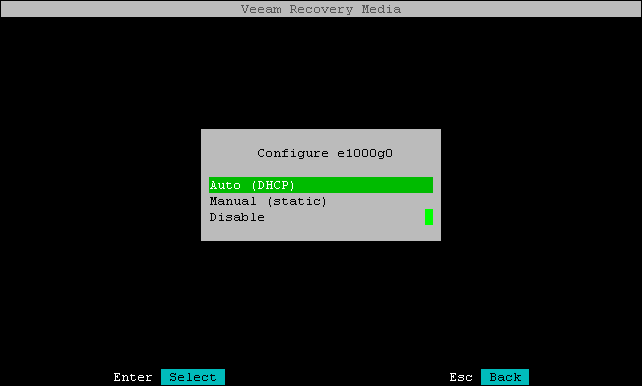
- In the Configure adapter dialog, select the Manual (static) option and press Enter.
- In the Adapter settings dialog, specify the following network settings:
- IP address
- Subnet mask
- Default gateway
- DNS server
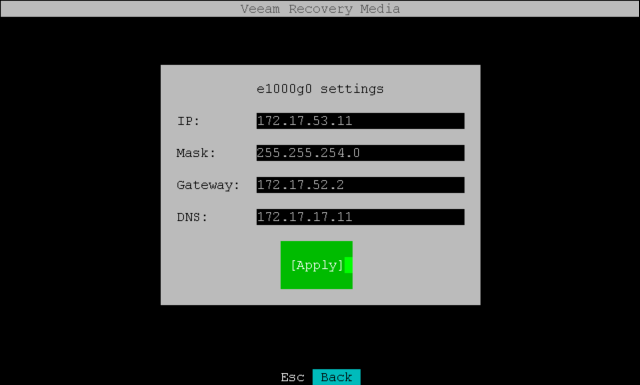
- Select Apply and press Enter.
Resetting Adapter to Auto Configuration
If there is a DHCP server in your network, you can return to automatic IP addressing:
- In the Choose adapter list, select the necessary network adapter and press Enter.
- In the Configure adapter dialog, select the Auto (DHCP) option and press Enter.
Veeam Agent will automatically configure network settings for the adapter.
To disable the selected network adapter, in the Configure adapter dialog select Disable. The Choose adapter list will display the down status of the disabled adapter.