Specifying Shared Folder Settings
The Mount shared folder step of the wizard appears if you have selected to restore data from a backup file located in a network shared folder.
|
|
|
Consider the following:
|
To mount an NFS network shared folder, do the following:
- In the Path field, specify the network shared folder name in the SERVER/DIRECTORY format: type an IP address or domain name of the server and the name of the network shared folder in which the backup file resides.
In the Options field, specify the version of the NFS protocol used by the server that hosts the shared folder, as well as any other options for the mount command — for example, enter vers=3 forcedirectio to specify the NFS version and to use forced direct I/O for the duration of the mount. You can find the full list of available options of the mount command in the Oracle Solaris documentation.
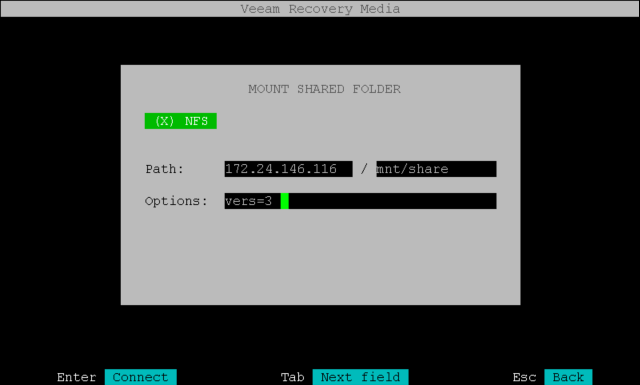
- Press Enter to connect to the network shared folder. Veeam Agent will mount the specified network shared folder to the /tmp/veeam directory of the recovery image OS file system and display the content of the network shared folder.
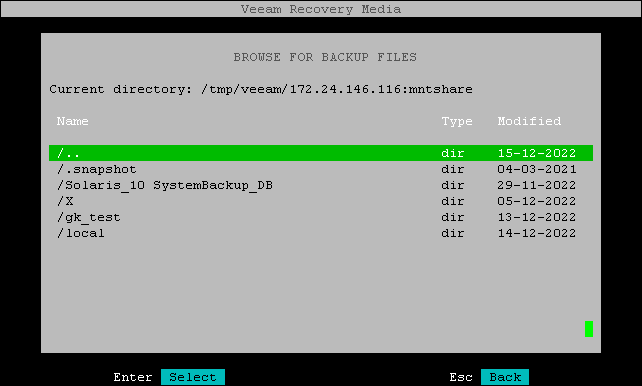
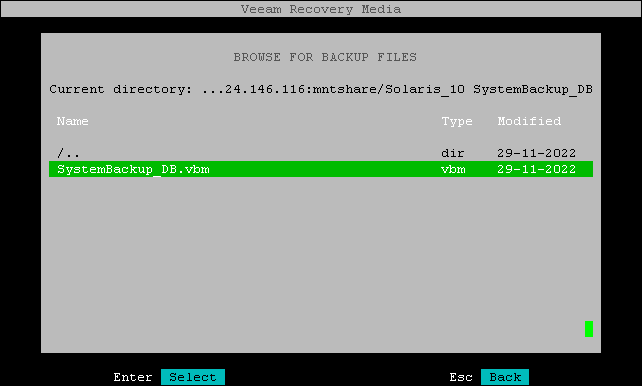
- Browse to the directory that contains the backup file, select the backup file and press Enter.