Step 16. Install Additional Veeam ONE Clients
This step applies only if you want to install an additional instance of Veeam ONE Client (separately from the Orchestrator server) to access the Veeam ONE functionality remotely.
- Download the product installation file VeeamDataPlatform_[date].iso from the Veeam downloads page. You can burn the downloaded image file to a CD/DVD or mount the installation image to the target machine using disk image emulation software.
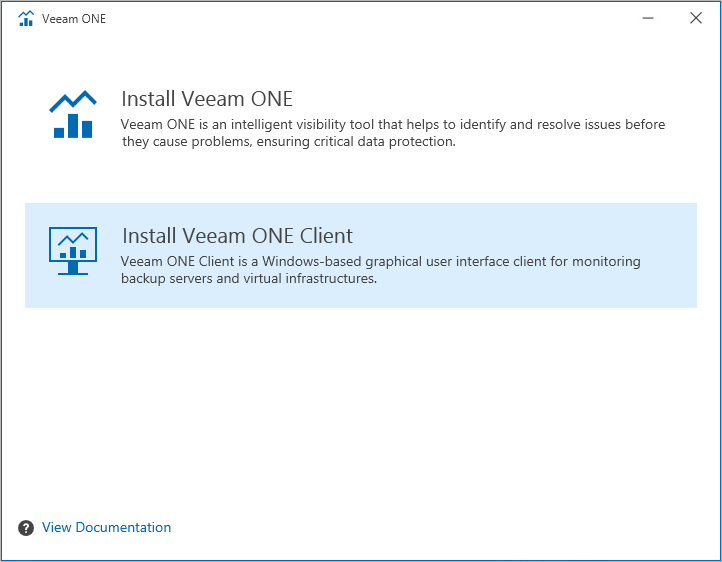
- Insert the installation disc into the CD/DVD drive or mount the installation image. The setup will open a splash screen with Orchestrator installation options.
- Click Install.
- To launch the Veeam ONE setup wizard, click Veeam ONE 12.3.
- To launch the Veeam ONE Client setup wizard, click Install Veeam ONE Client.
- Complete the Veeam ONE Client setup wizard:
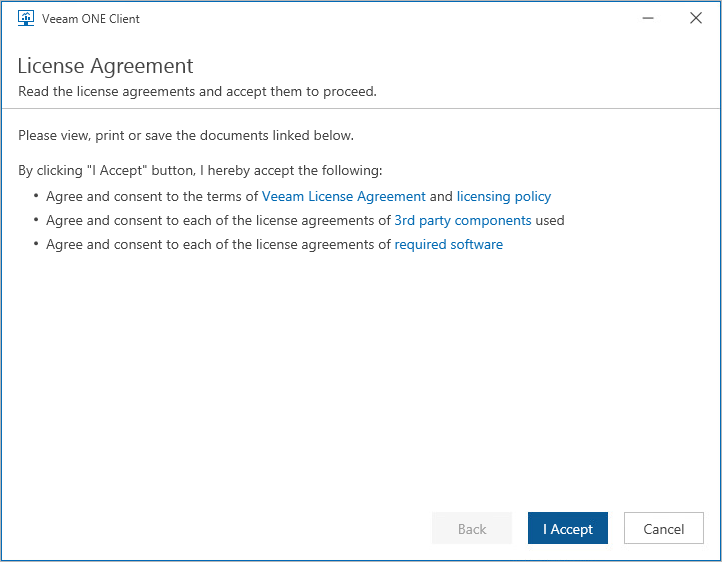
- At the License Agreement step of the wizard, read and accept the Veeam license agreement, the licensing policy, the 3rd party components license agreement and the license agreement of the required software. If you reject the agreements, you will not be able to continue installation.
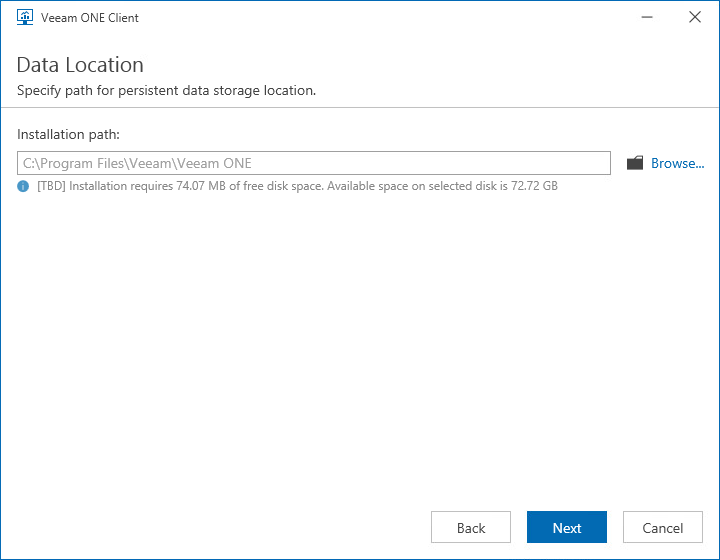
- At the Data Location step of the wizard, specify a path to the folder where Veeam ONE Client components will be installed.
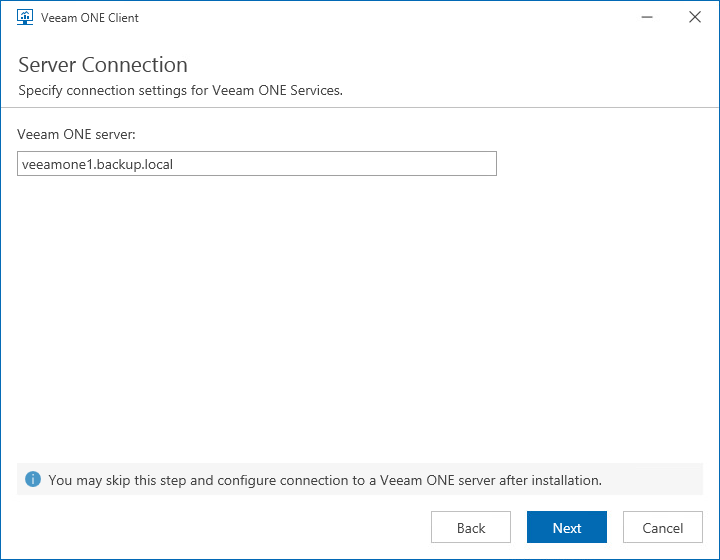
- At the Server Connection step of the wizard, specify the hostname or IPv4 address of the Orchestrator server.
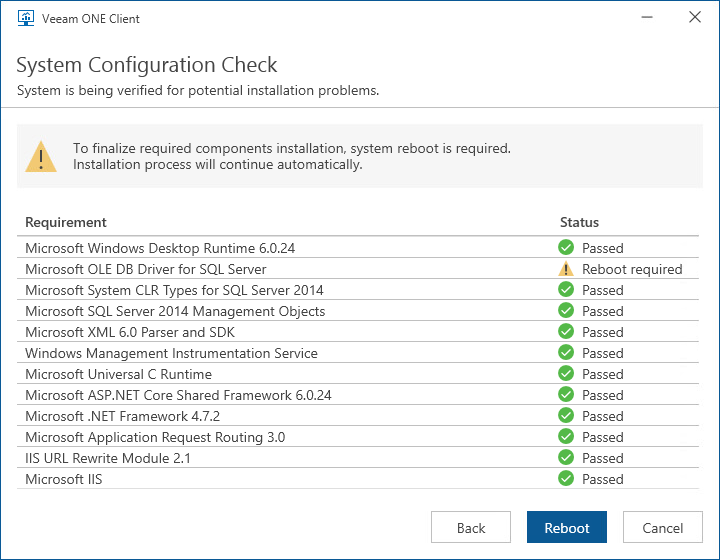
- [Applies only if some of the required software is missing and installation requires performing a reboot]
At the System Configuration Check step of the wizard, check whether all prerequisite software is available on the target system. If some of the required software components are missing, the wizard will install missing software automatically. Installation of the missing software may require performing a reboot — to do that, click Reboot.
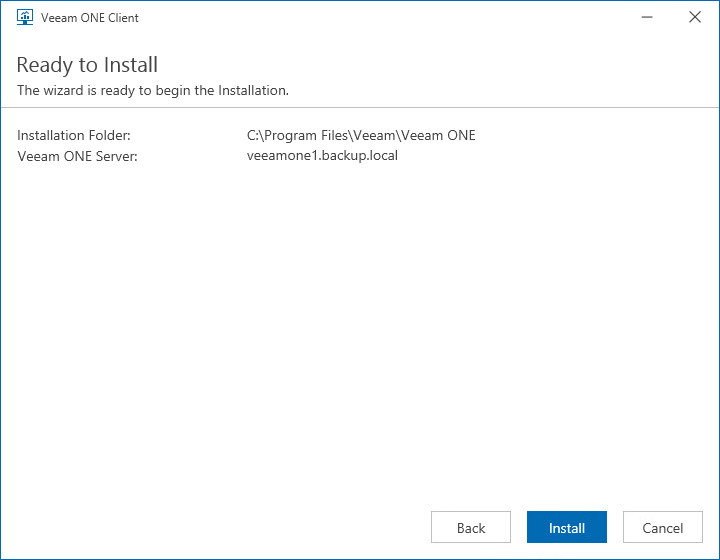
- At the Ready to Install step of the wizard, review installation configuration. Click Install to begin installation.
