This is an archive version of the document. To get the most up-to-date information, see the current version.
Step 1. Launch New Tenant Wizard
To launch the New Tenant wizard, do one of the following:
- Open the Cloud Connect view. Click Add Tenant on the ribbon.
- Open the Cloud Connect view. Click the Cloud Connect node in the inventory pane and click Add Tenant in the working area.
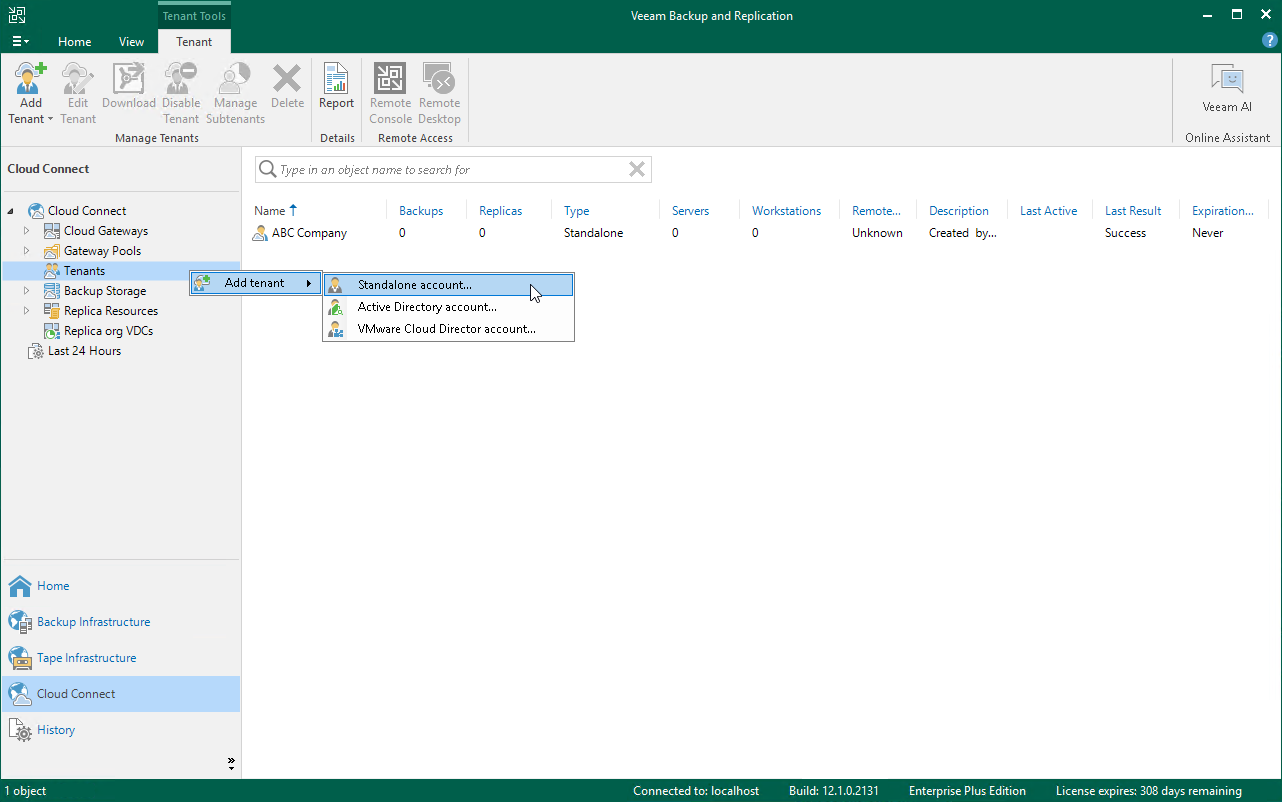
- Open the Cloud Connect view. Right-click the Cloud Connect node in the inventory pane and select Add tenant.
- Open the Cloud Connect view. Click the Tenants node in the inventory pane and click Add Tenant on the ribbon.
- Open the Cloud Connect view. Right-click the Tenants node in the inventory pane or right-click anywhere in the working area and select Add tenant.
|
If you have a vCloud Director server added to the Veeam backup infrastructure and want to create a standalone tenant account, to launch the New Tenant wizard, do one of the following:
|