Step 9. Restore Additional Files
Before you reboot the machine upon successful bare metal recovery, you may need to restore additional data from another backup. To do this, you can use the file-level restore functionality of the Recovery wizard. During file-level restore, Veeam Agent mounts the backup file to the file system of the recovery image OS. After that, you can copy the necessary files or directories to a desired location.
|
Note |
|
If the additional files you want to restore are not required for correct system startup after reboot, you can perform file-level restore after you reboot the machine upon successful bare metal recovery. In this case, follow the standard procedure as described in Restoring Files and Directories. |
To perform additional file-level restore using Recovery wizard, do the following:
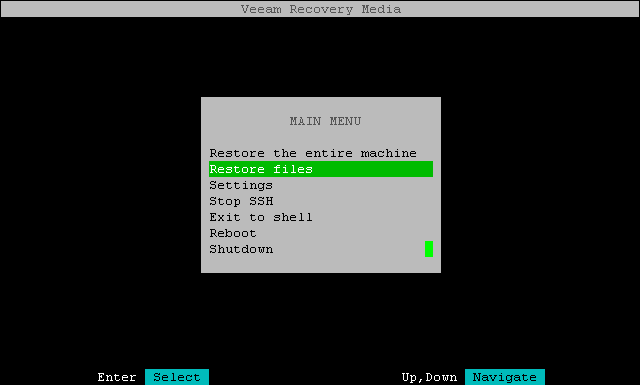
- From the main menu of Veeam Recovery Media, select Restore files.
The wizard will switch directly to the backup location you previously defined during bare metal recovery.
- Select the backup file and restore point you want to use for file-level restore as described in Select Backup and Restore Point.
|
Note |
|
If your backup file is in a different location:
|
- Press [Enter] to mount the backup file. By default, backup content is mounted into the /mnt/backup directory of the recovery image OS file system.
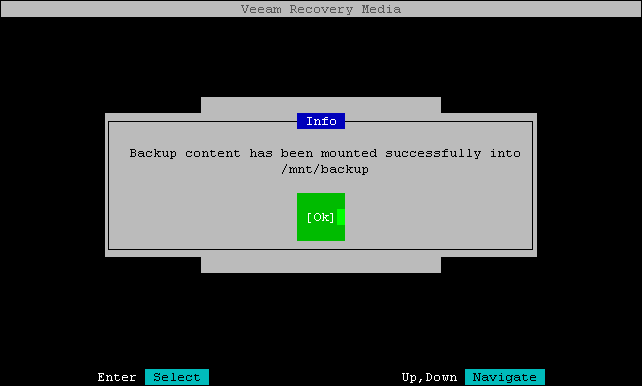
- On the confirmation message, select Ok and press [Enter].
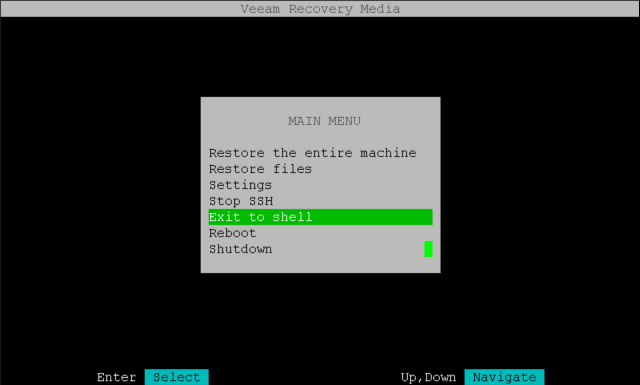
- From the main menu, select Exit to shell.
- In the terminal, browse to the folder where the backup file was mounted and copy the necessary files and directories to a desired location. For details, see Save Restored Files.