Step 4. Select Computers to Back Up
At the Computers step of the wizard, select protection groups and individual computers that you want to back up.
You can add to the Veeam Agent backup policy one or more protection groups and individual computers from the Veeam Backup & Replication inventory. You can also add to the policy computers that are not added to inventory yet. Veeam Backup & Replication will add such computers to the policy and also add them to the Manually Added protection group.
Policies with protection groups are dynamic in their nature. If Veeam Backup & Replication discovers a new computer in a protection group after the Veeam Agent backup policy is created, Veeam Backup & Replication will automatically update the policy settings to include the added computer.
NOTE |
If you used the Add to backup job > Linux > New job option to launch the New Agent Backup Job wizard, the Protected computers list will already contain computers that you have selected to add to the policy. You can remove some computers from the policy or add new computers to the policy, if necessary. |
Adding Protection Groups and Computers from Inventory
To add protection groups and individual computers to the Veeam Agent backup policy, do the following:
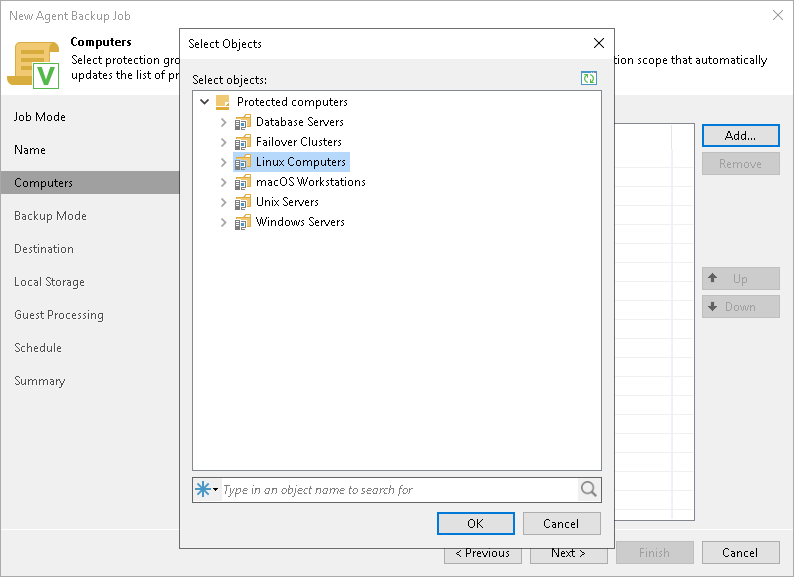
- Click Add > Protection group.
- In the Select Objects window, select one or more protection groups and computers in the list and click OK. You can press and hold the [Ctrl] or [Shift] key to select multiple objects at once.
To quickly find the necessary object, use the search field at the bottom of the Select Objects window.
- Enter the object name or a part of it in the search field.
- Click the Start search button on the right or press [Enter].
Adding New Computers
To add to the Veeam Agent backup policy new computers that do not exist in the inventory, do the following:
- Click Add > Individual computer.
- In the Add Computer window, in the Host name or IP address field, enter a full DNS name, hostname or IP address of the computer that you want to add to the policy.
- Select a method to connect to the computer:
- Connect using admin credentials. In this case, from the Credentials list, select a user account that has administrative permissions on the computer that you want to add to the protection group. Veeam Backup & Replication will use this account to connect to the protected computer and perform the necessary operations on the computer: upload and install Veeam Agent, and so on.
If you have not set up credentials beforehand, click the Manage accounts link or click Add on the right to add credentials.
Veeam Backup & Replication allows to add the following types of credentials:
- Stored credentials. Select stored credentials if you want Veeam Backup & Replication to use the specified user name and password for each connection to Veeam Agent.
- Single-use credentials. Select single-use credentials if you do not want Veeam Backup & Replication to store credentials in the configuration database. With this option selected, Veeam Backup & Replication will use the specified user name and password only for the first connection to Veeam Agent. After that, Veeam Backup & Replication will use Veeam Transport Service to communicate with the Veeam Agent computer.
- Connect using certificate-based authentication.
Select this option, if you chose to pre-install Veeam Deployer Service on the Linux computer that you want to add to the backup policy. In this case, Veeam Backup & Replication will communicate with the Linux computer using a certificate. To learn more, see Deploying Veeam Agent Using Veeam Deployment Kit.
