Importing Backup Files
If the Veeam Backup & Replication server has failed and you have restored it in a new location, you can copy the backup files to a new repository and re-map the Veeam Plug-In backup files.
Limitations and Prerequisites
Consider the following limitations:
- If backup files are not imported according to instructions given in this section, Veeam Plug-In backup and restore operations may fail.
- The repository from which you plan to import backups must be added to the Veeam Backup & Replication infrastructure. Otherwise you will not be able to access backup files.
- [For backups of scale-out clusters and servers with the customServerName option] To avoid mapping failure, the cluster name must be the same as the name used before importing backups.
- [For imports to the scale-out backup repository] Before importing your backup, consider that the names of all backup files (.VAB, .VASM, .VACM) and paths to these files contain only the following allowed characters:
- a-zA-Z0-9
- _-.+=@^
If your backup was initially created on a standalone backup server, the default name of the backup metadata file (.VACM) contains forbidden characters. Before importing, you must delete forbidden characters from the file name or replace them with the allowed characters.
Importing Veeam Plug-In Backup Files
To import Veeam Plug-In backup files, do the following:
- Copy the backup file folder to a backup repository or add a new backup repository with this folder as a subfolder.
Important |
Make sure that you import backup files and all related metadata files. Each backup folder includes a Veeam Plug-In backup file (.VAB) with its own storage metadata file (.VASM), and a single backup job metadata file (.VACM). You can perform the import operation even in case of a missing .VACM file. |
- Log in to the Veeam Backup & Replication console.
- Open the Backup Infrastructure view.
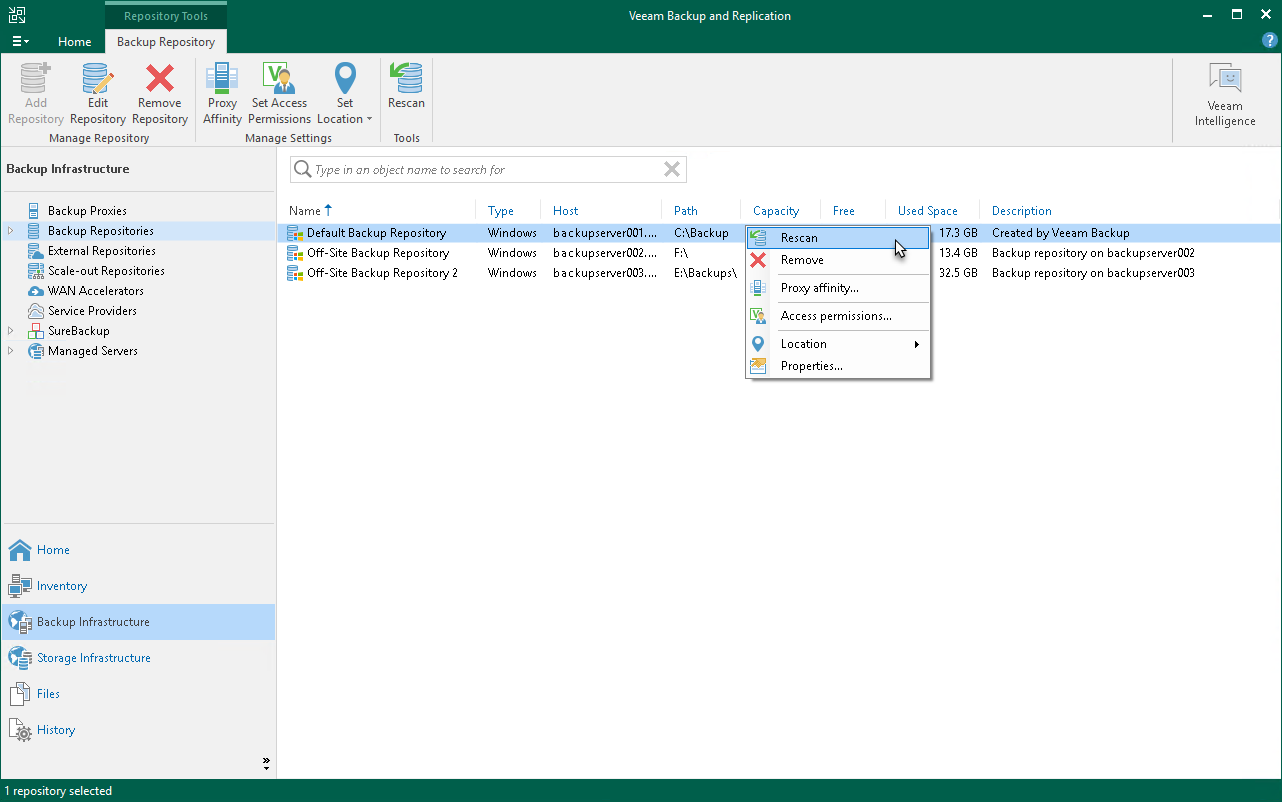
- In the inventory pane of the Backup Infrastructure view, select the Backup Repositories node.
- In the working area, select the required backup repository and click Rescan on the ribbon. Alternatively, you can right-click the backup repository and select Rescan.
During the rescan operation, Veeam Backup & Replication gathers information about backups that are currently available in the backup repository and updates the list of backups in the configuration database. After the rescan operation, backups that were not in this configuration database will be shown on the Home view in the Backups > Disk (Imported) node. In certain cases, the backups can be displayed in other nodes:
- In case of capacity tier, the backups are displayed under the Backups > Capacity Tier (Imported) node in the inventory pane.
- In case of object storage, the backups are displayed under the Backups > Object Storage (Imported) node in the inventory pane.
- On the IBM Db2 server, set the new repository as a target in the Veeam Plug-In settings:
DB2ConfigTool --set-repositories Available backup repositories: |
- Start the Veeam Plug-In configuration tool with the following parameter:
Note |
After you import the backup, map the imported backup to continue to back up to this repository. Using the Veeam Plug-In configuration tools, select the new repository as the target. |
DB2ConfigTool --map-backup |