Microsoft Azure Storage Settings
If you have selected to store backup files on a Microsoft Azure storage, specify the following settings:
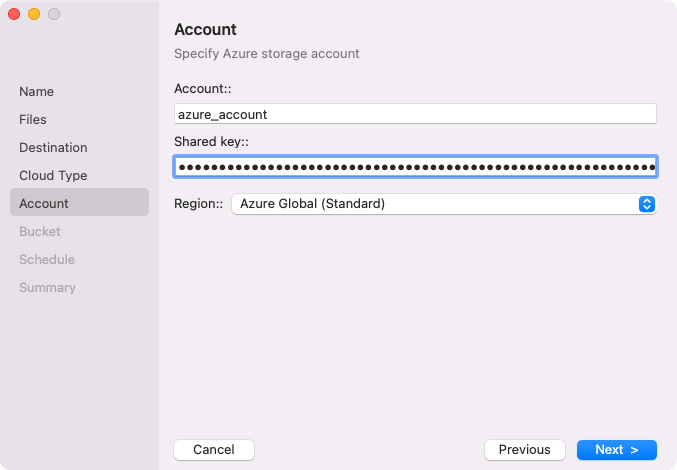
The Account step of the wizard is available if you have chosen to save backup files on a Microsoft Azure storage.
|
NOTE |
|
The Allow storage account key access option for Shared Key authorization must be enabled in the storage account. For more information on how to find this option, see Microsoft Docs. |
To connect to the Microsoft Azure storage, specify the following:
- In the Account field, enter the storage account name.
- In the Shared key field, enter the storage account shared key.
- In the Region window, select a Microsoft Azure region based on your regulatory and compliance requirements. By default, Veeam Agent uses the Azure Global (Standard) region.
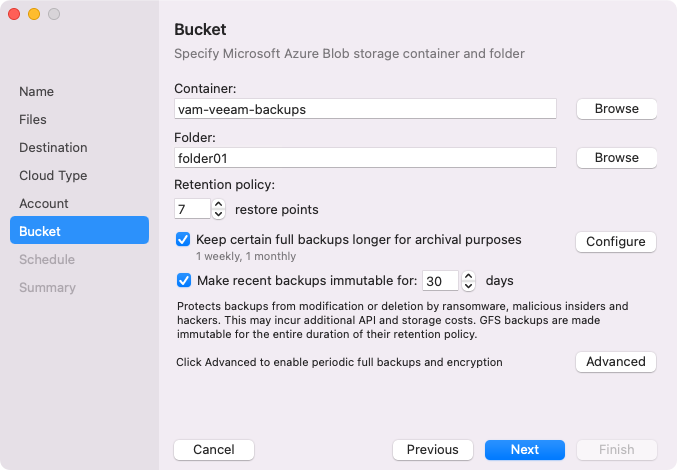
The Bucket step of the wizard is available if you have chosen to save backup files on a Microsoft Azure storage and specified account settings to connect to the storage.
Specify settings for the container on the storage:
- In the Container field, specify a container on the storage:
- Click Browse.
- In the Containers window, select the necessary container and click OK.
- In the Folder field, specify a folder in the bucket:
- Click Browse.
- In the Folders window, select the necessary folder and click OK.
|
TIP |
|
You can also create a new folder in the bucket. To do this:
|
- In the Retention policy field, specify the number of days for which you want to store backup files in the target location. After this period is over, Veeam Agent will remove from the backup chain any restore points that are older than the specified retention period. By default, Veeam Agent keeps backup files for 7 days. To learn more, see Backup Retention Policy.
- To specify the GFS retention policy, select the Keep certain full backups longer for archival purposes check box and press Configure. In the Configure GFS window, specify how weekly, monthly and yearly full backups must be retained. For details, see Specify GFS Retention Policy.
- Select the Make recent backups immutable for check box to enable backup immutability and specify the immutability settings:
- Select For the entire duration of the retention policy if you want the immutability period to depend on the retention policy of a backup job. This option is selected by default when you enable immutability for a backup job.
|
IMPORTANT |
|
Consider the following:
For more information, see How Backup Immutability Works. |
- Select For the minimum duration if you want to specify a minimum immutability period manually. In the Minimum immutability duration field, specify the period in days. By default, Veeam Agent sets the period to 30 days.
In this case, backup job retention settings are not considered in the calculation of the immutability period.
- Click Advanced to specify additional backup job settings. For details, see Specify Advanced Backup Settings.
- After you specified the bucket settings, click Next. Veeam Agent will create a new backup repository in the configured cloud storage location.