This is an archive version of the document. To get the most up-to-date information, see the current version.
Step 1. Start Setup Wizard
In this article
To start the setup wizard:
- Download the latest version of the Veeam Backup & Replication installation image from www.veeam.com/downloads.html.
- Use disk image emulation software to mount the installation image to the machine where you plan to install Veeam Backup & Replication or burn the image file to a blank CD/DVD. If you plan to install Veeam Backup & Replication on a VM, use built-in tools of the virtualization management software to mount the installation image to the VM.
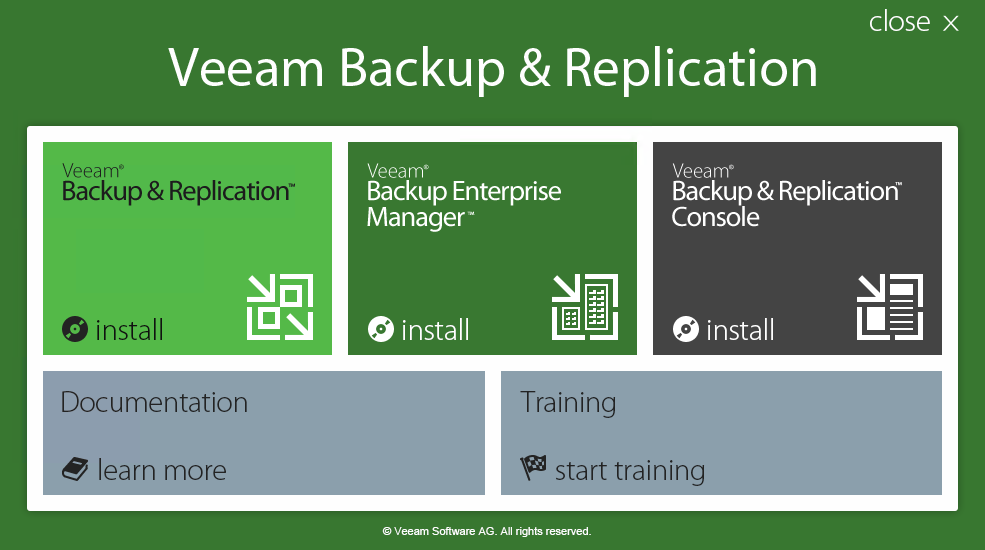
- After you mount the image or insert the disk, Autorun will open a splash screen with installation options. If Autorun is not available or disabled, run the Setup.exe file from the image or disk.
- In the Veeam Backup & Replication Console section of the splash screen, click Install.
- On the Welcome step of the wizard, click Next to start the setup wizard.
|
It is strongly recommended that you install the Veeam Backup & Replication console using Autorun or the Setup.exe file. If you run other installation files from CD/DVD folders, you may miss some components that need to be installed, and Veeam Backup & Replication may not work as expected. |