This is an archive version of the document. To get the most up-to-date information, see the current version.
Step 5. Select VM Location
In this article
The Location step of the wizard is available if you have chosen to change the location and settings for the restored VM(s).
By default, Veeam Backup & Replication restores the VM to its initial location. To restore the VM a different location:
- Select the VM in the list and click vApp.
- From the vCloud Director hierarchy, choose a vApp in which the restored VM must be registered.
To facilitate selection, use the search field at the bottom of the window: enter the vApp name or a part of it and click the Start search button on the right or press [ENTER].
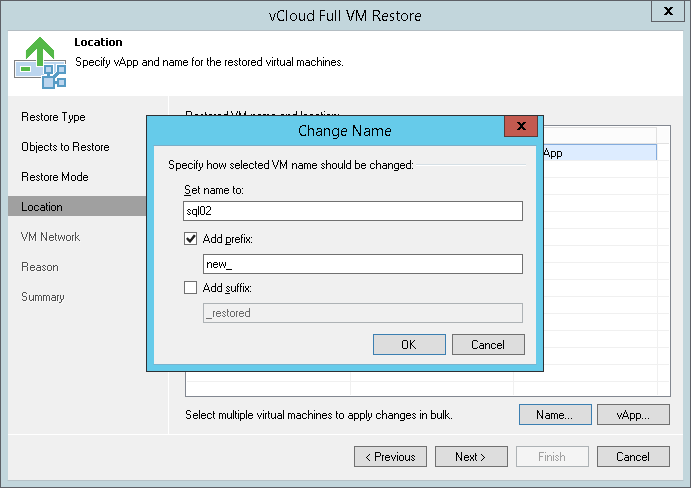
To change the VM name:
- Select a VM in the list and click Name.
- In the Change Name window, enter a new name explicitly or specify a change name rule by adding a prefix and/or suffix to the initial VM name.
- You can also change VM names directly in the list: select a VM, click the New Name field and enter the name to be assigned to the recovered VM.
|
If you are restoring a linked clone VM to a different location, make sure that fast provisioning is enabled at the level of the target Organization vDC. Otherwise Veeam Backup & Replication will restore the VM as a regular VM. |