 This is an archive version of the document. To get the most up-to-date information, see the current version.
Step 8. Finalize Instant VM Recovery
In this article
All currently running Instant VM Recovery sessions are displayed in the Backup & Replication view, under the Restore > Instant Recovery node.
To check the progress of the Instant VM Recovery session and view session details:
- Open the Backup & Replication view.
- Select the Instant Recovery node.
- Right-click the necessary session in the working area and select Properties. You can also double-click the necessary session in the list.
After the VM has been successfully restored, you can finalize Instant VM Recovery in two ways:
- Migrate the recovered VM to production
- Unpublish the recovered VM
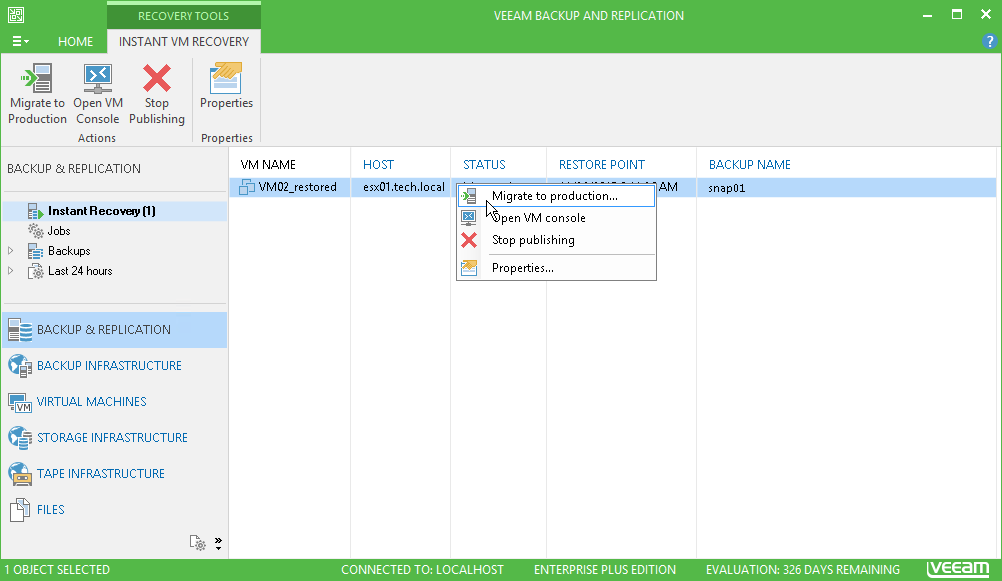
To migrate the recovered VM to production:
- Open the Backup & Replication view.
- Select the Instant Recovery node.
- Right-click the necessary Instant VM Recovery session in the working area and select Migrate to production. Veeam Backup & Replication will launch the Quick Migration wizard. During migration, Veeam Backup & Replication will restore the VM from the storage snapshot and then additionally move changes that were made while the VM was running in the Instant Recovery mode.
To unpublish the restored VM:
- Open the Backup & Replication view.
- Select the Instant Recovery node.
- Right-click the necessary session in the working area and select Stop publishing.
You can also unpublish the VM using the History view:
- Open the History view.
- Select the Restore > Instant VM recovery node.
- In the working area, right-click the necessary session and select Stop session.
