This is an archive version of the document. To get the most up-to-date information, see the current version.
Step 9. Finalize Instant VM Recovery
In this article
All VMs restored with Instant VM Recovery are displayed in the Backup & Replication view, under the Instant Recovery node.
To check the progress of Instant VM Recovery and view session details:
- Open the Backup & Replication view.
- In the inventory pane, click the Instant Recovery node.
- Right-click the VM in the working area and select Properties.
Alternatively, you can open the History view, select the Instant Recovery node under Restore in the inventory pane and double-click the necessary instant VM restore session.
After the VM has been successfully recovered, you can finalize Instant VM Recovery in one of two ways:
- Migrate the recovered VM to production
- Unpublish the recovered VM
To migrate the restored VM to production:
- Open the Backup & Replication view.
- In the inventory pane, select the Instant Recovery node.
- In the working area, right-click the VM and select Migrate to production. As a result, the Quick Migration wizard will be launched. During migration, Veeam Backup & Replication will restore a VM instance from the backup file and then additionally move the changes that were made while the VM was running in the Instant Recovery mode. For more information, see Migrating VMs.
|
Quick Migration will be performed using VMware vMotion technology. |
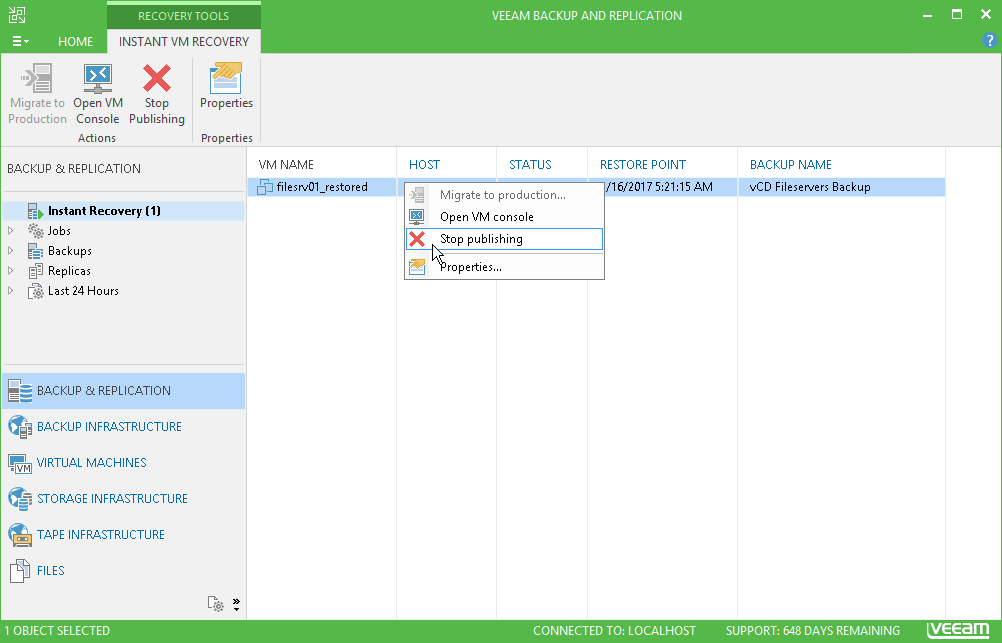
To remove the recovered VM:
- Open the Backup & Replication view.
- In the inventory pane, select the Instant Recovery node.
- In the working area, right-click the VM and select Stop publishing.