Removing VM Backups and Snapshots
Veeam Backup for Microsoft Azure applies the configured retention policy settings to automatically remove cloud-native snapshots and image-level backups created for Azure VMs by backup policies. If necessary, you can also remove the backed-up data manually.
|
Important |
|
Do not delete backups from Microsoft Azure storage accounts in the Microsoft Azure portal. If some backup in a backup chain is missing, you will not be able to roll back Azure VM data to the necessary state. |
To remove backed-up data manually, do the following:
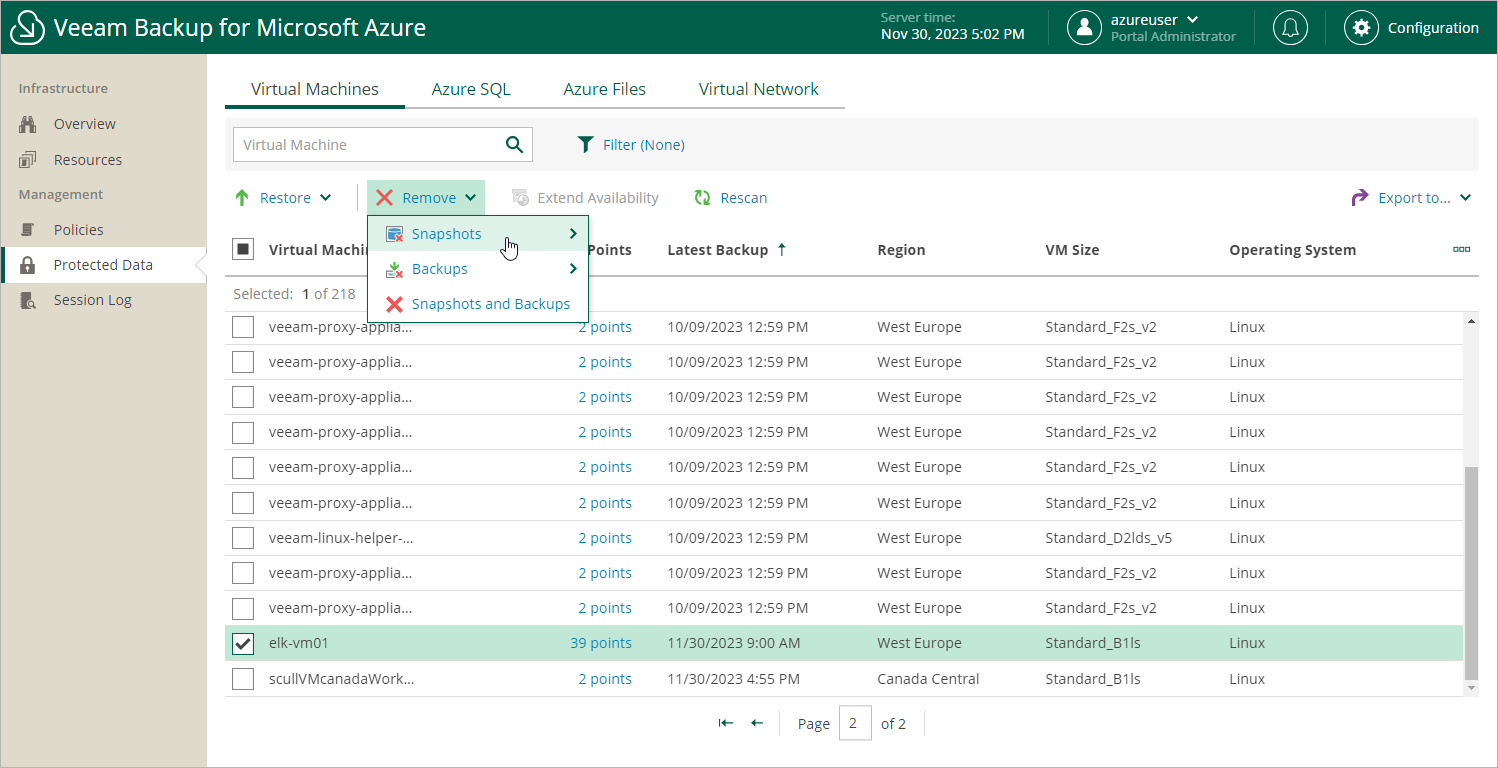
- Navigate to Protected Data > Virtual Machines.
- Select Azure VMs whose data you want to remove.
- Click Remove and select either of the following options:
- Snapshots > All — to remove all cloud-native snapshots created for the selected Azure VMs both by backup policies and manually.
- Snapshots > Local — to remove all cloud-native snapshots created for the selected Azure VMs by backup policies.
- Snapshots > Manual — to remove all cloud-native snapshots created for the selected Azure VMs manually.
- Backups > All — to remove all image-level backups created for the selected Azure VMs.
- Backups > Backup — to remove all image-level backups created in repositories for the selected Azure VMs.
- Backups > Archive — to remove all image-level backups created in archive repositories for the selected Azure VMs.
- Snapshots and Backups — to remove both cloud-native snapshots and image-level backups created for the selected Azure VMs.