This is an archive version of the document. To get the most up-to-date information, see the current version.
Step 4. Select Virtual Disk to Restore
At the Disk Mapping step, select virtual disks to restore and choose a VM to which the disks must be attached.
- By default, Veeam Backup & Replication maps the restored disks to the original VM. If the original VM was relocated or if you want to attach disks to another VM, select a target VM. For this, click Choose and select a VM from the virtual environment.
Important |
Do not use as a target VM the backup server or a VM where the vPower NFS Service is installed. |
To quickly find a VM, use the search field at the bottom of the window. Click the button on the left of the field to select the type of an object to search for. Enter a VM name or a part of it. Then, click the Start search button or press [Enter].
- In the Disk mapping section, select virtual disks that you want to restore.
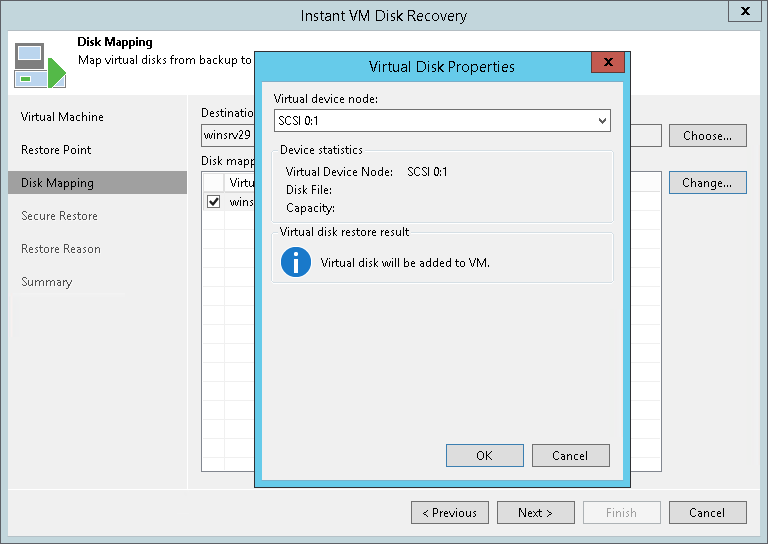
- To define virtual disk properties, select a disk in the list and click Change.
- In the Virtual Disk Properties window, select a virtual device node:
- If you want to replace an existing virtual disk, select an occupied virtual node. The original disk will be deleted.
- If you want to attach the restored disk to the VM as a new drive, select a node that is not occupied yet.