This is an archive version of the document. To get the most up-to-date information, see the current version.
Step 7. Configure Network Mapping
The Network step is available if you have chosen to use network mapping at the Name step of the wizard.
At the Network step of the wizard, configure a network mapping table. This table maps networks in the production site to networks in the disaster recovery (DR) site. During every vCD replica job session, Veeam Backup & Replication will check the network mapping table and update the replica configuration file to replace the production network with the specified network in the DR site. As a result, you will not have to re-configure network settings manually, a replicated vApp will be connected to a vDC network according to this mapping.
Note |
Mind the following:
|
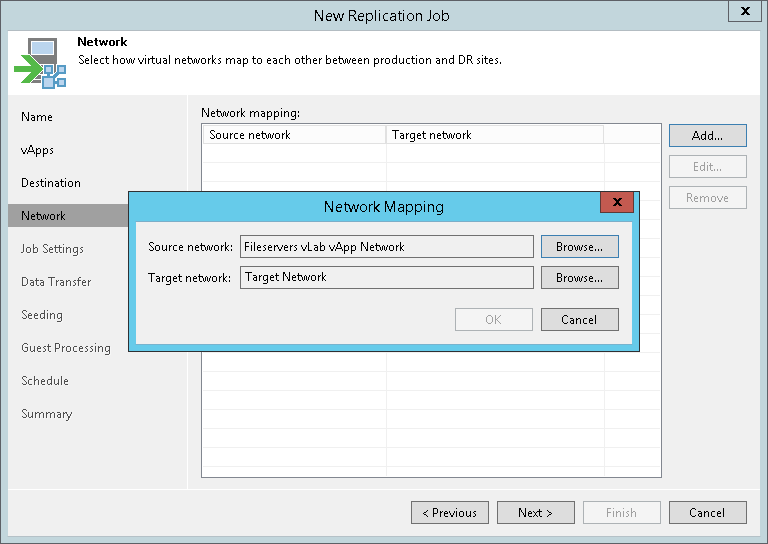
To add a row to a network mapping table:
- Click Add.
- Click Browse next to the Source network field and select the production network. The vApps that you want to replicate must be connected to this network.
- Click Browse next to the Target network field and select the network in the DR site. Veeam Backup & Replication will connect the replicated vApps to this network.