 This is an archive version of the document. To get the most up-to-date information, see the current version.
Installing Veeam Backup for AWS from AMI
Veeam Backup for AWS is installed on a single EC2 instance. The EC2 instance is created during the product installation.
Important |
After you install Veeam Backup for AWS from the Amazon Machine Image (AMI), you will be asked to provide one-time access keys of an IAM user that Veeam Backup for AWS will use to create IAM roles required for the backup appliance configuration. If you do not want to provide the keys, you can create the required IAM roles manually before you begin the installation. For more information on the required IAM roles, see Required IAM Permissions. |
To install Veeam Backup for AWS from the AMI:
- Log in to the AWS Management Console using credentials of an AWS account in which you plan to install Veeam Backup for AWS.
You can install Veeam Backup for AWS in the production site — in the AWS account where resources that you plan to back up reside. It is recommended, however, that you use a separate AWS account for Veeam Backup for AWS installation. In this case, if a disaster strikes in the production site, you will still be able to access Veeam Backup for AWS and perform recovery operations.
- Use the region selector in the upper-right corner of the page to select an AWS Region in which the EC2 instance running Veeam Backup for AWS will reside.
For more information on AWS Regions, see AWS Documentation.
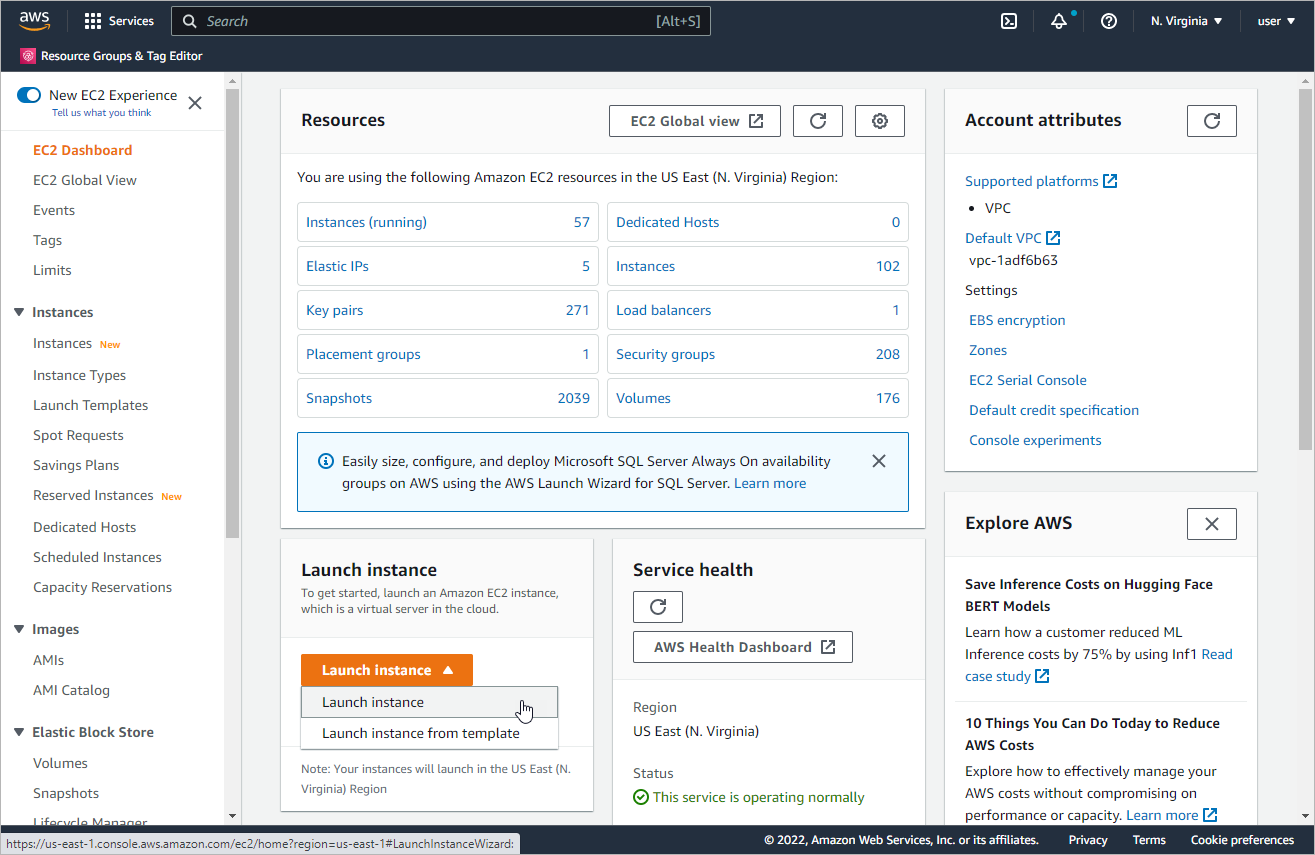
- In the AWS services section, expand the All services menu and navigate to Compute > EC2.
- On the EC2 Dashboard tab, click Launch instance > Launch instance. The Launch an instance wizard will open.
- At the Name and tags step of the wizard, you can specify a name that will help you easily identify and locate the appliance and AWS tags that will be assigned to the instance.
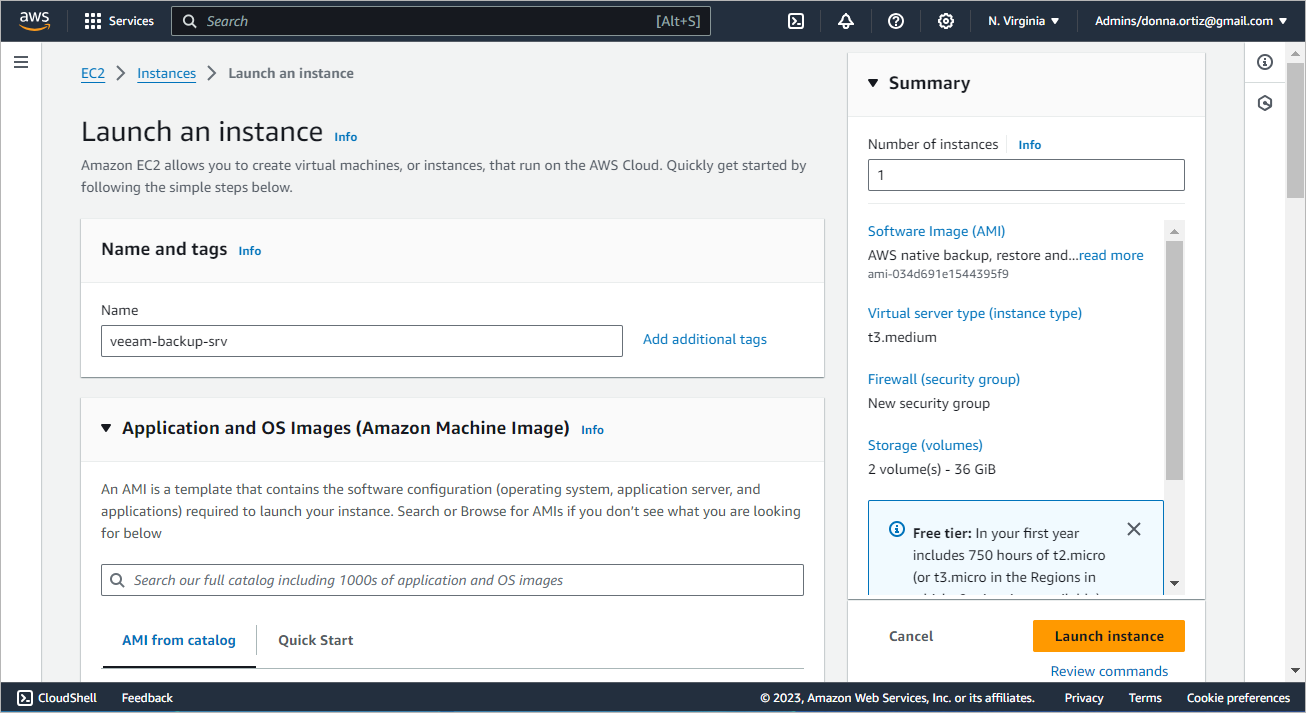
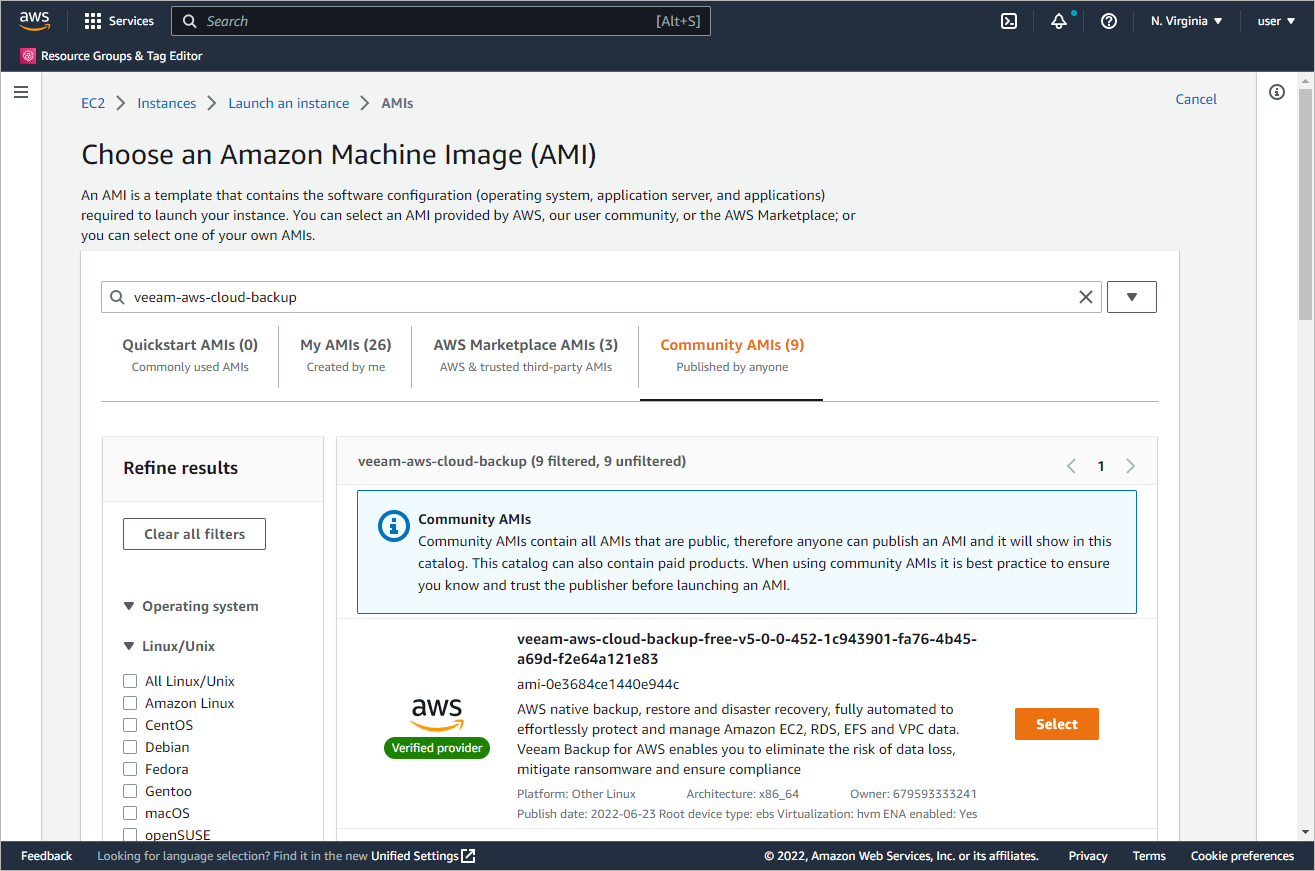
- At the Application and OS Images (Amazon Machine Image) step of the wizard, choose an AMI that will be used to deploy the appliance. To do that, type veeam-aws-cloud-backup in the search field, press [ENTER] on the keyboard. You will be redirected to the Choose an Amazon Machine Image (AMI) page.
Switch to the Community AMIs tab, choose the necessary product edition (Free, Paid or BYOL) and click Select. For more information on product editions, see Licensing.
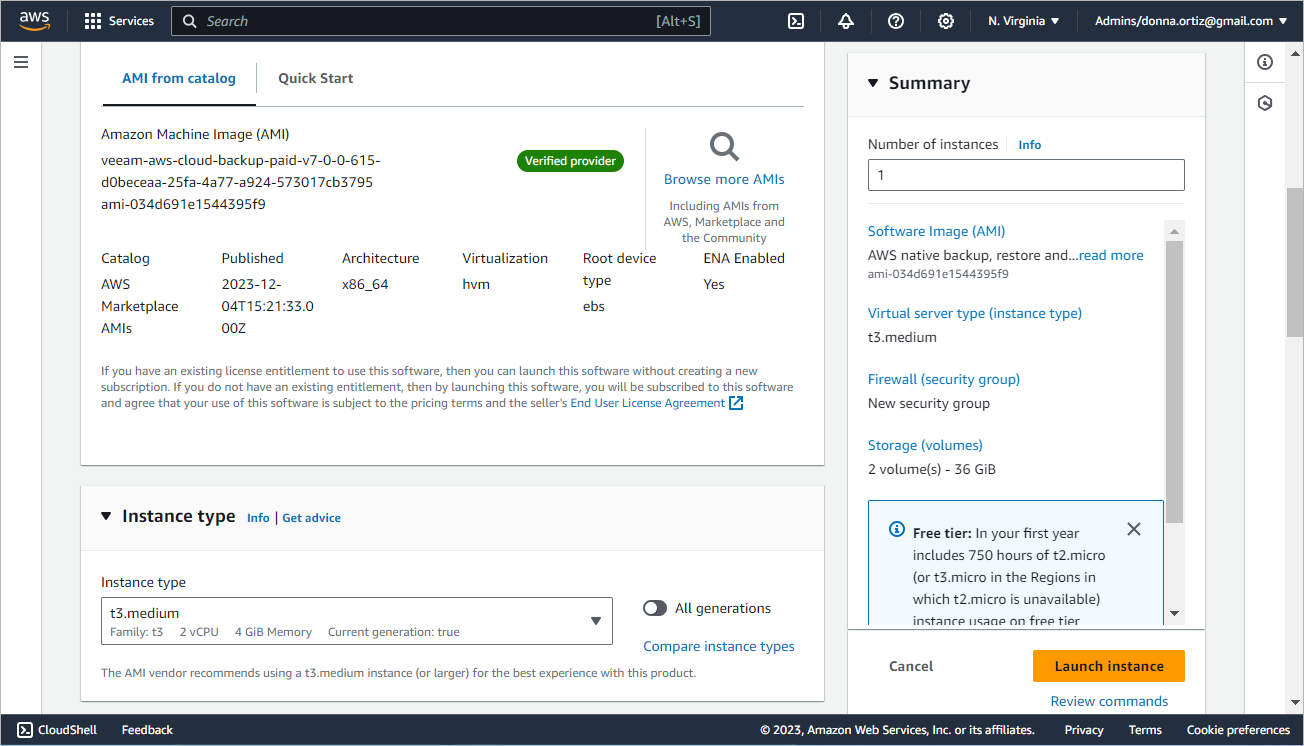
- Back to the wizard, at the Instance type step, select an EC2 instance type for the backup appliance. The minimum recommended EC2 instance type is t3.medium.
- At the Key pair (login) step of the wizard, specify a key pair that will be used to authenticate against the backup appliance. You can select an existing key pair or create a new one.
For a key pair to be displayed in the Key pair name drop-down list, it must be created in the Amazon EC2 console. To learn how to create key pairs, see AWS Documentation.
- At the Network settings step of the wizard, do the following:
- Click Edit.
- In the Network and Subnet fields, specify an Amazon VPC and subnet to which the backup appliance will be connected. You can either select an existing Amazon VPC and subnet, or create a new Amazon VPC and subnet.
For more information on Amazon VPCs and subnets, see AWS Documentation.
Important |
Consider the following:
To learn how to enable internet access for Amazon VPCs and subnets, see AWS Documentation. |
- From the Auto-assign Public IP drop-down list, select Enable.
- Choose a security group that will control the inbound and outbound traffic for the backup appliance. You can either associate an existing security group with the backup appliance or create a new security group. If you choose an existing security group, make sure it allows access to AWS services listed in the AWS Services section.
If you choose to create a new security group, add a new inbound rule for the HTTPS traffic:
- In the Inbound security groups rules section, click Add security group rule. The Security group rule 2 settings will appear.
- Select HTTPS from the Type drop-down list.
- Select Custom from the Source type drop-down list.
- In the Source field, specify IPv4 address ranges from which Veeam Backup for AWS Web UI will be accessible.
Make sure the IPv4 address of the local machine from which you plan to access Veeam Backup for AWS lies within the specified IPv4 ranges.
IPv4 address ranges must be specified in the CIDR notation (for example, 12.23.34.0/24). To allow unrestricted access to the backup appliance, you can specify 0.0.0.0/0. However, the latter is not recommended since unrestricted access to Veeam Backup for AWS can violate your organization security policy.

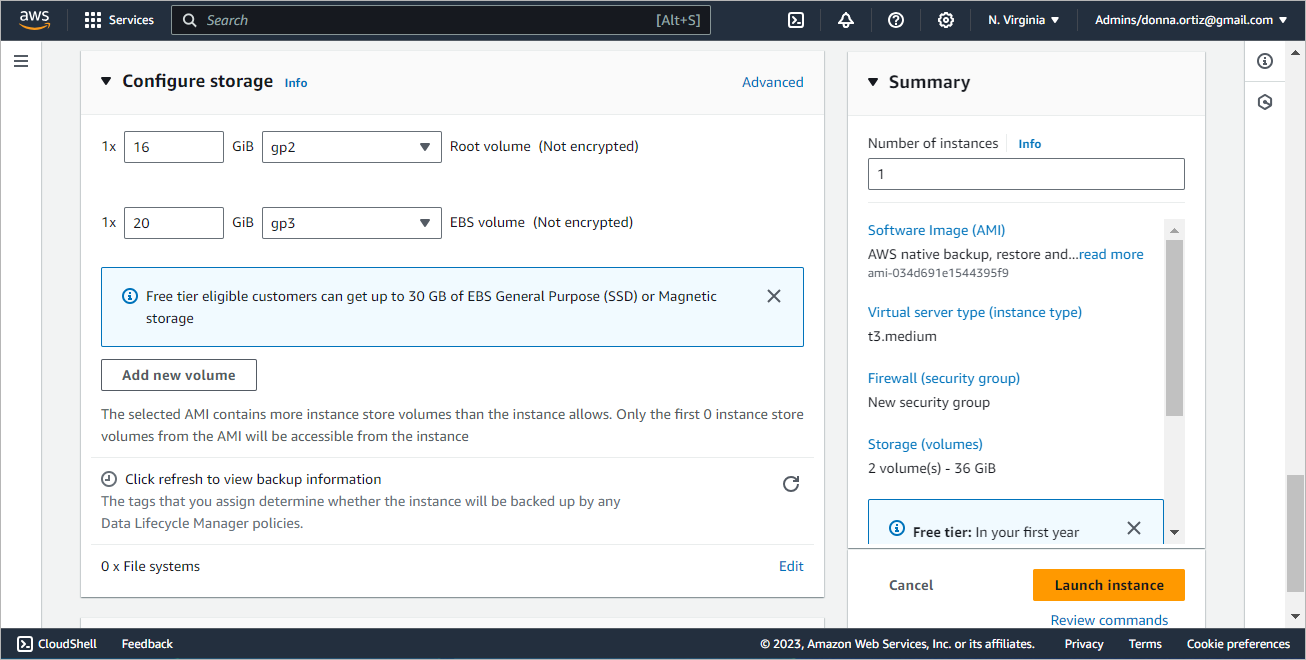
- At the Configure storage step of the wizard, review the preconfigured storage settings and proceed to the next step. For technical reasons, it is not recommended to change these settings.
- At the Advanced details step of the wizard, do the following:
- [Applies if you have created IAM roles required for the product installation beforehand] In the IAM instance profile field, specify the Impersonation IAM role that will be attached to the backup appliance. This role will allow Veeam Backup for AWS to assume IAM roles to perform backup and restore operations.
- Enable access to the instance metadata to allow Veeam Backup for AWS to use the Instance Metadata Service (IMDS) to be able to configure and manage the running backup appliance. To do that, select Enabled from the Metadata accessible drop-down list.
- Configure additional settings for the backup appliance to meet your organization requirements. To learn how to configure Amazon Linux instances, see AWS Documentation.
- In the Summary section, review the configured settings and click Launch instance.
Right after installation, you must perform a number of additional actions for the backup appliance configuration. For more information, see After You Install.