Selecting Files and Directories to Back Up
The Files step of the wizard is available if you have chosen to create a file-level backup.
At this step of the wizard, you must specify the backup scope — define what directories with files you want to include in the backup.
In the file-level backup mode, you must include in the backup at least one directory. If you do not want to back up some subdirectories of the specified directory, you can exclude these directories from the backup.
You can also include or exclude files of a specific type in/from the backup. You can specify file names explicitly or use UNIX wildcard characters to define file name masks. Veeam Agent will apply the specified file name masks to files in directories that are included in the backup.
To specify the backup scope:
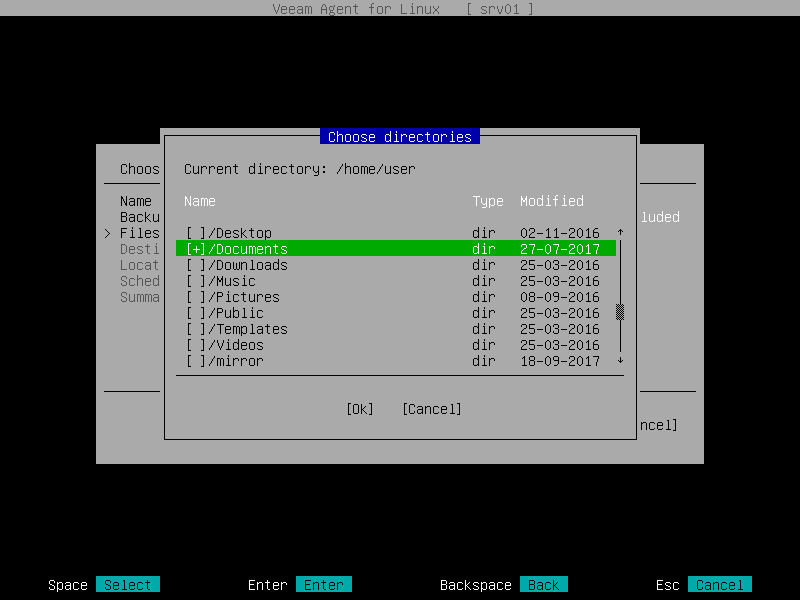
- At the Files step of the wizard, make sure that the Add directories option is selected and press [Enter].
- In the Choose directories window, select one or several directories that you want to include in the file-level backup.
- To navigate the list of directories, use the [Up] and [Down] keys.
- To browse for subdirectories, navigate to the necessary directory and press [Enter].
- To include a directory in the backup, navigate to the necessary directory and press [Space]. The included directory will be marked with the '+' character. All subdirectories of the selected directory will be included in the backup too.
|
IMPORTANT |
|
Consider the following about selecting directories for the backup scope:
To back up all the nested mount points, you must either select them explicitly (for example: /, /home, /var, and so on), or configure Veeam Agent to backup the root directory recursively. To do the latter, in the /etc/veeam/veeam.ini configuration file, uncomment the rootRecursion parameter and set its value to true. To apply the updated settings, restart veeamservice. In this case, when you select the root directory (/), Veeam Agent will back up all the mount points nested in the root directory, but will exclude network file systems. To back up network file systems, you must select the mount points of such file systems explicitly. For example, if you have a network shared folder mounted to /home/media, adding / or /home to the backup scope will not be sufficient — you must select the /home/media directory.
|
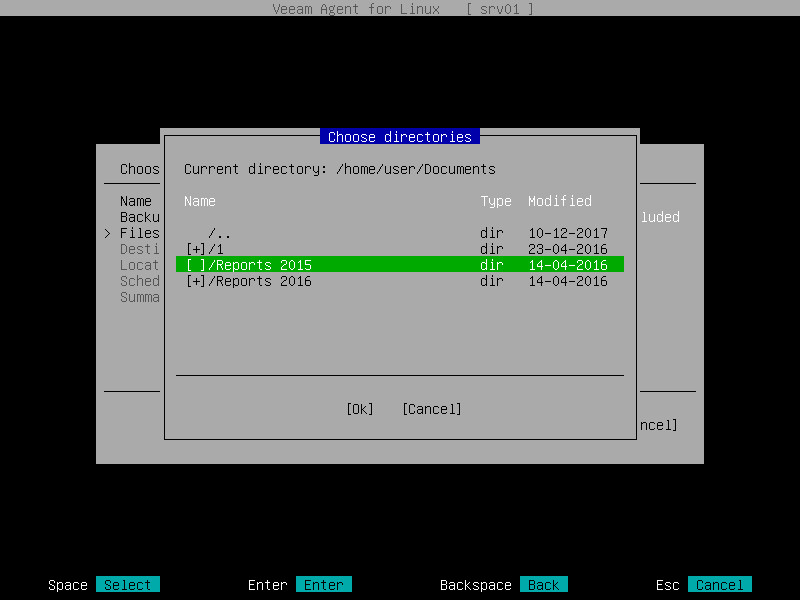
- Specify directories that you want to exclude from the file-level backup. To exclude a directory:
- Browse for subdirectories of a directory that you have included in the backup.
- Navigate to the directory that you want to exclude from the backup and press [Space]. The excluded directory will not be marked with the '+' character.
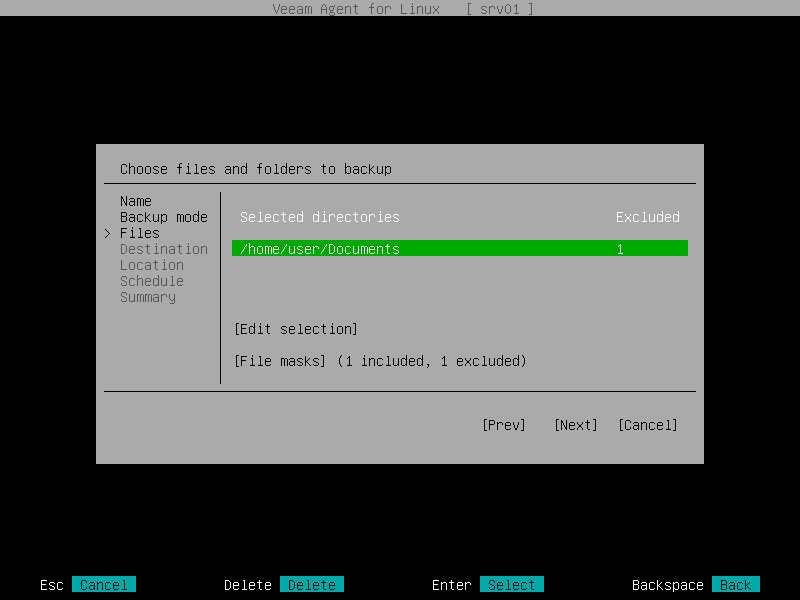
- Switch to the OK button and press [Enter]. Veeam Agent will display a list of paths to the selected directories and the number of excluded subdirectories for each directory in the list.
- Specify file name masks for files that you want to include or exclude in/from the backup:
- Select the File Masks option with the [Tab] key and press [Enter].
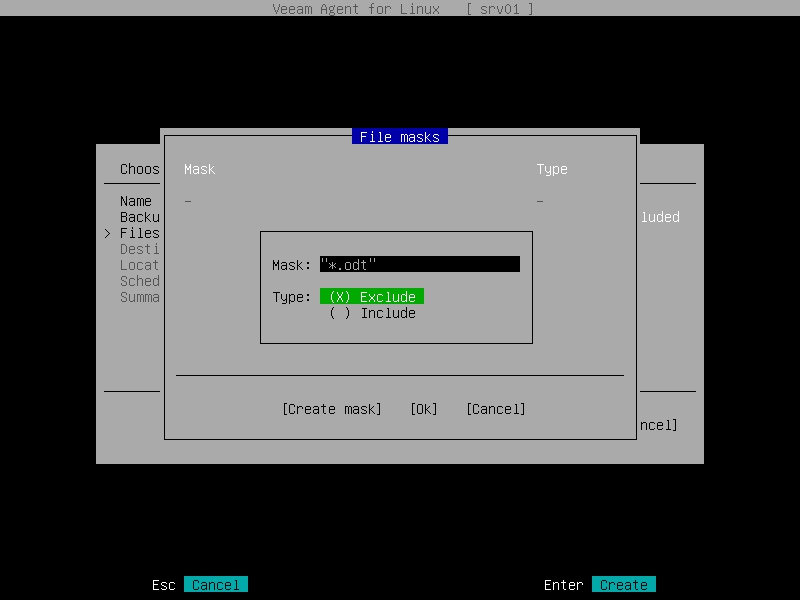
- In the File masks window, make sure that the Create Mask button is selected and press [Enter].
- In the Mask field, enter the file name mask, for example, report.pdf, *filename* or *.odt.
- In the Type field, select one of the following options:
- Exclude — if you do not want to back up files whose names match the specified mask. Veeam Agent will back up all files in the directories selected for backup except for such files.
- Include — if you want to back up files whose names match the specified mask. Veeam Agent will create a backup only for such files in the directories selected for backup.
You can use a combination of include and exclude masks. Keep in mind that exclude masks have a higher priority than include masks. For example, you can specify masks in the following way:
- Include mask: report*.*
- Exclude mask: *.odt
Veeam Agent will include in the backup all files whose name begins with report except for the files of the ODT format.
- Press [Enter]. Veeam Agent will display in the File masks window the specified file mask and its type: Include or Exclude.
- Repeat Steps b to e for each mask that you want to specify.
- After you specify all file masks, switch to the OK button and press [Enter].
|
TIP |
|
To remove a file name mask, in the File masks window, select the necessary mask and press [Delete]. |