Step 7. Select Backup and Restore Point
At the Backup step of the wizard, select a backup and restore point from which you want to recover data.
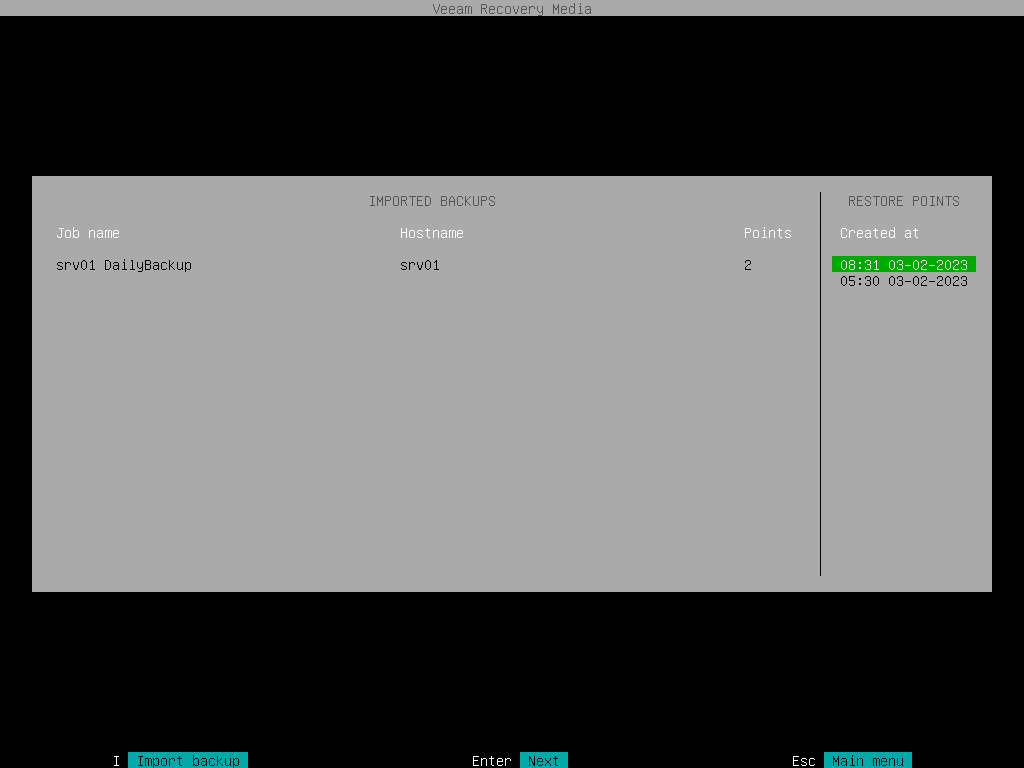
The Backup step window comprises two panes:
- The Imported backups pane on the left displays information about backup: host name of the computer whose data is stored in the backup file, backup job name and number of restore points.
- The Restore points pane on the right displays a list of restore points in the backup.
To select backup and restore point:
- In the Imported backups pane, ensure that the backup from which you want to recover data is selected and press [Enter].
If you want to select another backup, press the [i] key and browse for the necessary backup file. To learn more, see Locate Backup File.

- In the Restore points pane, select with the [Up] and [Down] keys the restore point from which you want to recover data and press [Enter].
|
NOTE |
|
If you selected an encrypted backup for data restore, Veeam Agent will prompt you to provide a password to unlock the encrypted file. To lean more, see Restoring Data from Encrypted Backups. |
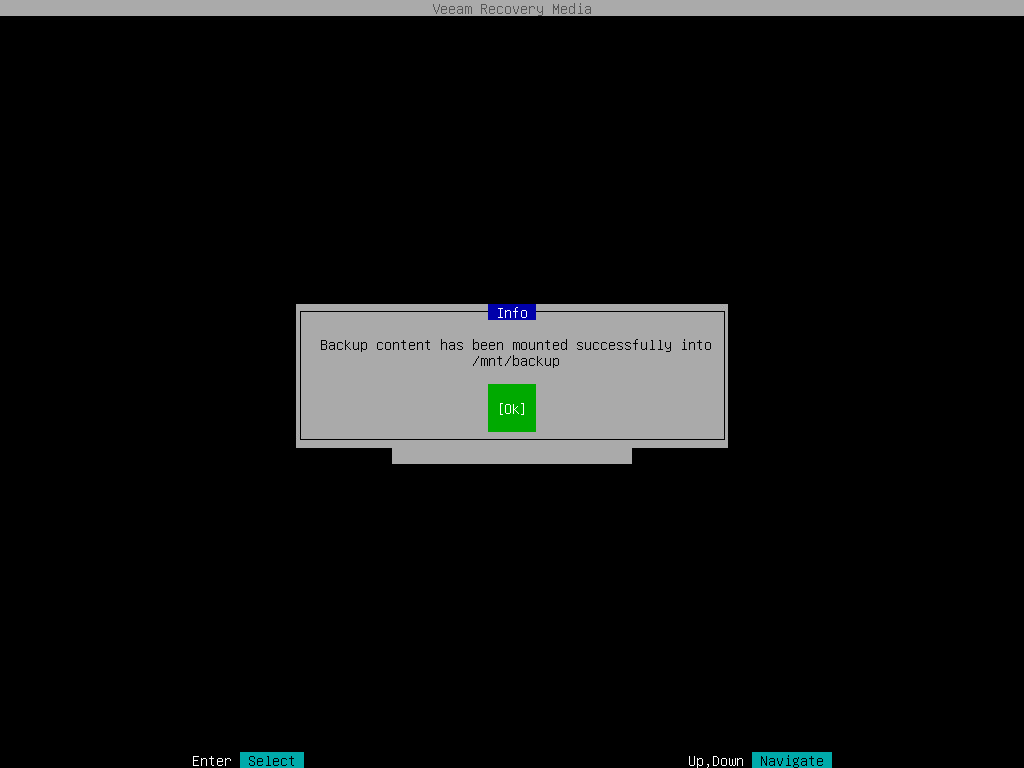
- Veeam Agent will mount the content of the backup file to the /mnt/backup directory in the recovery image OS file system and display a notification window with the corresponding message. Press [Enter] to proceed to the File Level Restore wizard menu, open the file manager and save restored files.
When you perform file-level restore with the File Level Restore wizard, Veeam Agent always mounts the backup to the /mnt/backup directory. If you want to specify another directory for backup mount, you can perform file-level restore with the Veeam Agent command line interface. To learn more, see Restoring Files and Folders with Command Line Interface.