Step 8. Save Restored Files
When the backup file content is mounted to the recovery image OS file system, Veeam Agent opens the File Level Restore wizard menu displaying a list of available operations.
|
NOTE |
|
If a backed up file system was mounted to multiple mount points, during restore, depending on the file system type, Veeam Agent will behave as follows:
|
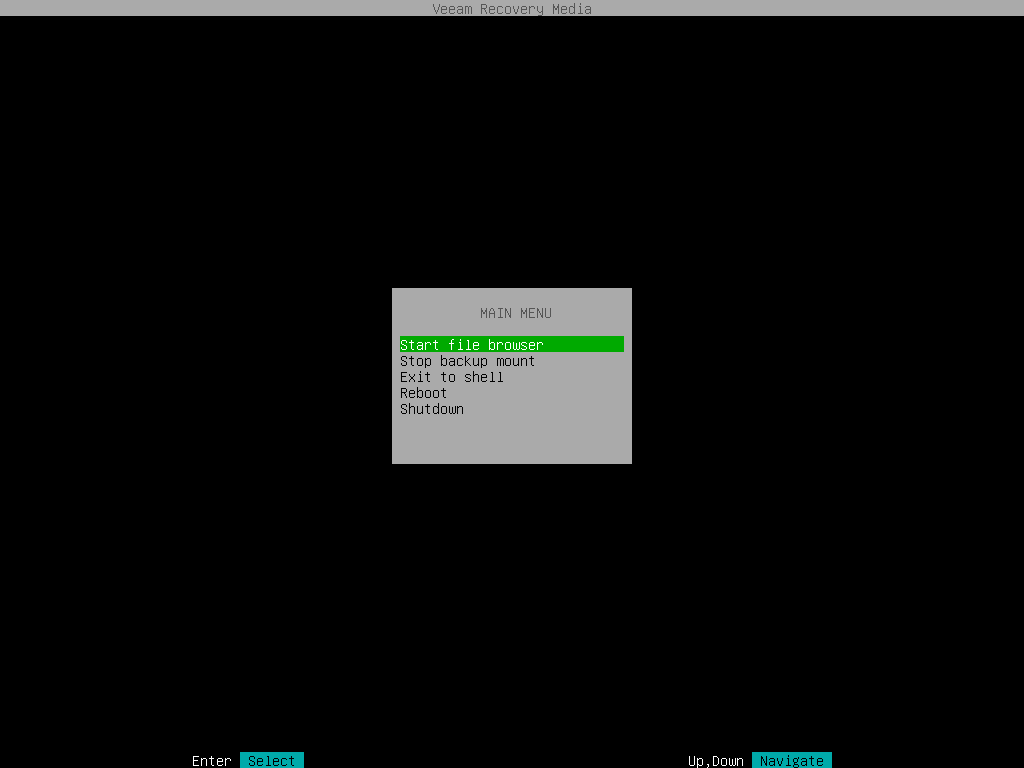
You can perform the following operations with file-level backup:
- Start file browser — select this option if you want to start the file manager and work with restored files and folders. To learn more, see Working with Midnight Commander.
- Stop backup mount — select this option if you want to stop the backup mount session and unmount the backup file content from the /mnt/backup directory of the recovery image OS file system. To learn more, see Stopping Backup Mount Session.
- Exit to shell — select this option if you want to open the Linux shell prompt and use common Linux command-line tools.
|
|
|
To stop working with the Veeam Recovery Media and shut down or restart your computer, in the File Level Restore wizard menu, select the Reboot or Shutdown option and press [Enter]. |