Step 2. Configure Network Settings
If there is a DHCP server in your network, Veeam Agent will configure the network settings automatically. To verify or configure network settings manually, use nmtui, a text-based user interface network manager tool provided with Veeam Recovery Media. To learn more about working with nmtui, see Linux documentation.
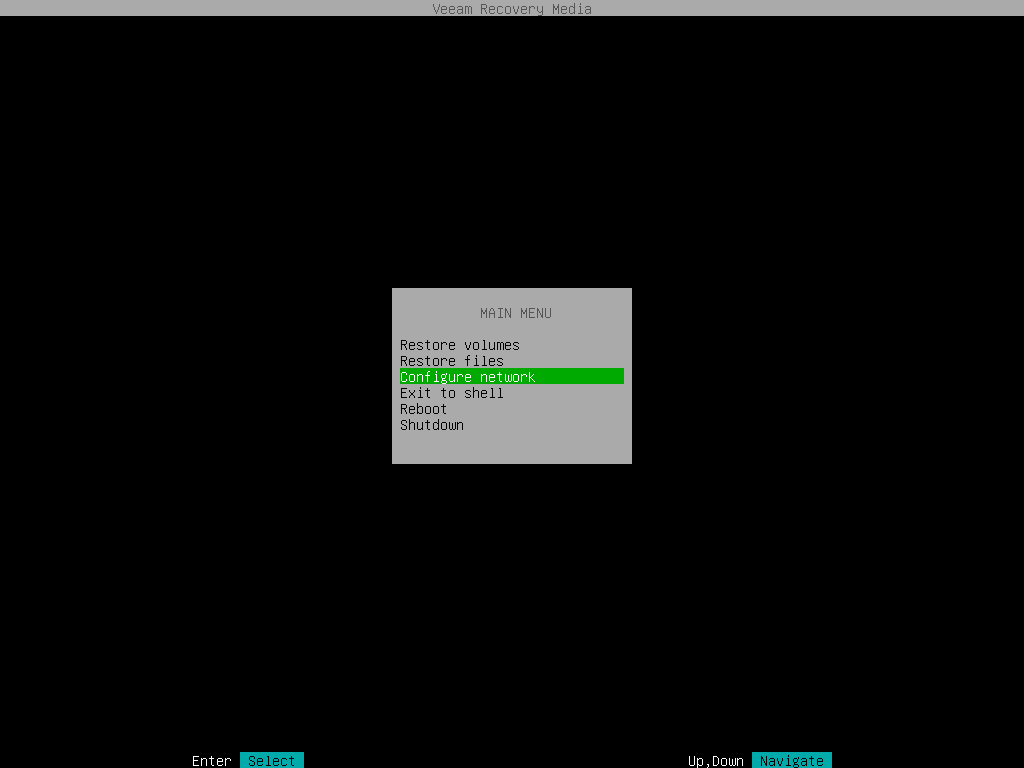
- In the Veeam Recovery Media main menu, select Configure network and press [Enter].
- To add new or modify existing connection, in NetworkManager, select Edit a connection.
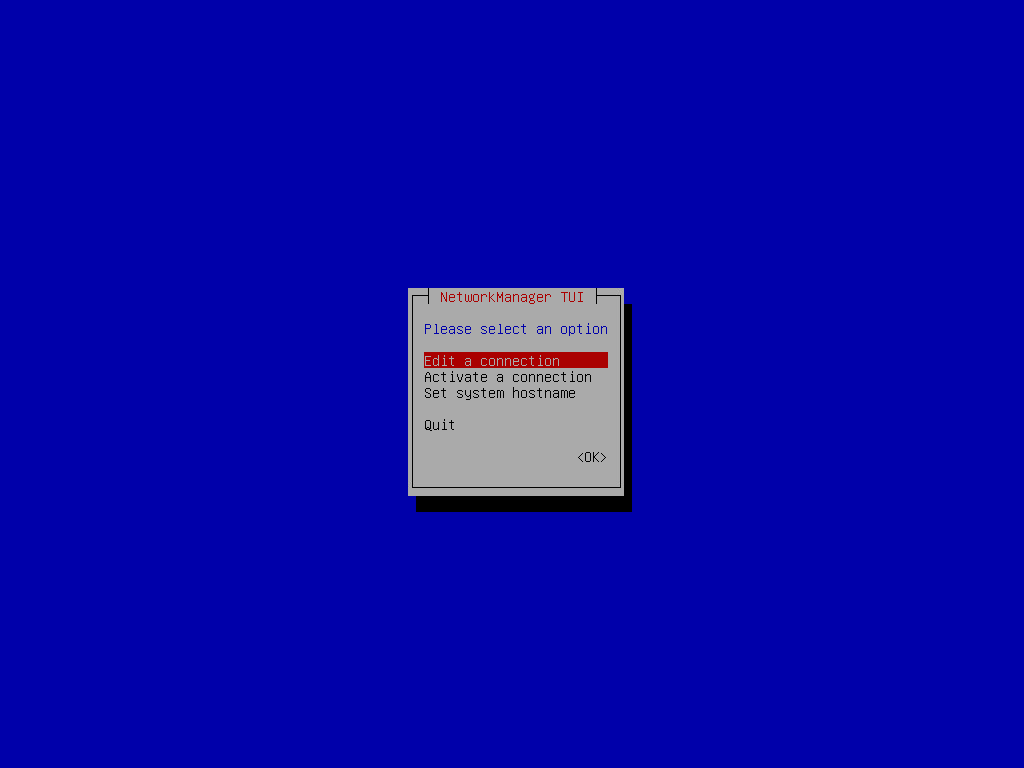
- After you add or edit a connection, in the main menu of the NetworkManager, select Activate a connection.
- If the connection is new, choose it in the list of connections; then select Activate.
- If the connection was modified, you must reactivate it. To do this, choose it in the list of connections and select Deactivate; then choose the connection again and select Activate.
- After you finish working with Network Manager, press [Esc] to return to the Veeam Recovery Media main menu and launch the Volume Restore wizard.