Step 3. Install Veeam VMware Collector
To install the Veeam VMware Collector component:
- Log on to a server using an account with local Administrator permissions.
- Download the latest version of the Veeam MP for Microsoft System Center installation image from the Download Veeam products page. Mount the installation image to the machine on which you plan to install Veeam MP for VMware or burn the image file to a flash drive or other removable storage device.
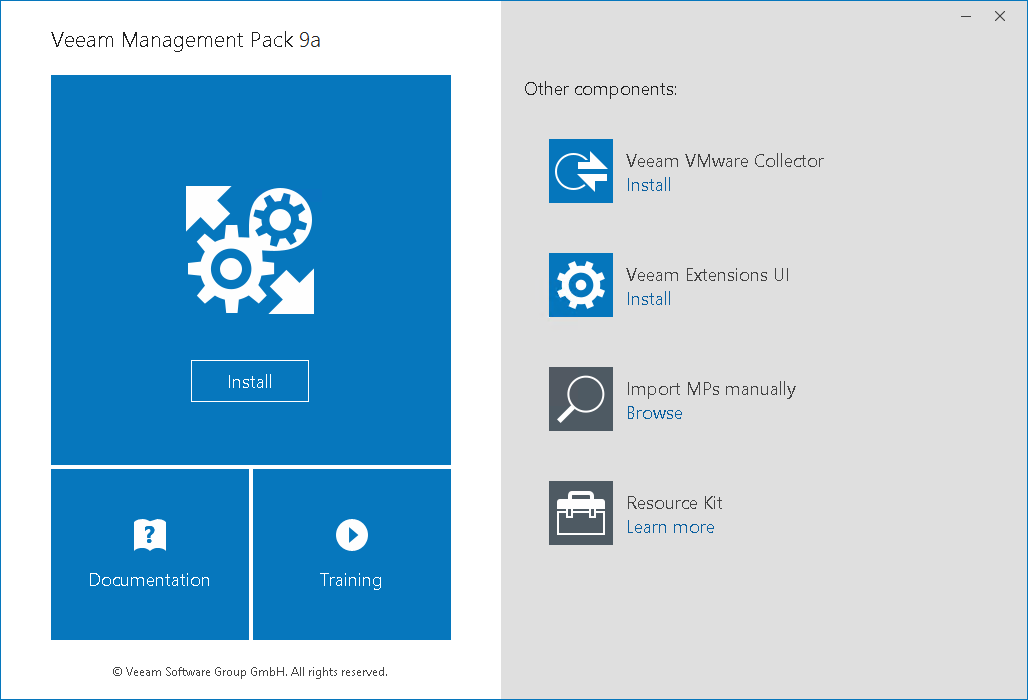
After you mount the installation image or insert the installation disc, the setup will open the splash screen with Veeam Management Pack installation options.
- In the Veeam VMware Collector section of the splash screen, click Install.
- Complete the Veeam Management Pack Setup wizard.
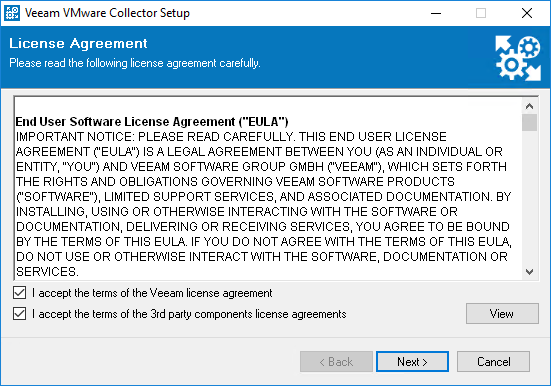
- At the License Agreement step, read and accept the license agreement. If you reject the agreement, you will not be able to continue the installation.
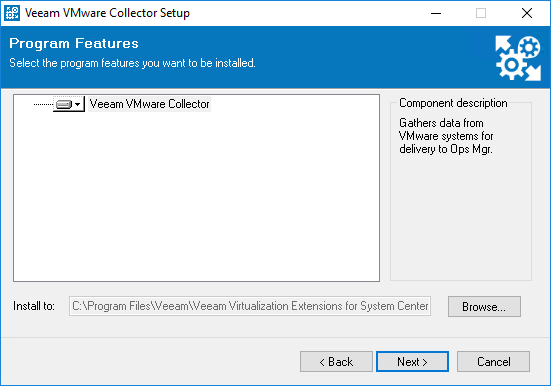
- At the Program Features step, check the default installation path where the Collector will be deployed. If necessary, you can change the installation directory.
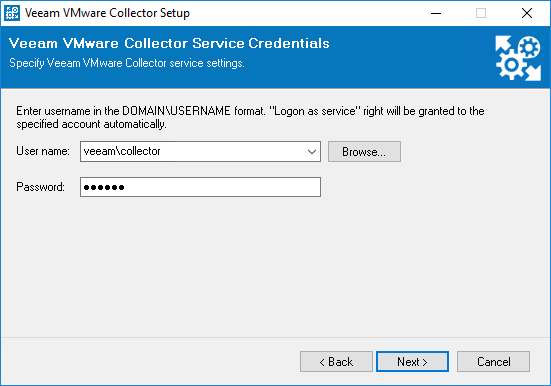
- At the Veeam VMware Collector Service Credentials step, enter credentials of an account under which the Veeam VMware Collector service will run. Use the DOMAIN\USERNAME format to specify the user name.
For more information on accounts and privileges, see Required Permissions.
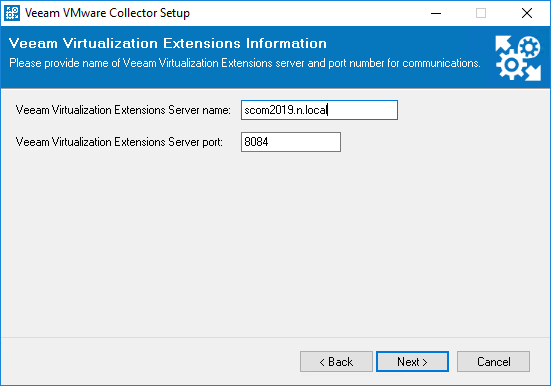
- At the Veeam Virtualization Extensions Information step, enter the name of the server where the VE Service runs and specify the port for the VE Service connection. This must be the port that you specified during the VE Service installation (by default, 8084).
Important |
Ensure you have specified the port that is used to connect to the server running the VE Service, not the Veeam UI. |
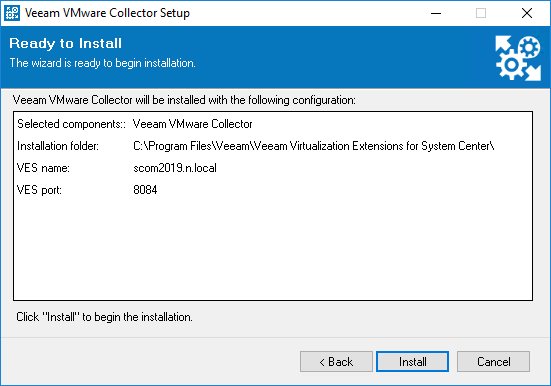
- At the Ready to Install step, review installation settings. Click Install to begin installation.
