Step 4. Specify Backup Proxy Server
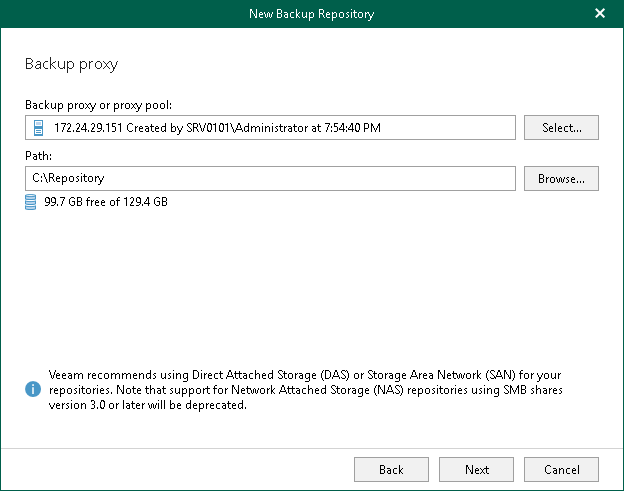
At this step of the wizard, select a backup proxy server and specify a directory where you want to store backups.
Note |
Directory where you want to store backups must not be the Veeam Backup for Microsoft 365 installation folder. |
You can use the default backup proxy server or another remote backup proxy server added to the Veeam Backup for Microsoft 365 infrastructure.
Consider the following:
- By default, Veeam Backup for Microsoft 365 will use the default backup proxy server.
- A remote backup proxy server must be Windows-based.
- A remote backup proxy server must not be added to a backup proxy pool.
To specify a backup proxy server and a directory for storing backups, do the following:
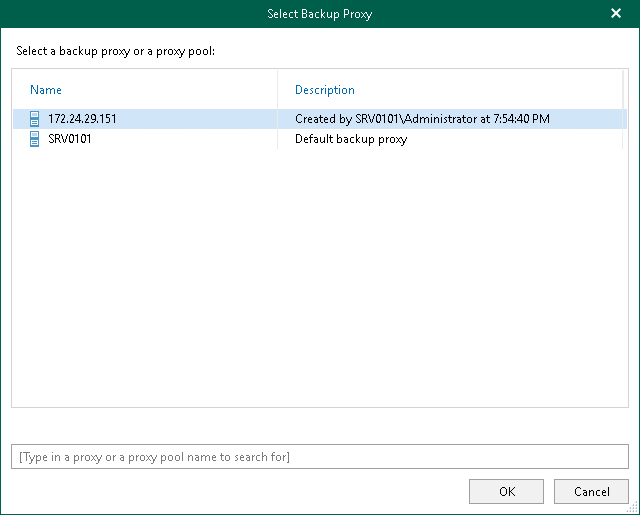
- Use the default backup proxy server, or if you want to use a remote backup proxy server, click Select, and then do the following:
- In the Select Backup Proxy window, select a backup proxy server that you want to use. You can select only one backup proxy server.
Tip |
To quickly find necessary backup proxy servers, you can use the search field at the bottom. |

- Click OK.
- In the Path field, specify a directory to store your backups. To do this, click Browse and select a directory.
Note |
To use a shared folder, provide the path manually. For more information about shared folders, see Network Attached Storage (SMB Shares). |
- Click Get free space if you want to know the available space on the selected backup proxy server.
