OneDrive Restore
To restore OneDrive items, do the following:
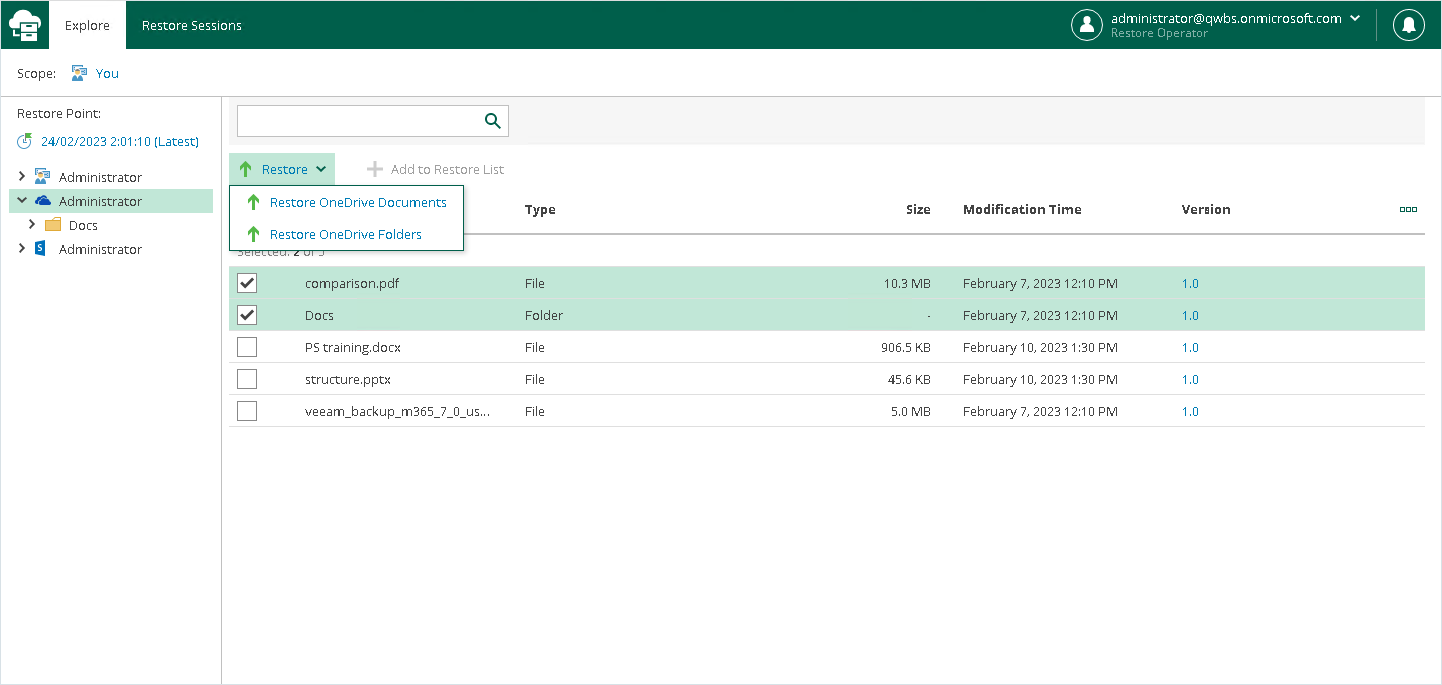
- Open the Explore tab.
- Select the OneDrive workload. For more information, see Selecting Workload.
- Select a restore point from which you want to explore and restore data. For more information, see Selecting Restore Point.
- In the navigation pane, browse through the hierarchy of folders with backed-up data.
- Select a folder that contains data you want to restore.
- In the preview pane, select check boxes next to the necessary OneDrive items.
For OneDrive folders and documents, you can select which version of an item you want to restore. To do this, in the Version column, click the most recent version number, and in the displayed window, select the earlier version to restore.
|
Note |
|
Consider the following:
|
- Click Restore and select one of the following options if necessary:
- Restore OneDrive Documents. This option allows you to restore OneDrive documents.
- Restore OneDrive Folders. This option allows you to restore OneDrive folders.
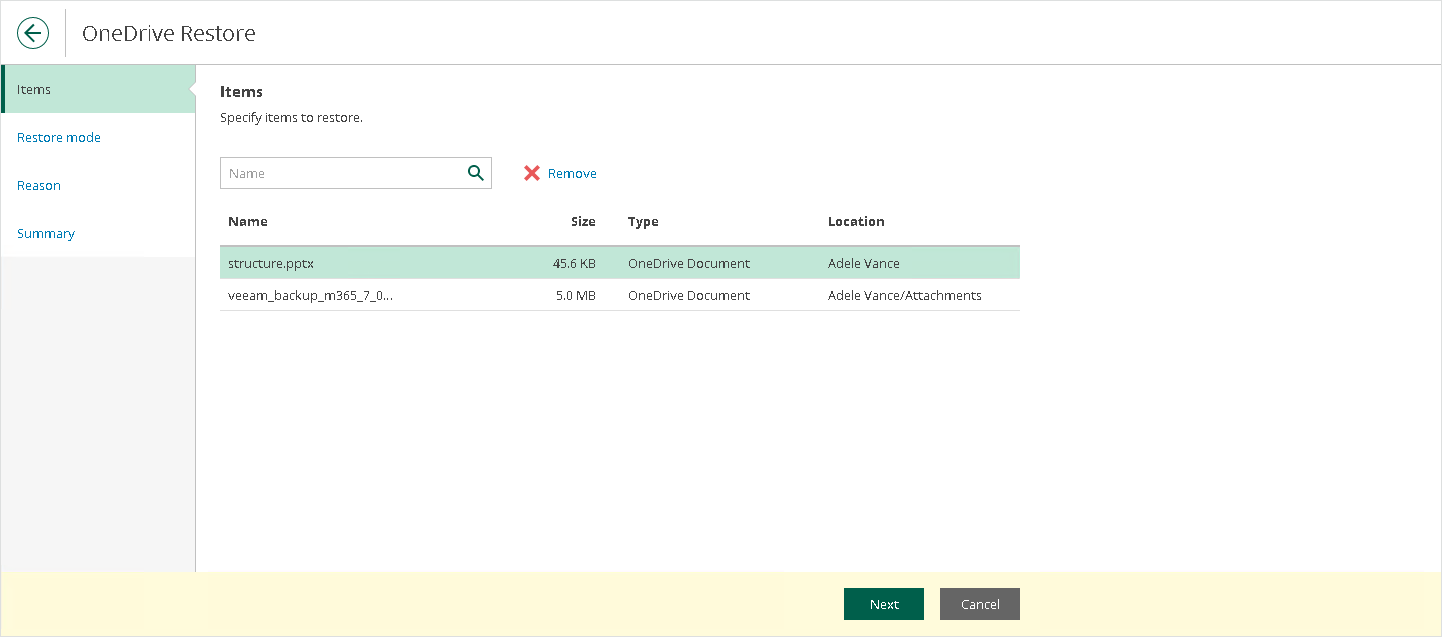
The OneDrive Restore wizard runs to configure the restore operation options.
- At the Items step, specify items that you want to restore. If you no longer want to restore an item, select it and click Remove.
- At the Restore mode step, choose whether you want to overwrite the file or document in the original location or keep the restored one along with the original.

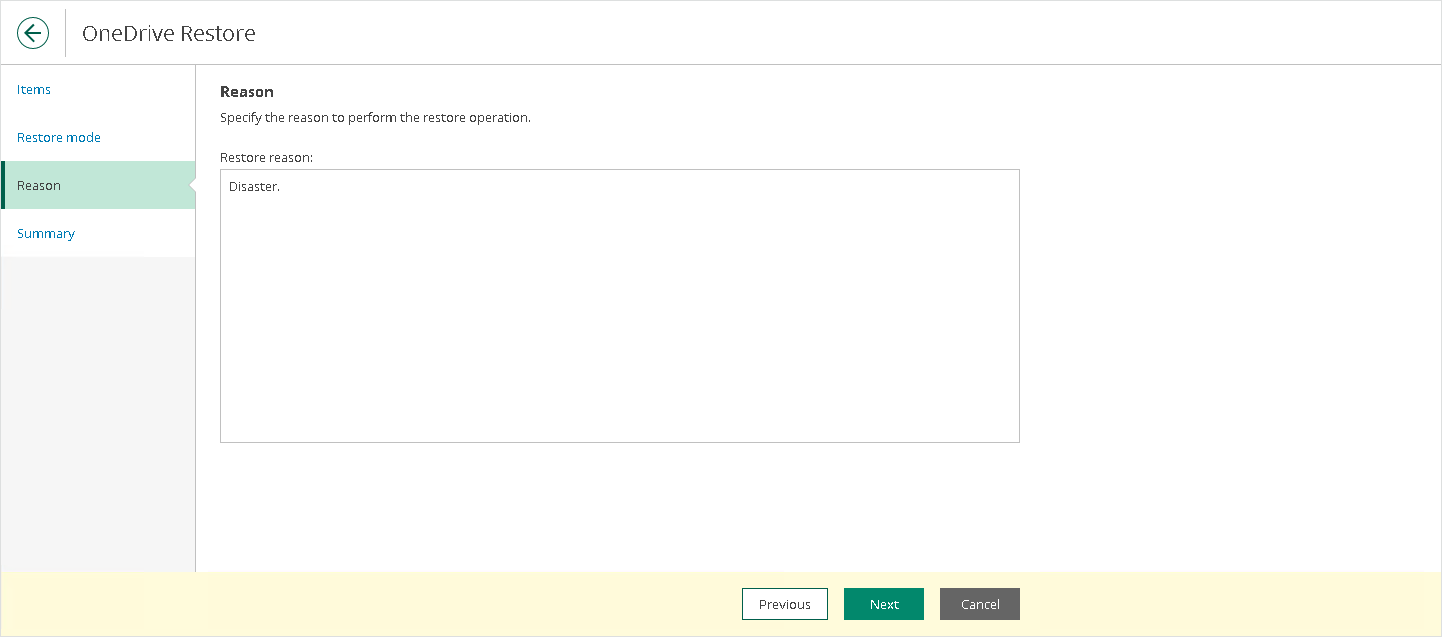
- [Optional] At the Reason step, specify a restore reason. This information will be available in the Reason column on the Restore Sessions tab and you will be able to reference it later.
- At the Summary step, review details of the restore operation and click Finish.
Restore Portal runs the restore operation immediately and opens the Restore Sessions tab, where you view details about restore session progress and results.