Uninstalling Veeam Backup for Microsoft 365
To uninstall Veeam Backup for Microsoft 365, do the following:
- Stop all restore sessions (if any) in Veeam Explorer for Microsoft Exchange, Veeam Explorer for Microsoft SharePoint, Veeam Explorer for Microsoft OneDrive for Business and Veeam Explorer for Microsoft Teams.
- Open the Veeam Backup for Microsoft 365 console, go to Backup Infrastructure > Backup Proxies and remove all configured backup proxy servers. For more information, see Removing Backup Proxy Servers.
- From the Start menu, select Control Panel > Programs and Features.
- In the programs list, right-click Veeam Backup for Microsoft 365 and select Uninstall.
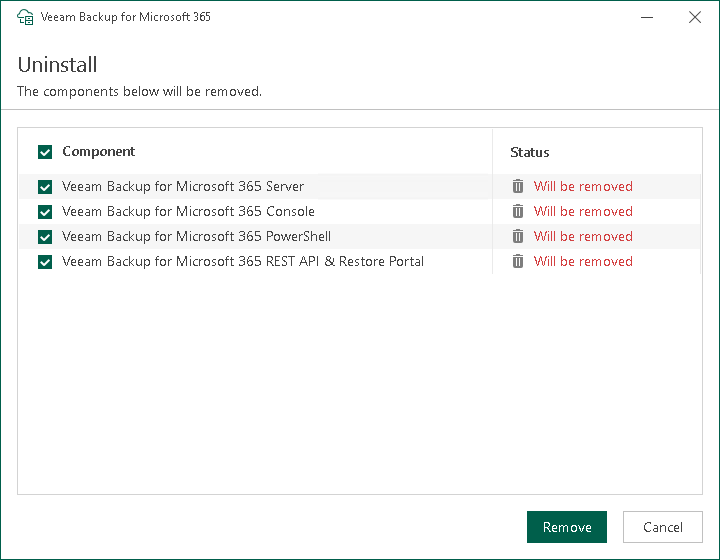
The Veeam Backup for Microsoft 365 uninstallation wizard runs.
- At the Uninstall step, select check boxes next to the items that you want to uninstall and click Remove. Keep in mind that the Veeam Backup for Microsoft 365 uninstallation wizard uninstalls Veeam Explorers that are included in the Veeam Backup for Microsoft 365 installation package if you have only Veeam Backup for Microsoft 365 on your machine.
- Wait for the uninstallation process to complete and click Finish to exit the wizard.

Removing Veeam Backup for Microsoft 365 Data from PostgreSQL Instance and NATS Server
During the uninstallation process, Veeam Backup for Microsoft 365 does not remove automatically the product data from a PostgreSQL instance and the NATS server. You can manually remove data related to Veeam Backup for Microsoft 365: the configuration database, streams and configuration files.
The configuration database file with the VeeamBackup365 name and configuration files are located in the C:\Program Files\PostgreSQL\15\data folder on a machine with the PostgreSQL instance.
Streams related to Veeam Backup for Microsoft 365 are located in the %ProgramData%\Veeam\Backup365\nats folder on the Veeam Backup for Microsoft 365 server.
The NATS server configuration files are located in the %ProgramData%\NATS folder.
For more information on how to remove the configuration database, see this PostgreSQL article.
For more information on how to delete streams, see this NATS article.
For more information on how to delete the nats-server service, see this NATS article and this Microsoft article.