Filling Company Profile
Before you start working with Veeam Service Provider Console, you must fill out the reseller profile. The profile contains information about your company, such as the company name, address, contact person details and so on. Information specified in the reseller profile is included in invoices, backup reports and email notifications.
Some information in the reseller profile is populated by the Veeam Service Provider Console Portal Administrator, when a reseller account is registered. You must check provided details and fill the remaining information in the reseller profile.
Required Privileges
To perform this task, a user must have one of the following roles assigned: Service Provider Global Administrator, Service Provider Administrator.
Filling Company Profile
To fill the company profile:
- Log in to Veeam Service Provider Console.
For details, see Accessing Veeam Service Provider Console.
- At the top right corner of the Veeam Service Provider Console window, click Configuration.
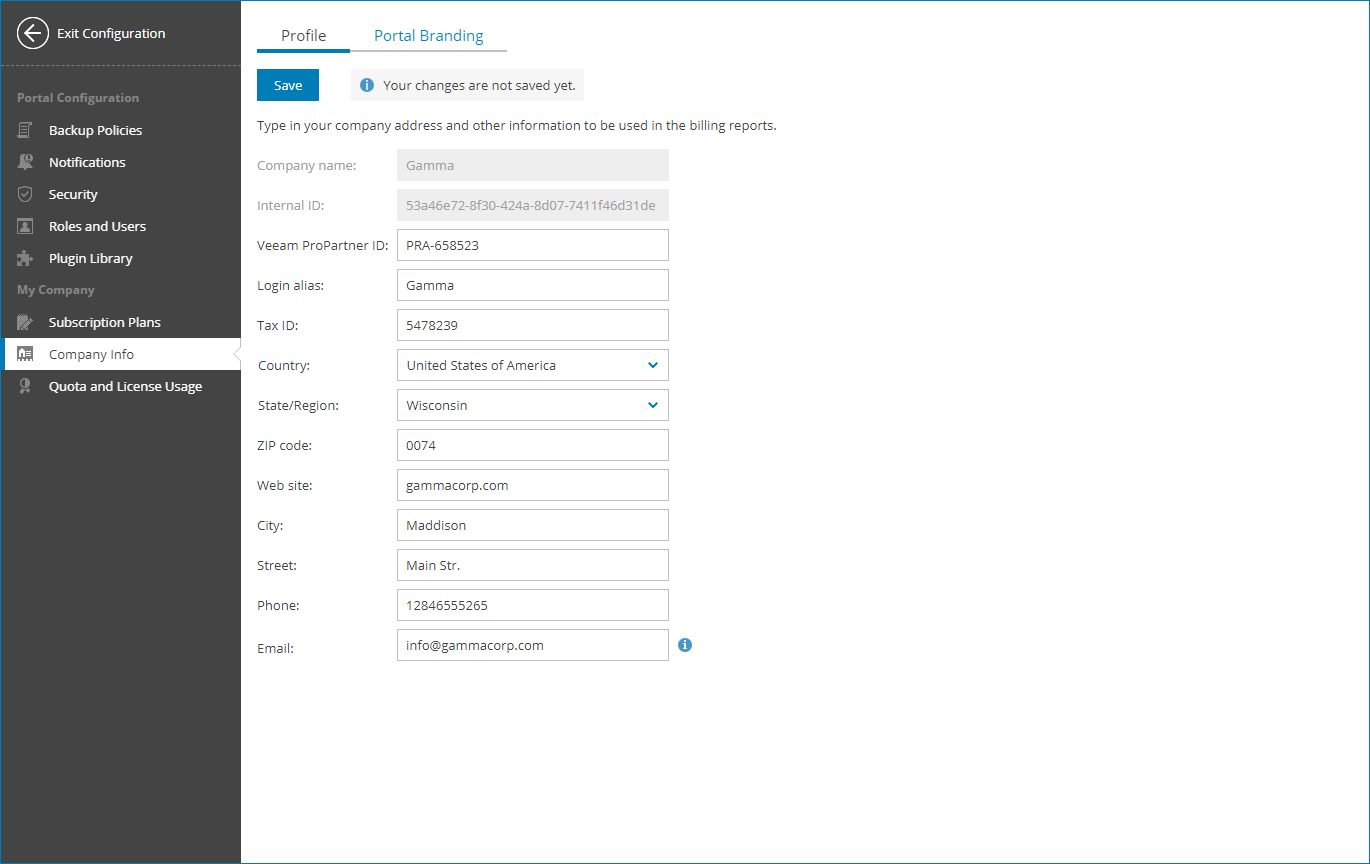
- In the configuration menu on the left, click Company Info.
- In the Veeam ProPartner ID field, specify your ProPartner ID.
To obtain a ProPartner ID, you must be registered in the Veeam ProPartner Program.
Note that if you have configured VCSP Pulse integration, your ProPartner ID will be filled in automatically. For details, see Integration with VCSP Pulse.
- In the Login alias field, specify a short name for login to the backup portal.
- In the Tax ID field, specify the company tax identification number.
- In the Country, State/Region, ZIP code, Website, City, Street and Phone fields, specify your company address and contact information.
The specified country and region will be used to display the company on the Companies State by Region map on the Overview dashboard. For details, see Overview.
- In the Email field, specify a contact email address.
This address will be displayed in the From field in the notifications sent by Veeam Service Provider Console. For details on notification settings, see Configuring Notification Settings.
- Click Save.
The specified company name, tax ID, phone number and address will be displayed in invoices.