 This is an archive version of the document. To get the most up-to-date information, see the current version.
Retrieving Data from Archive
Backups stored in archive backup repositories are not immediately accessible. If you want to restore an EC2 instance from a backup that is stored in an archive backup repository, you must first retrieve the archived data.
During the data retrieval process, a temporary copy of the archived data is created in an Amazon S3 bucket where the archive backup repository is located. This copy is stored in the S3 standard storage class for a period of time that you specify when launching the data retrieval process. If the time period expires while a restore operation is still running, Veeam Backup for AWS automatically extends the period to keep the retrieved data available for 1 more day. You can also extend the availability period manually.
To retrieve data from an archived restore point, complete the Retrieve Backup wizard:
- At the Retrieval Mode step of the wizard, choose the retrieval mode that Veeam Backup & Replication will use to retrieve the archived data:
- Expedited — the most expensive mode. If you choose this mode, the retrieved data will be available within 1–5 minutes.
Note that this mode is not supported for data stored in the S3 Glacier Deep Archive storage class.
- Standard — the recommended mode. If you choose this mode, the retrieved data will be available within 3–5 hours for data stored in the Amazon S3 Glacier Flexible Retrieval storage class and within 12 hours for data stored in the Amazon S3 Glacier Deep Archive storage class.
- Bulk — the least expensive mode. If you choose this mode, the retrieved data will be available within 5–12 hours for data stored in the Amazon S3 Glacier Flexible Retrieval storage class and within 48 hours for data stored in the Amazon S3 Glacier Deep Archive storage class.
- Standard accelerated — the option that is less expensive than the Expedited option. The retrieved data is available within 15-30 minutes for data stored in the S3 Glacier Flexible Retrieval storage class. With this option enabled, Veeam Backup for AWS leverages the S3 Batch Operations functionality to retrieve the archived data.
Before you enable this mode, it is recommended that you check whether the IAM role specified to access the archive backup repository has all the permissions required to perform data retrieval operations. For more information, see Managing Backup Repositories.
For more information on archive retrieval options, see AWS Documentation.
- At the Availability Period step of the wizard, specify the number of days for which you want to keep the data available for restore operations.
The data will be available during the day when the retrieval process completes plus the specified number of days. Each day starts at 12:00 AM (UTC) and ends at 11:59 PM (UTC). For example, if the data retrieval finishes at 3:00 PM (UTC) on June 6, and the availability period is set to 1 day, the data will be available till 11:59 PM (UTC) on June 7.
Tip |
If you want to receive an email notification when data is about to expire, select the Enable e-mail notifications check box and choose when you want to be notified (that is, the number of hours remaining until data expiration). To learn how to configure global email notification settings, see the Veeam Backup & Replication User Guide, section Configuring Global Email Notification Settings. |
- At the Summary step of the wizard, review summary information and click Finish.
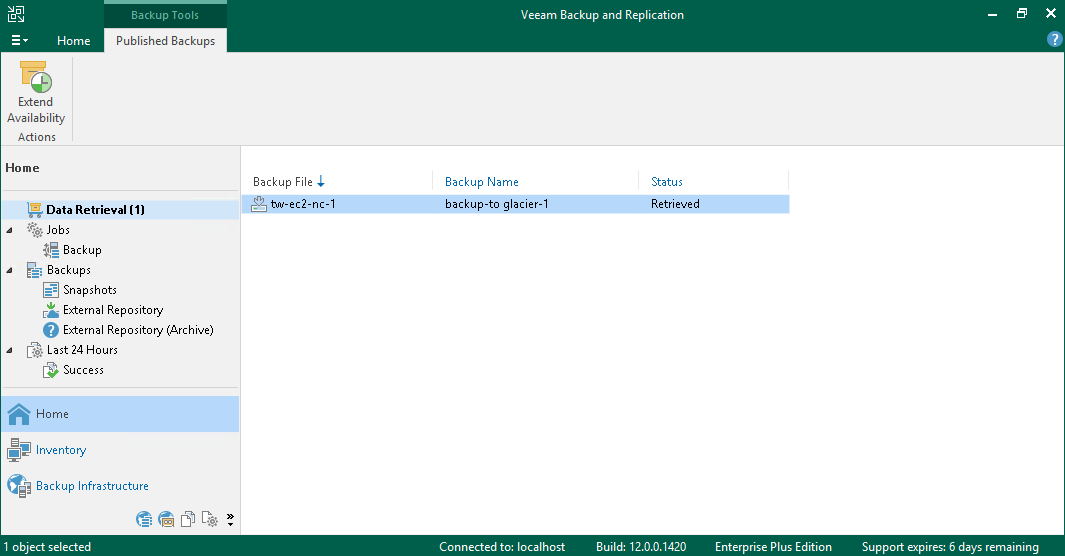
The retrieved data will be displayed in the Home view under the Data Retrieval node.
After you complete the Retrieve Backup wizard, you will be able to proceed with the Restore to Amazon EC2 wizard. However, the restore process will start only after the data is retrieved.
To extend time for which you want to keep retrieved data available for restore operations:
- In the Veeam Backup & Replication console, open the Home view.
- Navigate to Data Retrieval node.
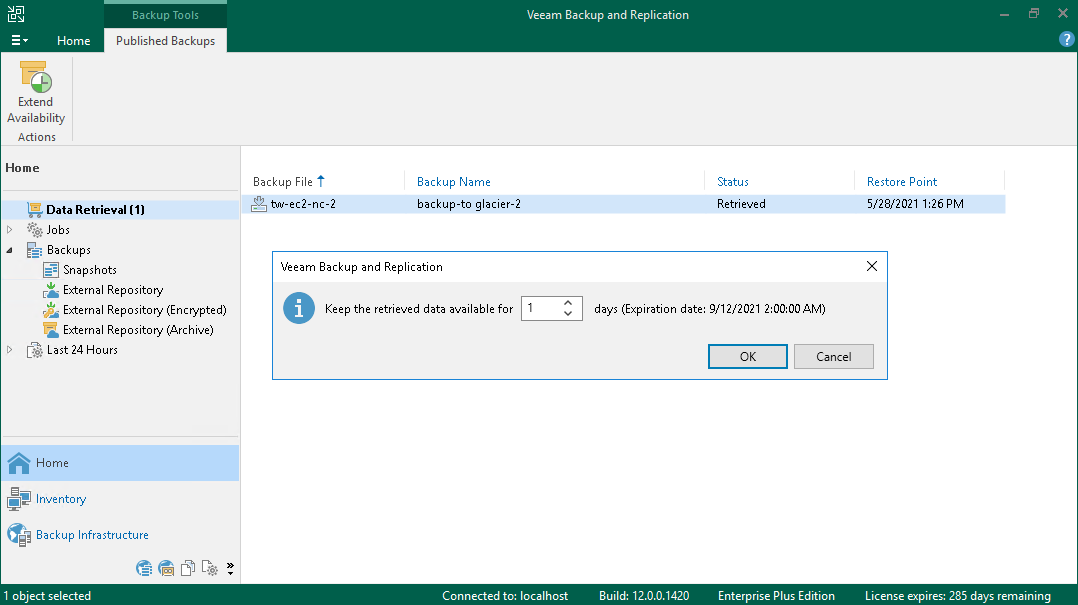
- Select an EC2 instance for which you want to extend availability of the retrieved data and click Extend Availability on the ribbon.
Alternatively, you can right-click the EC2 instance and click Extend availability.
- In the opened window, specify the number of days for which you want to keep the data available for restore operations, and click OK.

