Creating Location Users
You can create new users with the Location User role. These users can only work with the functionality available in the Veeam Service Provider Console Client Portal. Data available to a Location User can be limited to one or more company locations, and the user can access data pertaining to all managed Veeam backup agents, Veeam Backup & Replication, Veeam Backup Enterprise Manager, Veeam ONE and Veeam Backup for Microsoft 365 servers in these locations.
To create a new Location User in Veeam Service Provider Console:
- Log in to Veeam Service Provider Console.
For details, see Accessing Veeam Service Provider Console.
- At the top right corner of the Veeam Service Provider Console window, click Configuration.
- In the configuration menu on the left, click Roles & Users.
- Open the Managed Companies tab and navigate to Local Users.
- On the Local Users tab, click New.
Alternatively, you can right-click the user list and choose New.
Veeam Service Provider Console will launch the New User wizard.
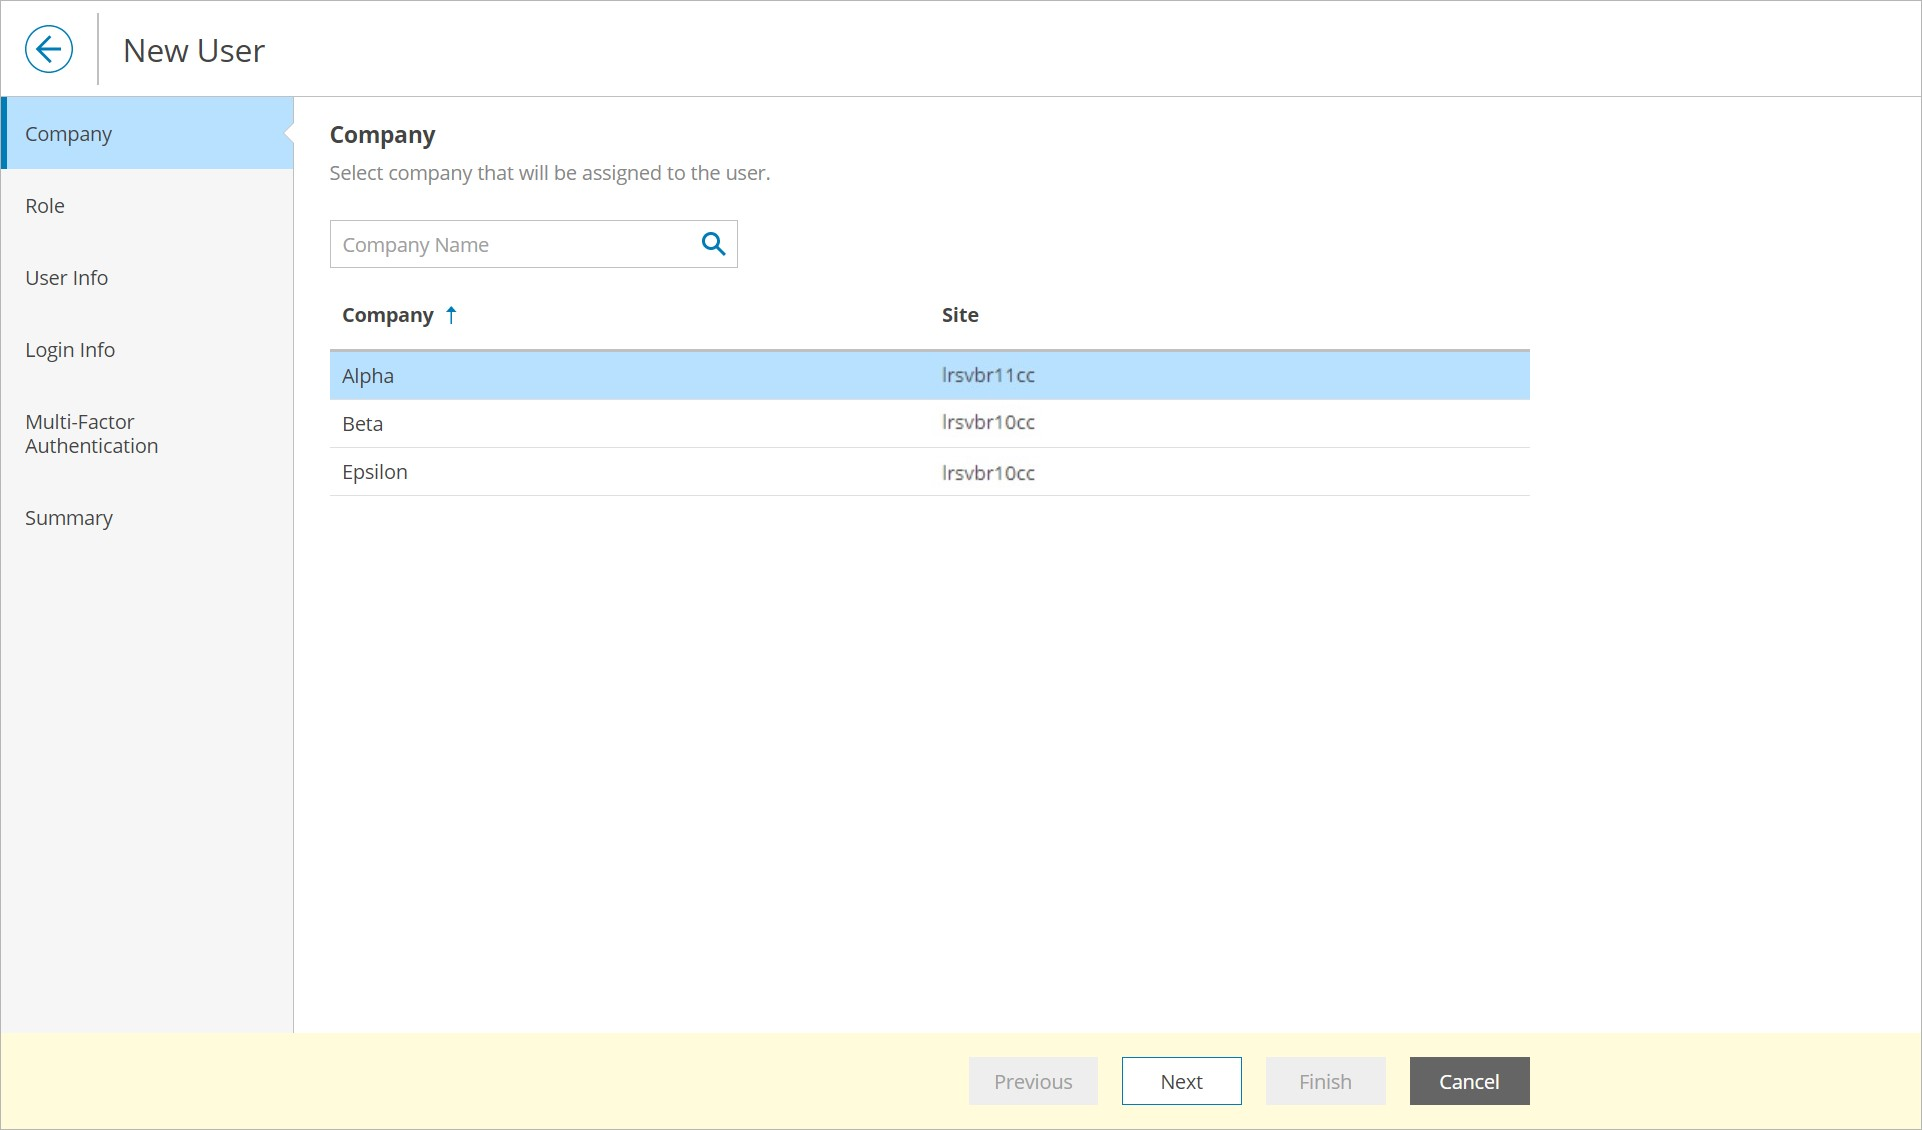
- At the Company step of the wizard, select the company for which the user will be created.
- At the Role step of the wizard, choose Location User.
- At the User Info step of the wizard, specify user title, first name, last name, and email address.
Veeam Service Provider Console can use this address to send email notifications to the user, such as password reset notifications and so on.

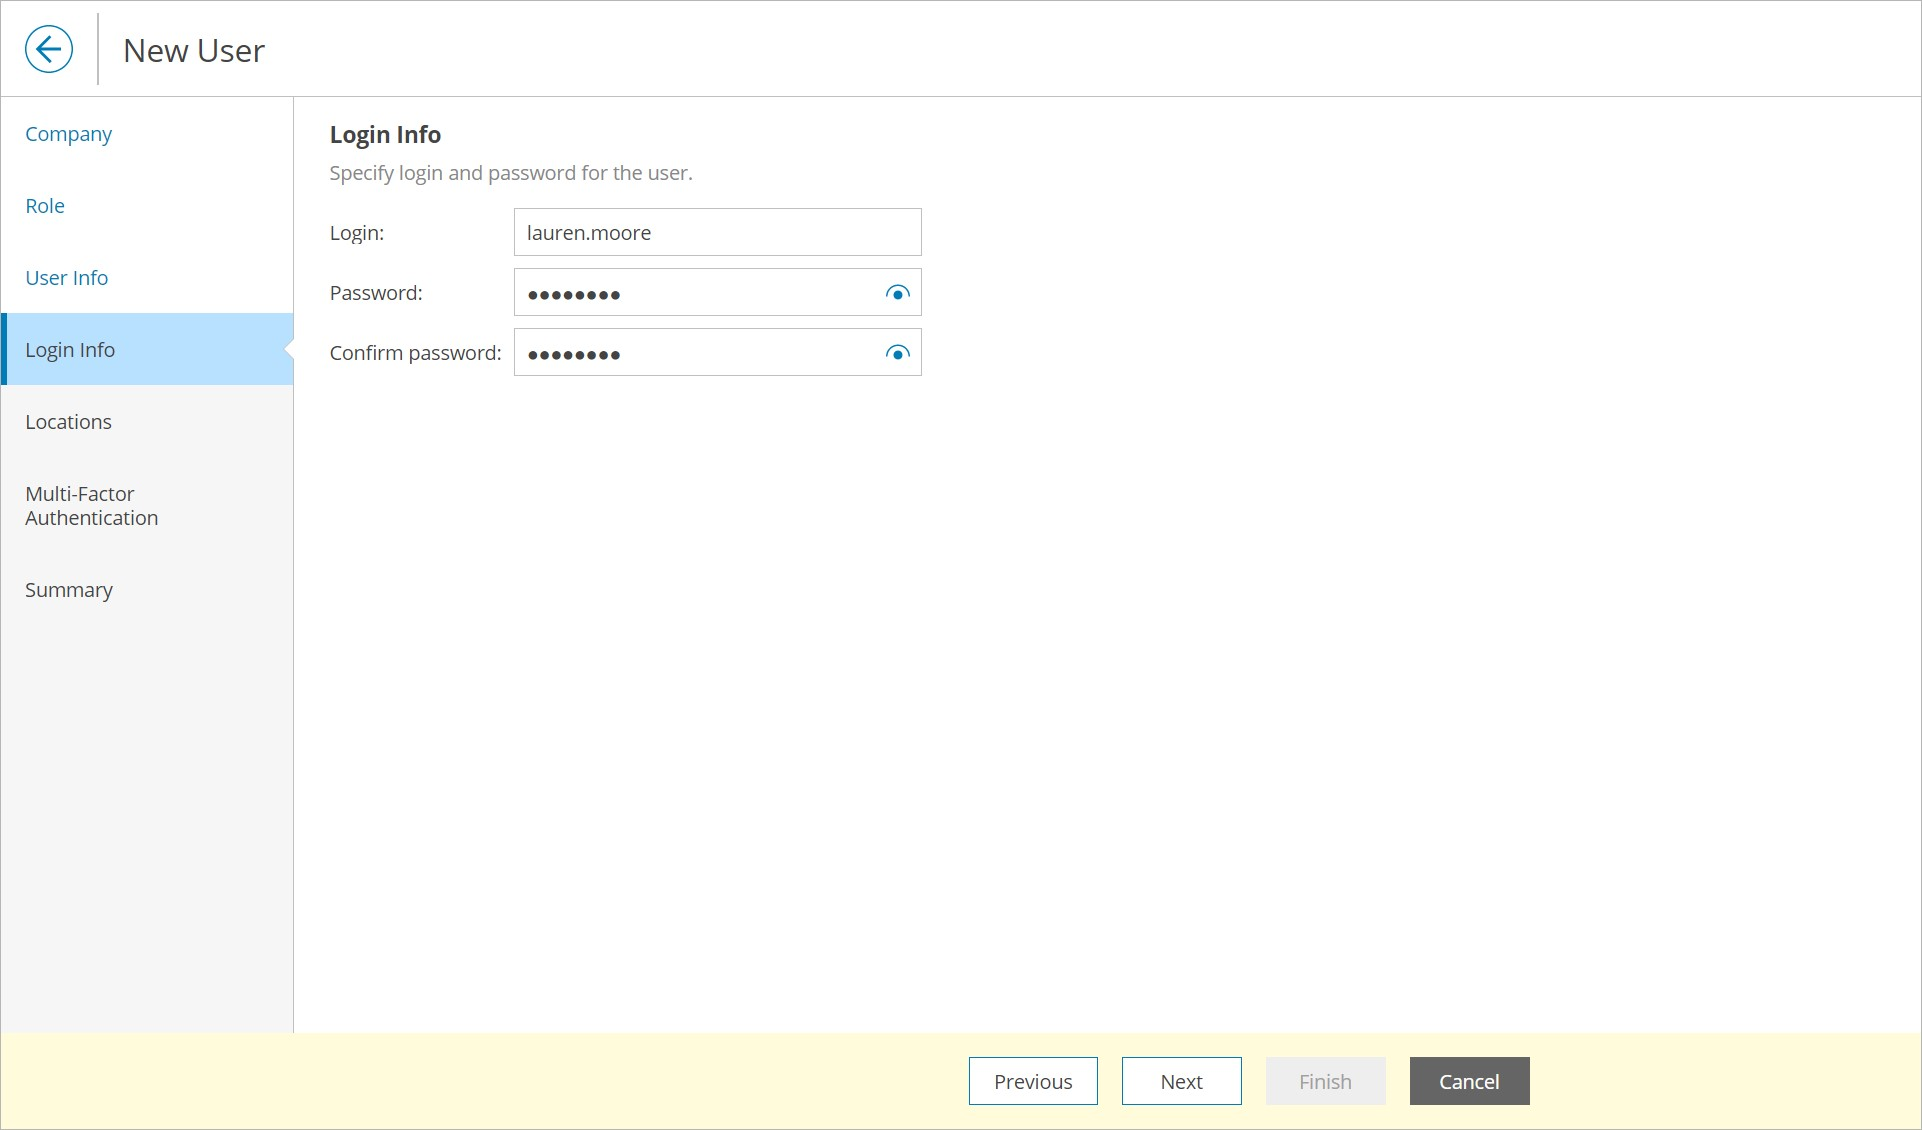
- At the Login Info step of the wizard, in the Login, Password and Confirm password fields, type a user login name and password.
It is recommended to use a password that contains characters from at least 3 of the following categories: uppercase characters, lowercase characters, base 10 digits (0 through 9), non-alphanumeric characters. The recommended password length is 6 or more characters.
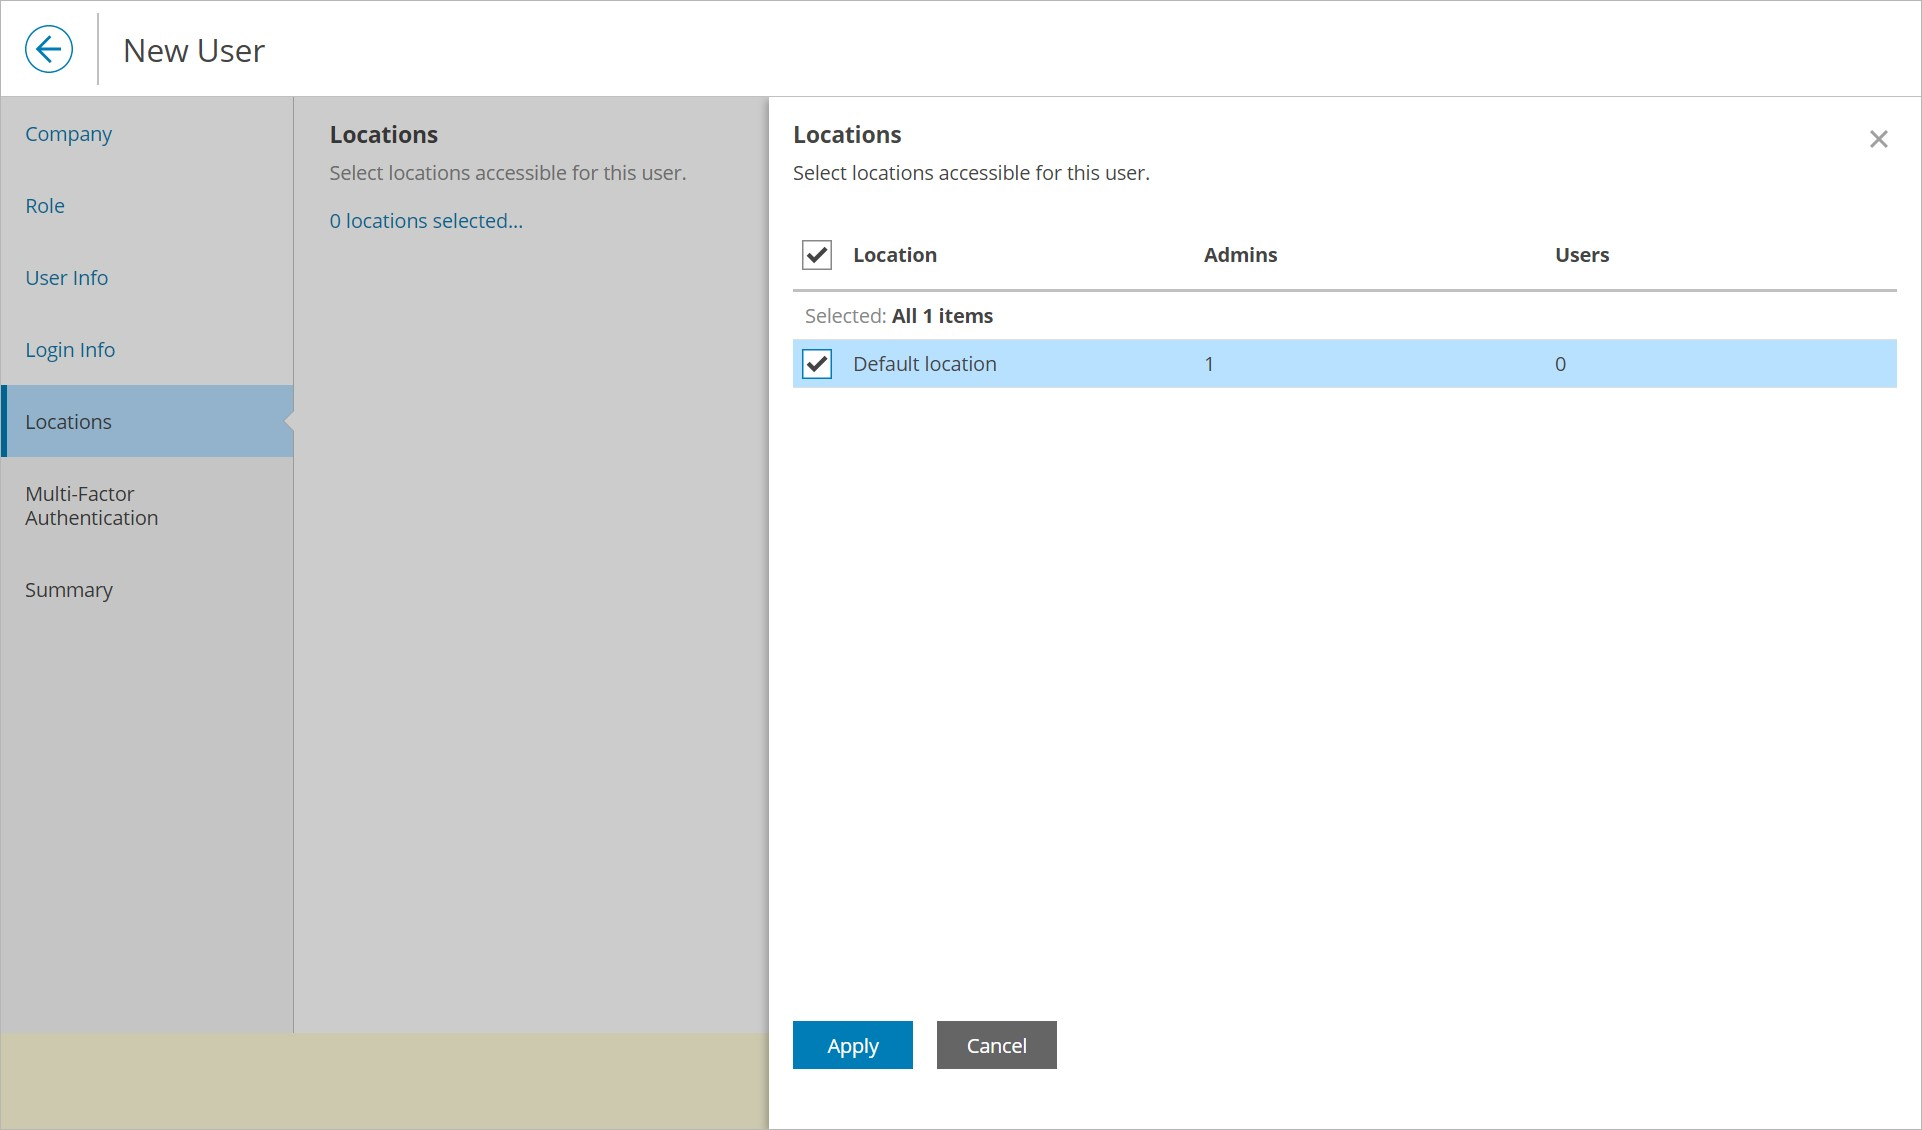
- At the Locations step of the wizard, click the link and select company locations whose data must be available for the user in the Client Portal. Click Apply.
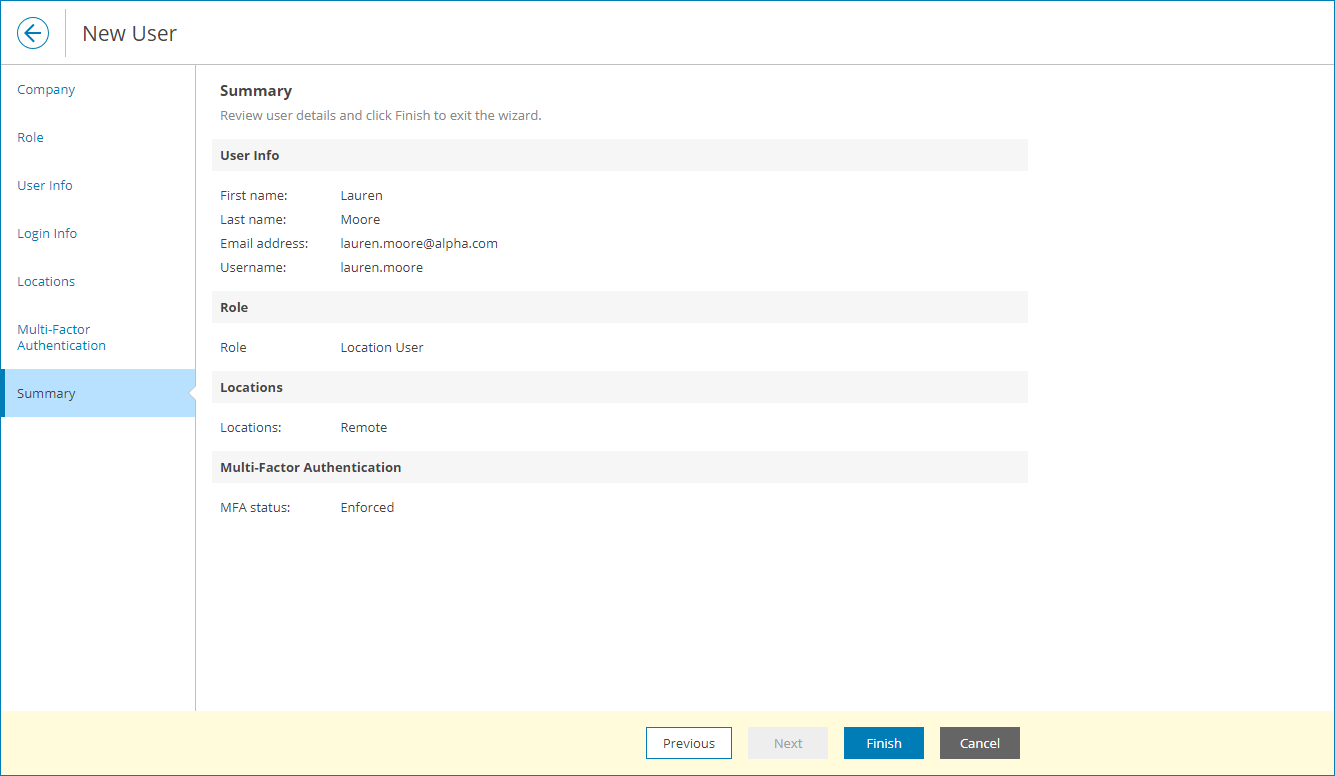
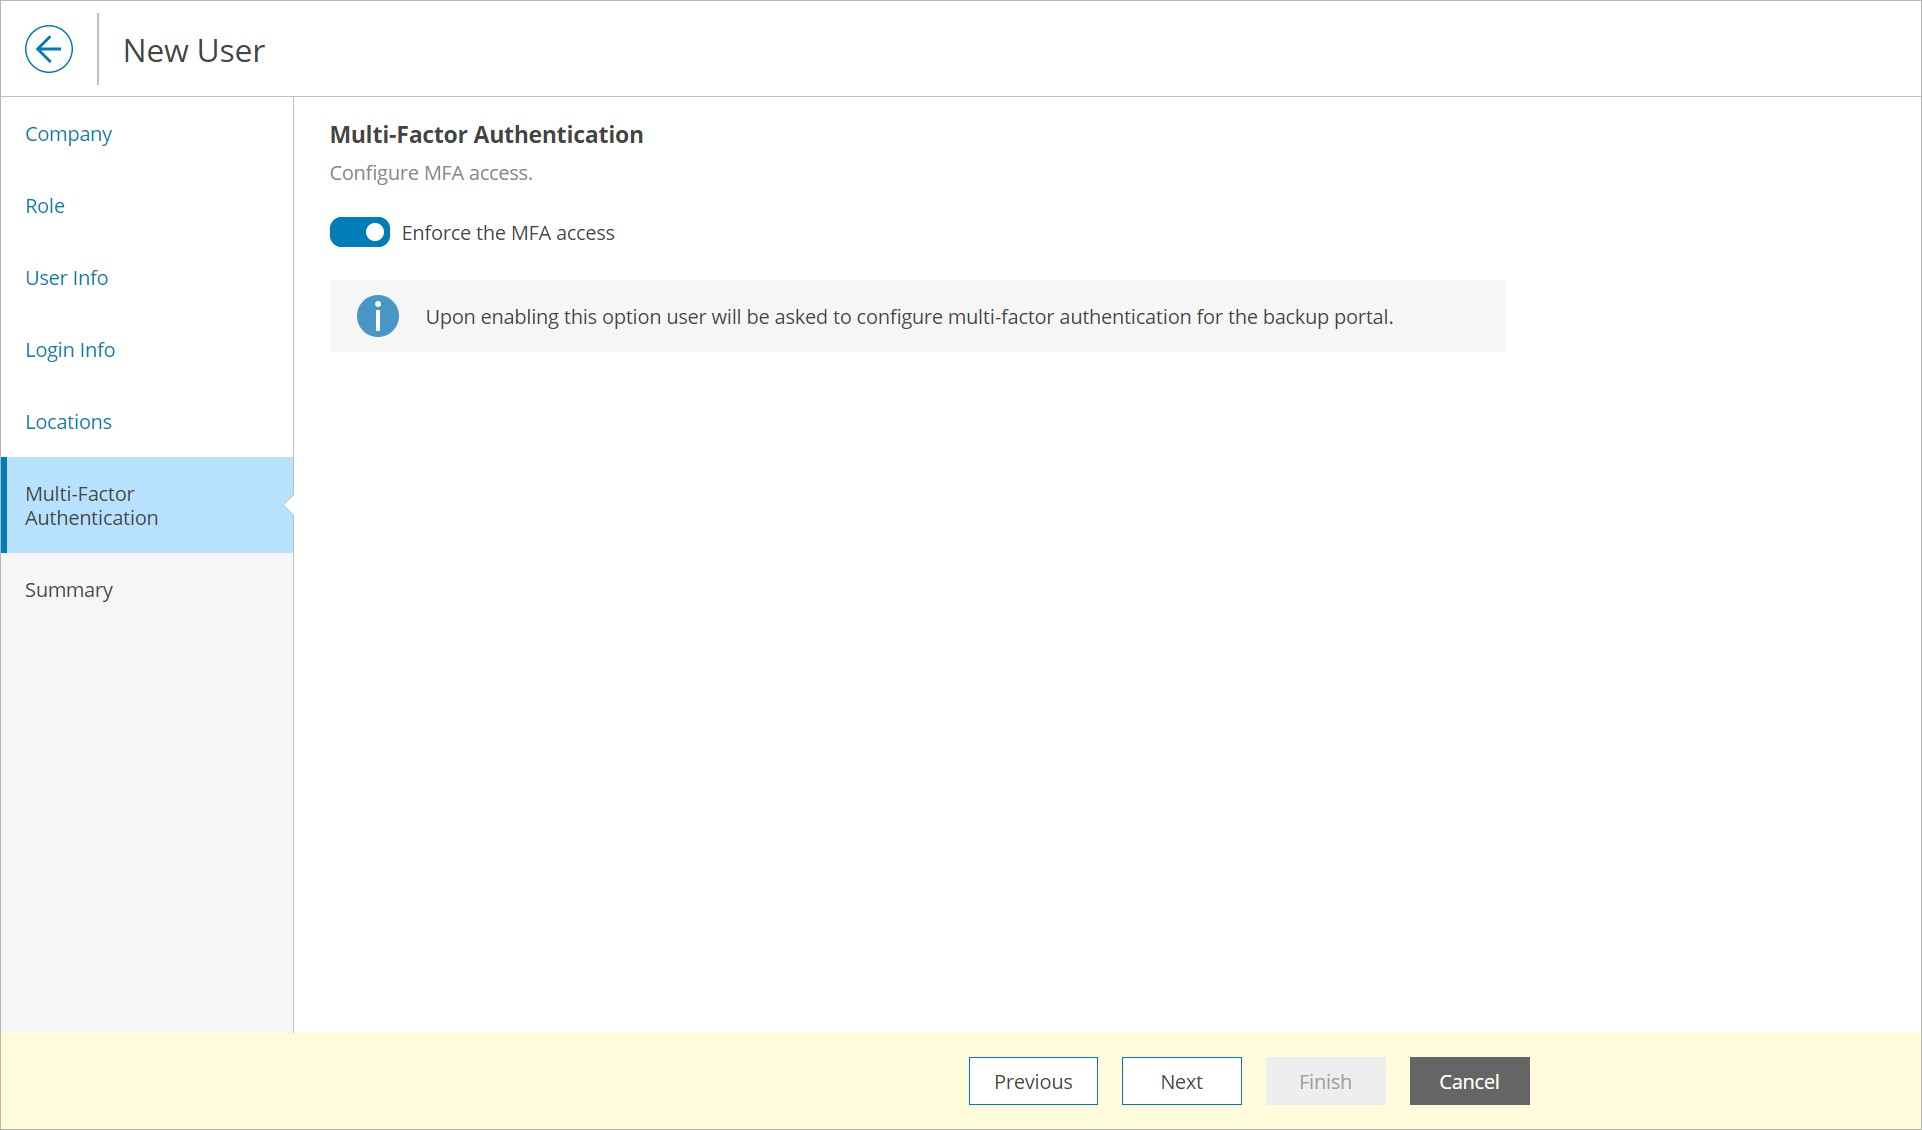
- At the Multi-Factor Authentication step of the wizard you can assign a second authentication factor to the new user. For details on MFA, see Configuring Multi-Factor Authentication.
To enable MFA for the new user, set the Mandatory MFA usage toggle to On. On the next authorization session, the user will be prompted to configure MFA.
- At the Summary step of the wizard, review user details and click Finish.