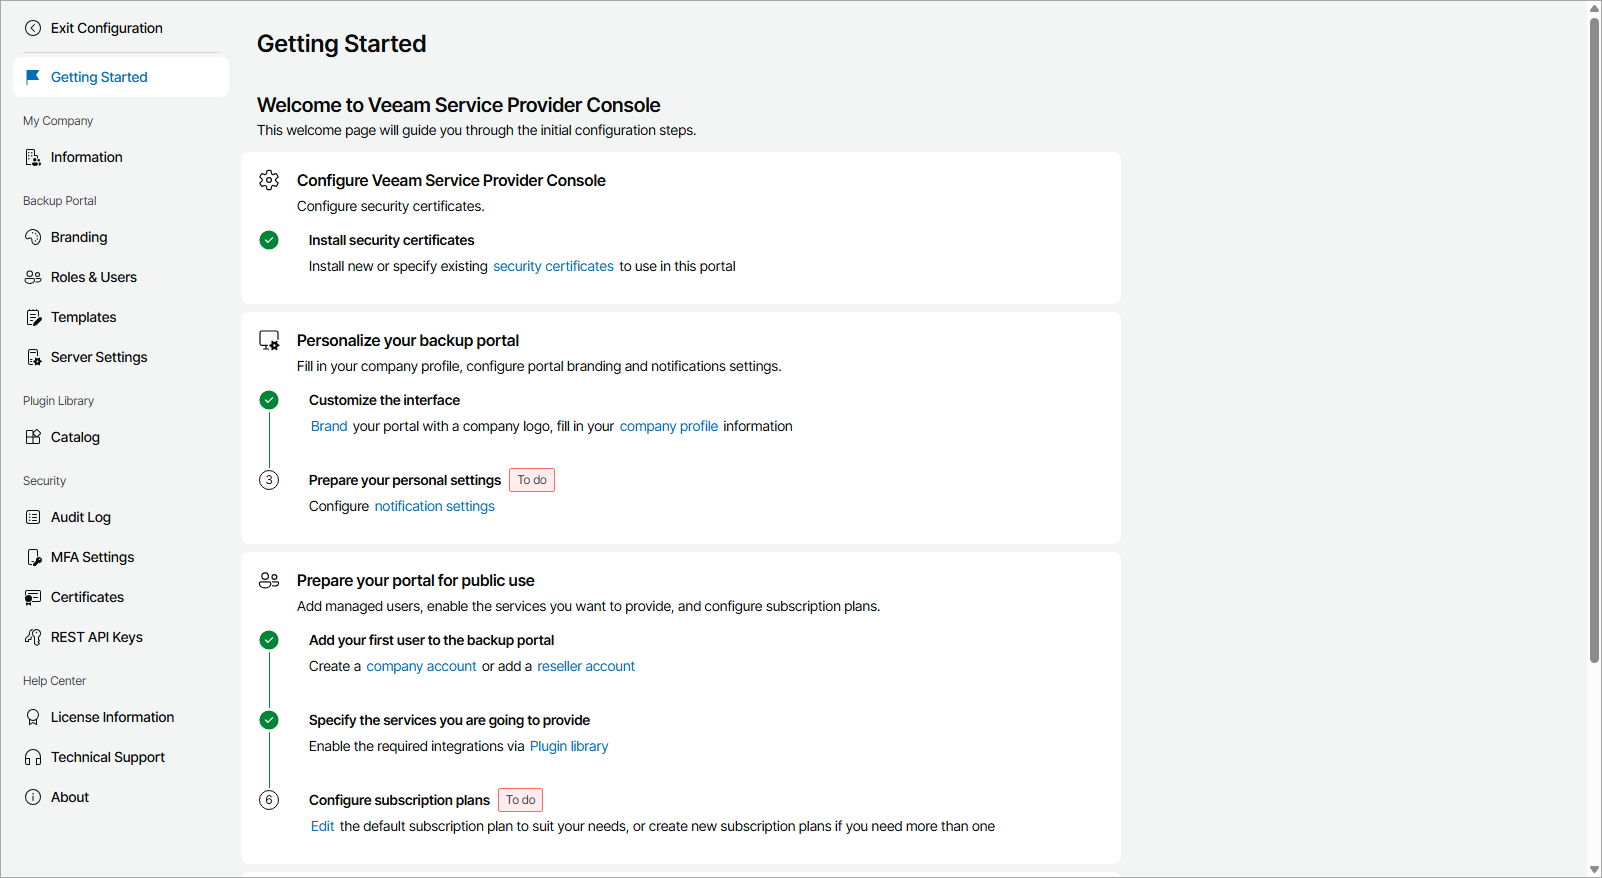
Getting Started
The Getting Started page provides a sequence of steps you can follow to quickly set up and customize your Veeam Service Provider Console portal. On this page, completed steps are marked with a check mark, and incomplete steps are marked as To do. You can click a link in each step description to navigate to the relevant page of Veeam Service Provider Console.
To access the page:
- Log in to Veeam Service Provider Console as a Portal Administrator.
For details, see Accessing Veeam Service Provider Console.
- At the top right corner of the Veeam Service Provider Console window, click Configuration.
- In the configuration menu on the left, click Getting Started.
Note: |
To perform configuration tasks, the user must have Portal Administrator privileges. For details on users and privileges, see Managing Portal Users. |
Getting Started
To set up your Veeam Service Provider Console portal:
Install new, or specify existing security certificates to use in the portal.
- Customize the portal:
Add information, such as contact details, about your company.
Customize portal, invoice and report appearance in accordance with your company branding.
Create users that can access the Veeam Service Provider Console portal, and to which you can assign billing, reporting and monitoring tasks.
Configure notification frequency and the SMTP server, or integration with a third party mail service provider that Veeam Service Provider Console will use to send email notifications, such as alarm and billing notifications.
- Enable Veeam Service Provider Console integrations:
Configure the necessary plugins to manage Veeam products and combine Veeam Service Provider Console functionality with third party solutions.
Configure Veeam Cloud Connect integration to create and manage cloud tenants, and allow companies to store backups and replicas on cloud repositories.
Configure VCSP Pulse integration to create, manage and assign license keys internally and to managed companies.
- Add companies and systems to manage:
Create accounts for client companies for which you will provide managed backup services.
Create locations for companies that run multiple offices or business units to differentiate backup services and resources consumed by each location.
- (Optional) Register reseller accounts.
Create accounts for resellers to which you can assign client company management.
Deploy Veeam Service Provider Console management agents on computers that host Veeam products.
Deploy Veeam backup agents on computers in client and hosted infrastructures, and configure backup job settings.
Connect Veeam Backup & Replication servers that you plan to manage in Veeam Service Provider Console, or install Veeam Backup & Replication on computers in client and hosted infrastructures.
Configure subscription plans that will be used to calculate the cost of managed backup services you provide to companies.
- Configure backup jobs or policies for managed Veeam products:
- Configure Veeam Backup & Replication jobs for client companies.
- Configure Veeam Backup for Microsoft 365 backup and backup copy jobs.
- Configure Veeam Backup for Public Clouds policies.
Configure the type and schedule of invoices, and the schedule of billing notifications.
Configure and run backup reports to check the efficiency of data protection, and make sure that you meet established RPO and SLA requirements.
- Configure alarm settings:
Check alarm settings, alarm assignment, and configure alarm email notifications.
Enable alarms data collection to manage the alarms triggered in Veeam ONE in Veeam Service Provider Console.
