Creating New Locations
To create new locations in Veeam Service Provider Console:
- Log in to ConnectWise Automate Control Center.
The account used to access ConnectWise Automate must have the necessary permissions. For details, see section Permissions of the Deployment Guide.
- In the lower left corner, click System > Configuration > Dashboard.
The System Dashboard window will pop up.
- Open Config > Integration > Veeam Service Provider Console tab.
- In the menu on the left, click Client Management.
Veeam Service Provider Console will display a list of all clients managed in ConnectWise Automate.
- Select the necessary mapped client in the list and click the link in the Mapped Locations column.
To display all mapped clients in the list, in the Status section select Mapped.
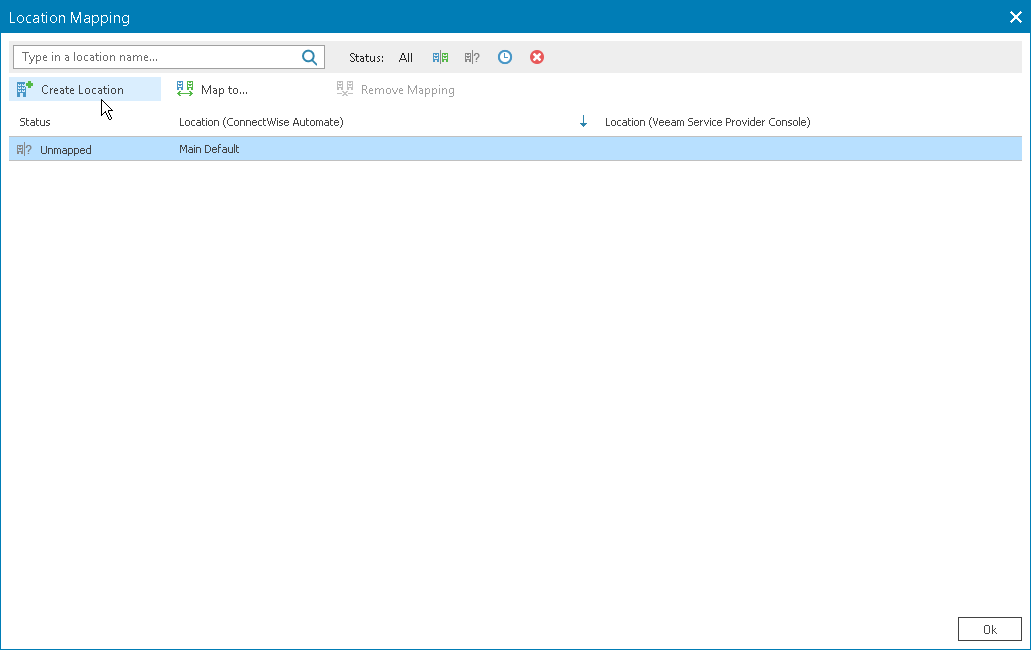
- In the Location Mapping window, select an unmapped location for which you want to create locations in Veeam Service Provider Console.
To narrow down the list of locations, you can search a specific location by name or filter the locations by Status (Mapped, Unmapped, Creating, Error).
- At the top of the list, click Create Location.
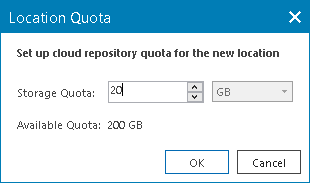
- In the Location Quota window, specify repository quota for the new location and click OK.
This step is available only if you have allocated cloud backup resources to the company. For details, see Allocating Cloud Backup Resources
- Repeat steps 6–8 for all locations you want to create.
