This is an archive version of the document. To get the most up-to-date information, see the current version.
Step 6. Select Target Datastore
The Datastore step of the wizard is only available if you have chosen to perform advanced failback.
When restoring a VM from a replica, you can place an entire VM to a particular datastore or choose to store configuration files and disk files of a restored VM in different locations.
To specify a destination datastore:
- Select one or more VMs in the list and click Datastore.
- If configuration and disk files of a VM should be placed to different datastores, expand the VM in the list, select the necessary file type and click Datastore. From the virtual environment, choose a datastore to which the selected objects will be stored. To facilitate selection, use the search field at the bottom of the window: enter a datastore name or a part of it and click the Start search button on the right or press [Enter] on the keyboard.
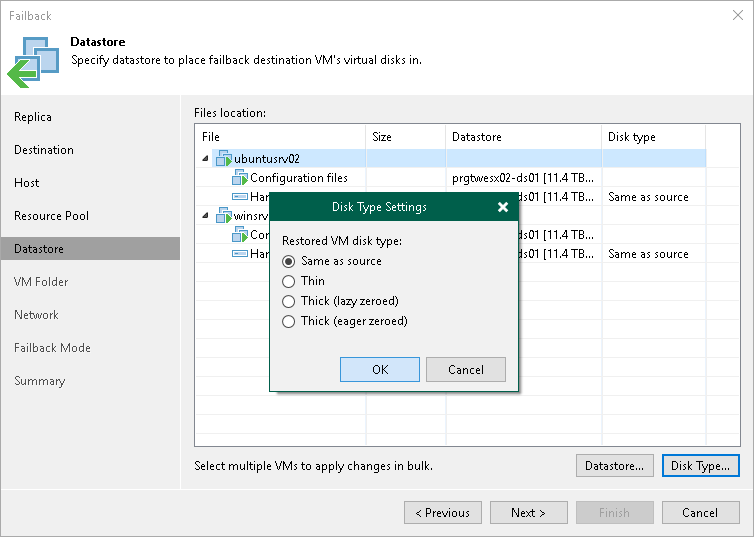
- By default, Veeam Backup & Replication preserves the format of restored VM disks, so that if disks of the VM replica were provisioned as thick, Veeam Backup & Replication will restore the VM with thick disks. If necessary, you can change the disk format of a restored VM. To do so, expand a VM in the list, select the necessary disk and click Disk Type. In the Disk Type Settings section, choose the format that will be used to restore virtual disks of the VM: same as original, thin, thick lazy zeroed or thick eager zeroed. For more information about disk types, see VMware docs.
|
Disk format change is supported only for VMs with Virtual Hardware version 7 or later. |